KX18DS PRO/ KX18DS PRO II
55
3.
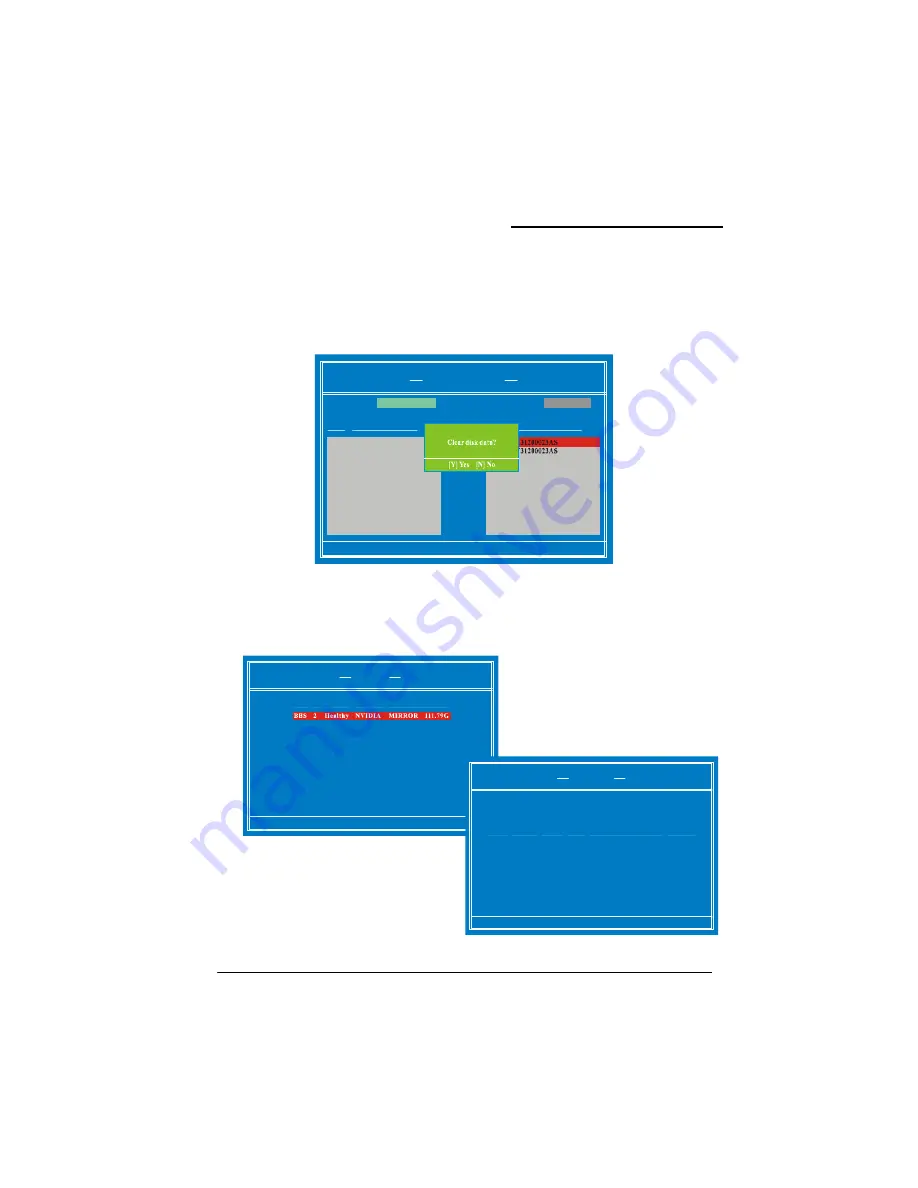
Next, in the “Free Disks” section, you can use the up/down arrow keys to select disks to be
used in your RAID array. After highlighting a disk, use the right-arrow key to activate the disk
as part of the RAID Array. The selected disk will move over to the “Array Disks” section. You
can use the left-arrow key to reverse your selection. After you finish selecting all your disks,
Press <F7>. A confirmation message will display as shown below. Then press <Y> to
complete the RAID array creation.
4.
After the array has been successfully created, the Array List screen will display as shown
below-left. You can press the Enter key to view the RAID details in the “Array Detail” screen.
[F6] Back [F7] Finish [TAB] Navigate [
Selec t [EN TE R] Popup
↑↓]
NV IDIA RAID Utility Jun 03 2004
Define a New Array
Arr ay Disks
Loc
D isk Model Name
[ ] Add
→
[ ]Del
←
Free Disks
Loc D isk Model Name
RA ID M ode :
Mirror ing
Str iping Block : O ptimal
RAID 1 mode (Array List)
[Ctr l-X] Exit [
Select
[ENTER] Detail
↑↓]
[B] Se t Boot [N] New Array
NV IDIA RAID Utility Jun 03 2004
Arr ay List
Boot Id Status Vender Array Model Name
[R] R ebuild [D] D elete
[ENT ER] Detail
[C] C le ar D isk
Arr ay 1 : NV IDIA MIRROR 111.79G
Arr ay Detail
RA ID M ode : M ir roring
Str iping Width: 1 Str iping Bolck: 32K
Adapt Channel M/S Inde x Disk Model N ame C apacity
1 1 Master 1 ST31200023AS 111.79GB
1 0 Master 0 ST31200023AS 111.79GB
RAID 1 mode (Array Detail)


