21
ES
EN
FR
IT
PT
DE
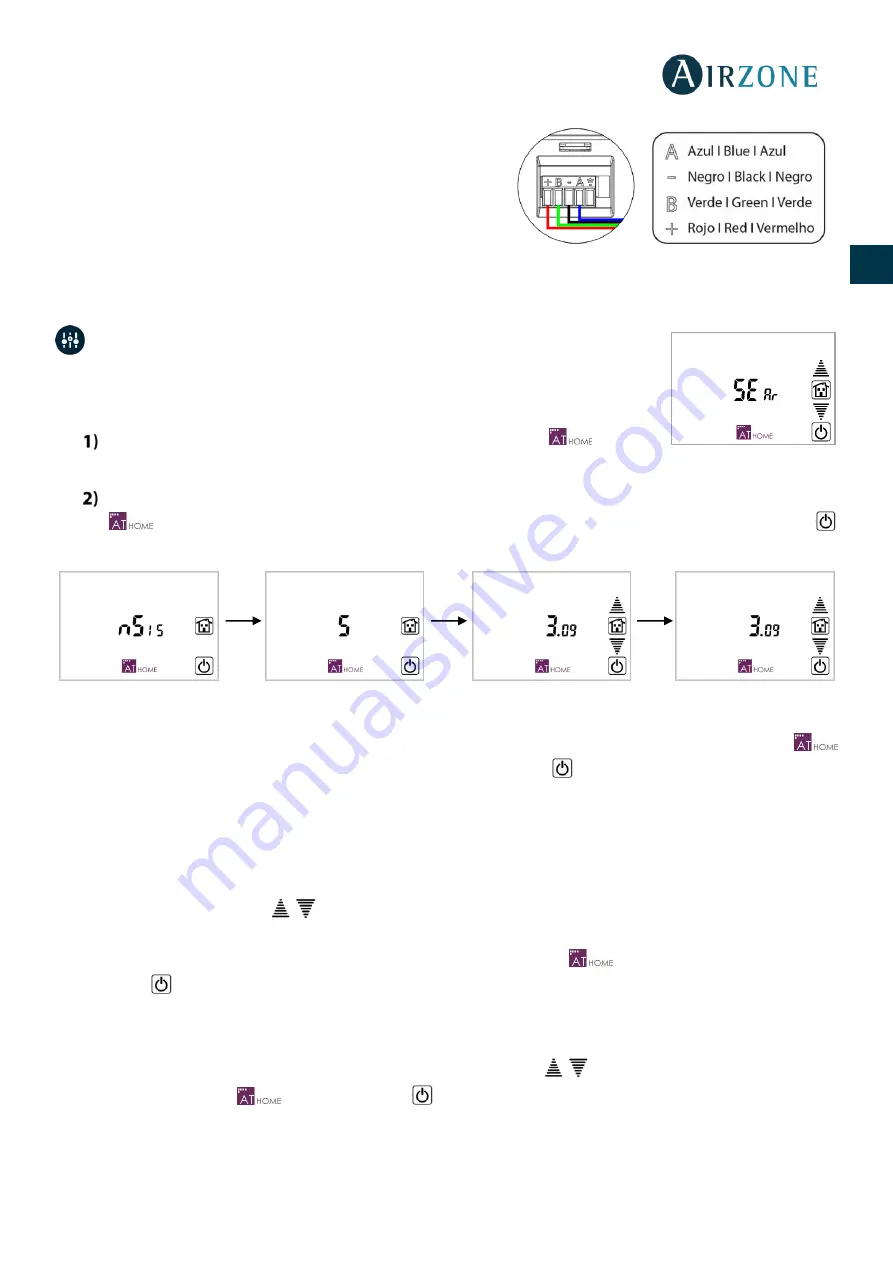
Wall-embedded Supermaster have a 5-pin terminal on their
back part. Attach the wires with the terminal screws
following the color code.
Note:
To ensure a proper operation, all main boards must
have an individual address.
INITIAL SETUP
The first time the Supermaster controller is powered, you should detect the
systems installed. To do this, follow these steps:
On the home screen, you will see the
menu. Press on
to start
searching
.
The option menu
allows you verify the information detected by the controller. Pressing on
button, the SuperMaster controller will display this information on the screen. Press on
to exit.
Information displayed is as follows:
-
Detected systems number. The screen displays the all the systems detected. Press on
to display more information about the systems. Press
to return to the previous menu.
-
Address of the systems connected and associated control group. Displays information
about the system selected. The left digit indicates the address (flashing) and the right digit
indicates the total number of zones (fixed). Supermaster controller allows you to select up to
8 different control groups (Z1-Z8).
Use the arrows
to navigate among systems. Press on Z1 change from one control
group to another. You will see 8 different control groups. Then, press on the mode you want
for your system. Once all systems are configured, press
to continue. Otherwise, press
to return to the previous step.
-
Associated zones address. It displays the address of the zones associated with the main
control board selected. The left digit indicates the address (fixed) and the right digit indicates
the total number of zones (flashing). Use the arrows
for consulting the address of the
zone. Press
to finish or press
to return to the previous menu.


