


WIRING
The 120V, 60 Hz C-12 has a standard 3-prong
plug on a 10 foot [3 m] power cord. It requires
only a standard grounded outlet for electrical
power.
Route the power cord so that it will be out of
the way of the building’s occupants.
PERMANENT WIRING
To permanently wire the C-12 follow these
instructions exactly. All wiring must comply with
applicable codes and ordinances. Wire the C-12
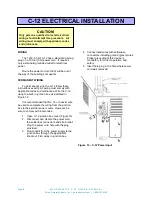
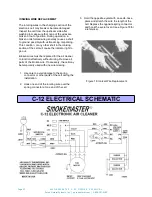
using the built-in junction box as indicated in
Figure 12.
It is recommended that No. 14 or heavier wire
be used to complete the wiring from the junction
box to the external power source. However, be
sure to comply with local codes.
1. Open C-12 junction box cover (Figure 12).
2. Disconnect and discard the power cord,
the solderless connectors and strain relief.
Plug the power cord hole with the plug
provided.
3. Run conduit from the power supply to the
junction box through the appropriate
knockout. Fish wires to junction box.
4. Connect lead wires with solderless
connectors including ground (green) wires.
Proper grounding of this device is
mandatory for correct operation and
safety.
5. Insert hole plug in the hole where power
cord was removed.
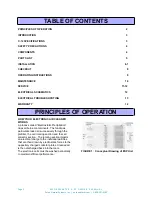
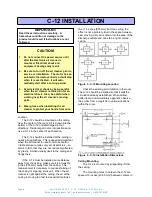
Figure 12
– C-12 Power Input
CAUTION!
Only persons qualified to install electrical
wiring should attempt this procedure. All
wiring must comply with applicable codes
and ordinances.
C-12 ELECTRICAL INSTALLATION
Page 8
S M O K E M A S T E R C - 1 2 O W N E R ' S M A N U A L
Pure n Natural Systems, Inc. | purennatural.com | 1-800-237-9199