18
Step 12:
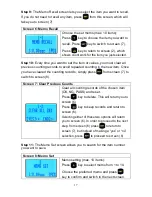
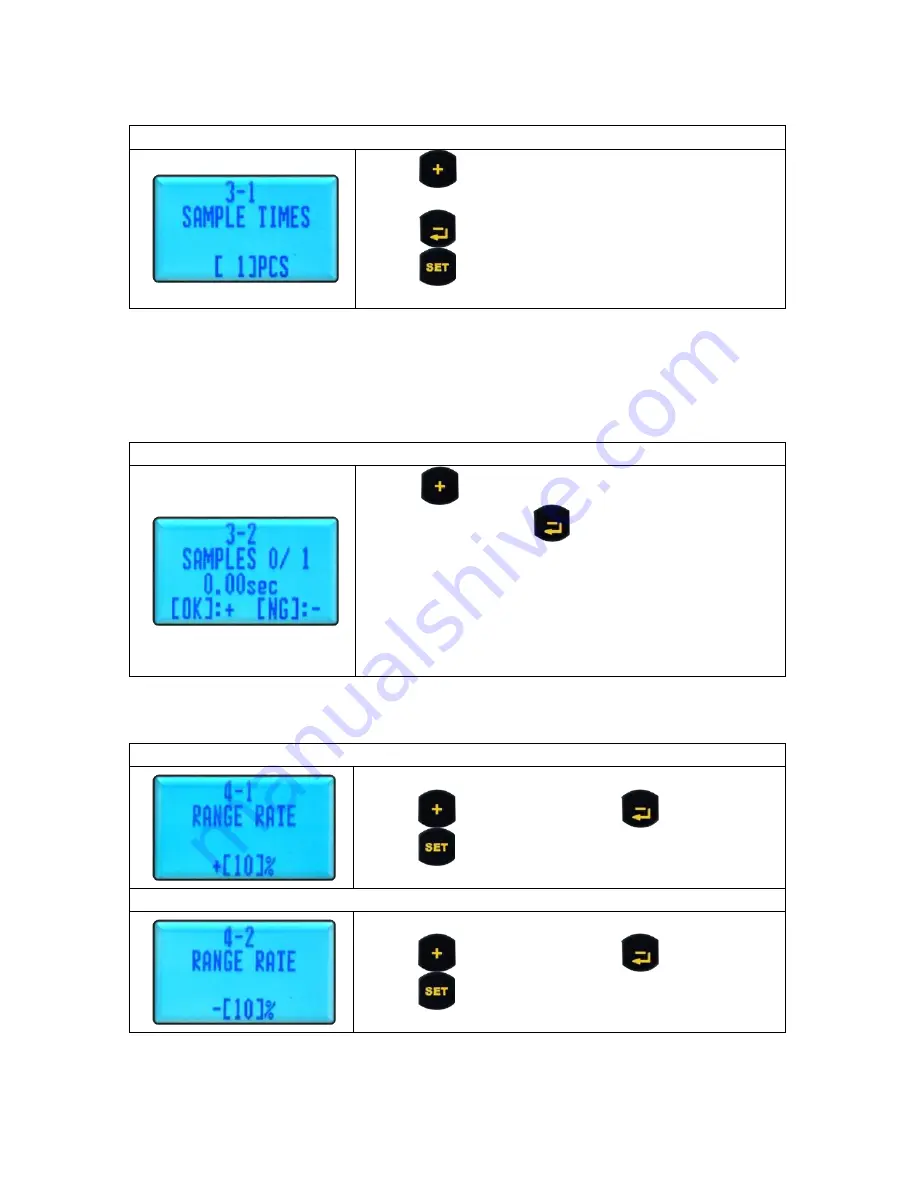
Screen (9) allows you to set the number of pieces (samples) for
which you will record a fastening time.
Screen 9: Set Number of Samples
Press
key to increase the quantity (max 99
pieces).
Press
key to decrease the quantity.
Press
key to confirm and switch to the next
screen.
Step 13:
Start fastening. Screen (10) shows the identifying number of the
sample, the total number of samples in the project, and the actual fastening
time for each sample screw fastened. You must confirm whether the value is
valid.
Screen 10: Validate Fastening Times
Press
key to confirm that the fastening
time is valid; Press
key if the fastening
time is invalid. This will automatically take you
to the next sample. Continue fastening until all
the preset sample screws you entered on
screen (9) are fastened. When you finish
recording all the sample fastening times, it will
switch to the next screen automatically.
Step 14:
Set the values according to your preference on screens (11)
– (17).
Screen 11: Set Upper-Limit Percentage of Sample Fastening Time
Max. upper-limit percentage is 99%.
Press
to increase; Press
to decrease.
Press
to confirm and switch to the next
screen.
Screen 12: Set Lower-Limit Percentage of Sample Fastening Time
Max. lower-limit percentage is 99%.
Press
to increase; Press
to decrease.
Press
to confirm and switch to the next
screen.
Содержание AM-45
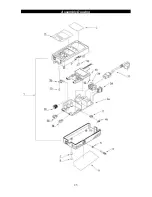
Страница 25: ...25 Assembly Drawing ...
Страница 27: ...27 ...


