


The interface and operation are shown below:
5.7.3 Pay attention when connecting to USB port
1) only in the main Menu and USB in USB Slave mode can recorder connect to computers
2) in the main Menu set the options of USB mode by using the Remote Control to enter USB Host mode or
USB Slave mode.
3) accessing the file browser interface automatically turns the USB Host mode, and exiting from the File
Browser interface returns to the privious state.
4) Once the USB Host mode is on and USB devices is connected, only after the removal of device and
return to the main Menu it is possible to turn the USB Slave mode.
5) recorder only responds to USB menu operation when in main Menu and in File Browser.
6) Depending on fragmentation of data on USB device and size of the content,it takes 3-15 seconds to
access the data.
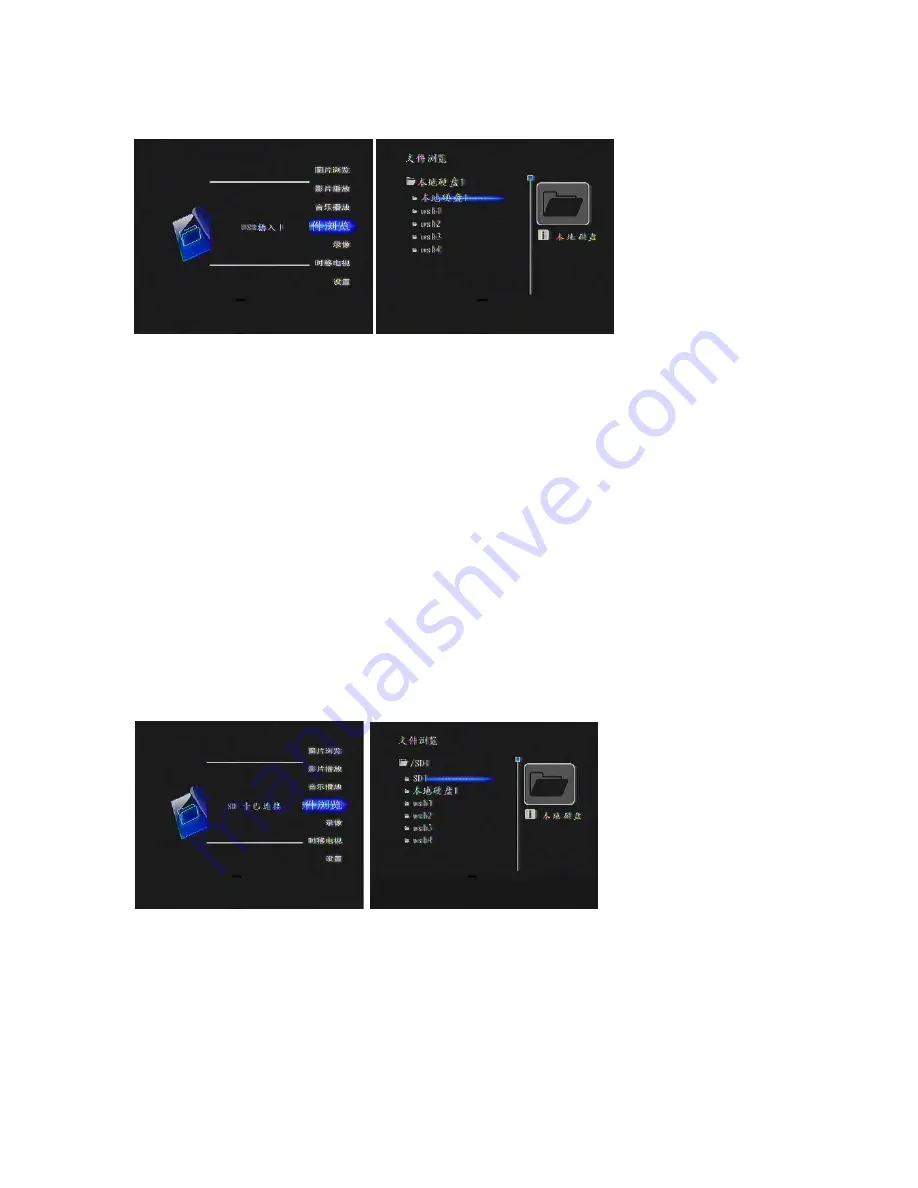
5.8 Using SD cards
PVR P8131 reads SD cards and allows to copy SD card data to local hard drive.
5.8.1 SD Card Reader
Insert SD card with the label facing the power switch, after about three seconds the screen showes that SD
card is inserted, after that the SD card operations can be performed through file/folder browser.
The interface and operation are shown below:
5.8.2 Backing up SD card
After inserting SD card press Card Backup button. When the screen displays "Preparing to copy SD card,
please wait", files located on SD card will be backed up to the local disk in a card backup folder .
The interface and operation are shown below:


