


Chapter 4: Recording Photos, Videos and Voices
Using the Record Menu
27
Using the Record Menu
If you are in Record mode, you can access the Record menu simply
by pressing the MENU button on your camera.
When the menu is displayed, use the 4-way navigation control and
the SET button to move through menu selections and apply your
desired settings. To close the menu anytime, press the menu
button again.
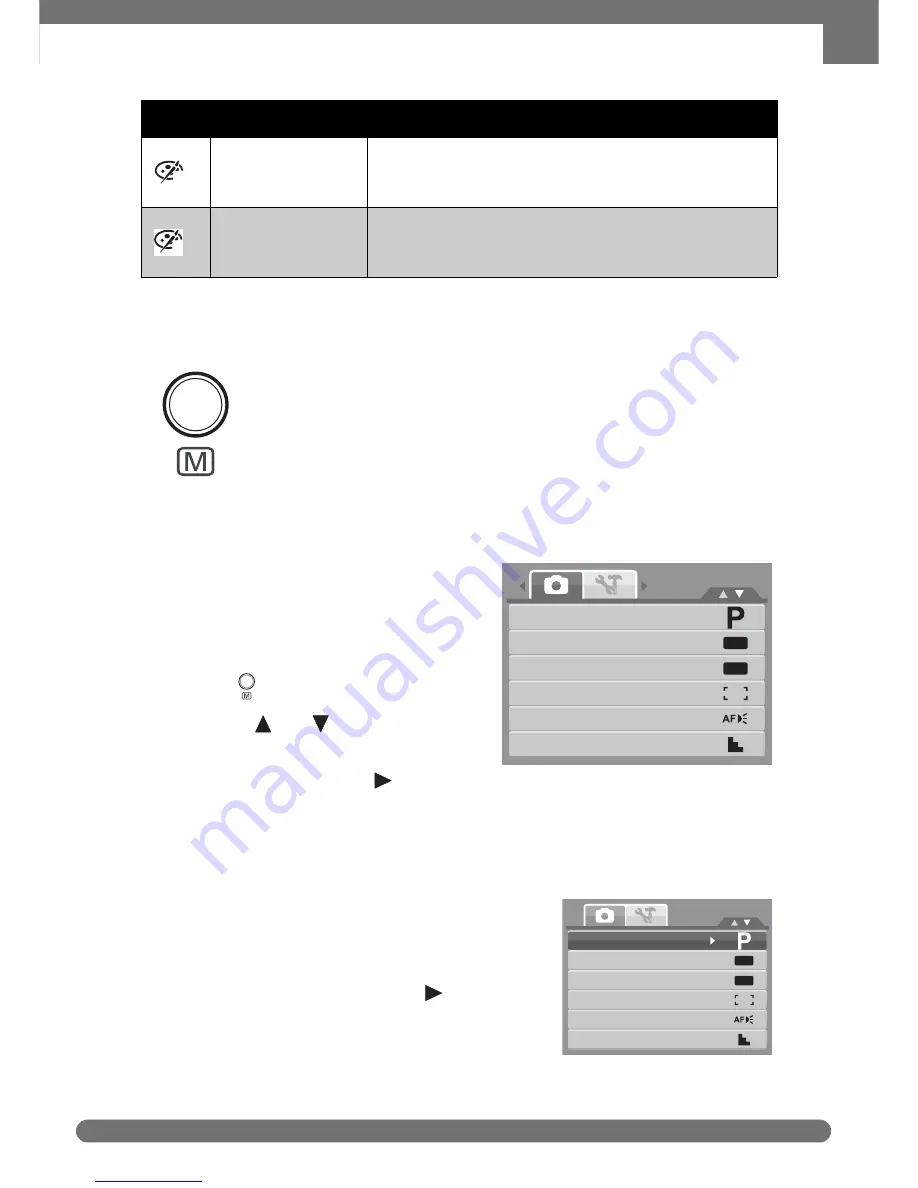
Record Menu
The Record menu allows you to change
modes, and setup other capture settings.
To go to Record Menu:
1. Set the camera to Record mode. See
“Switching between Record mode
and Playback Mode” on page 11
.
2. Press
to launch the Record Menu.
3. Use the
keys to move
through the menu selections.
4. To select an item, press
.
5. Change the submenu settings using the 4-way navigation control.
6. Press the SET button to save and apply settings.
Setting the Scene Mode
Setting the Scene mode allows you to capture
images with preset settings according to the
scenes or environment.
1. From the Record Menu, press
to select
Record Mode.
Vivid Green
Captured image becomes greenish. Ideally used to
record images like mountains and lawns to make
them more vivid.
Vivid Blue
Captured image becomes bluish. Ideally used to
record images like the sky and the ocean, to make
them look more vivid.
Icon
Item
Description
G
B
OFF
OFF
Record Mode
Drive Mode
AEB
AF Area
AF Lamp
Sharpness
or
Record Mode
Drive Mode
AEB
AF Area
AF Lamp
Sharpness
OFF
OFF
Get user manuals:


