


S150/S151/S152/Z152
4-6
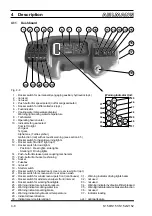
4
Description
<<<<<< <<<<<<
<<<<<<
<<<<<<
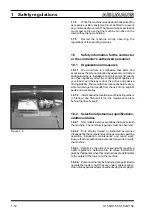
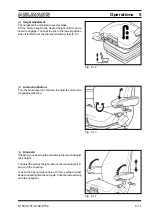
(4) Changing a front wheel:
- Lift and mechanically prop up bucket arm [e.g. by
inserting the bucket arm support (option) (1-1/arrow)] and
lower bucket arm until it rests on the bucket arm support.
- Block the swivel assembly. To do so remove the wedge
(1-3/arrow) from the holder, insert it in the swivel retainer
(1-4/arrow) and use a spring-pin to lock it in this position .
(4) Changing a rear wheel:
Drop and uncouple attachment.
(5) Turn the ignition key (4-8/19) left to position "0".
(6) Lock the levers for main and auxiliary hydraulics
(1-2/1 and 1-2/2).
(7) Chock one wheel on the rear axle in both directions to
prevent the vehicle from rolling. Choose the wheel that
does not
need to be changed.
(8) Loosen the wheel nuts on the wheel you are changing
to a point where they can be removed without needing to
apply force.
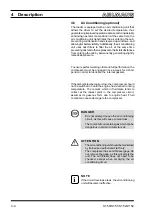
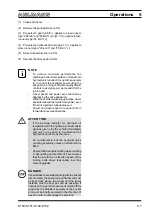
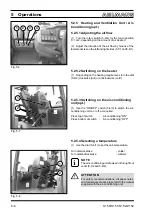
(9) Place a suitable jack (minimum load 6 tons) at the
jacking point under the rear axle as indicated in (4-3)
ensuring that the jack is centered under the axle and
cannot slip. Then raise the jack until the wheel is clear of
the road.
DANGER
-
Ensure that the jack does not sink into soft
ground by using an appropriate base.
-
Ensure that the jack is properly seated.
(10) Completely loosen and remove the wheel nuts.
(11) Lower the vehicle by lowering the jack slightly to a
point where the wheel bolts are freely accessible.
(12) Rotate the wheel clockwise and anticlockwise while
pulling the wheel off the wheel hub, and then roll the wheel
to one side.
(13) Fit the new wheel on the hub.
NOTE
-
Use only tires specified in Chapter 11.7.
-
Pay attention to the profile direction.
-
If the profile direction of your spare tire is
inappropriate, the spare wheel must be
replaced by a wheel with the appropriate tire
profile as soon as possible.
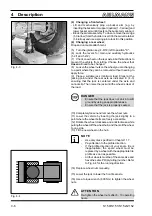
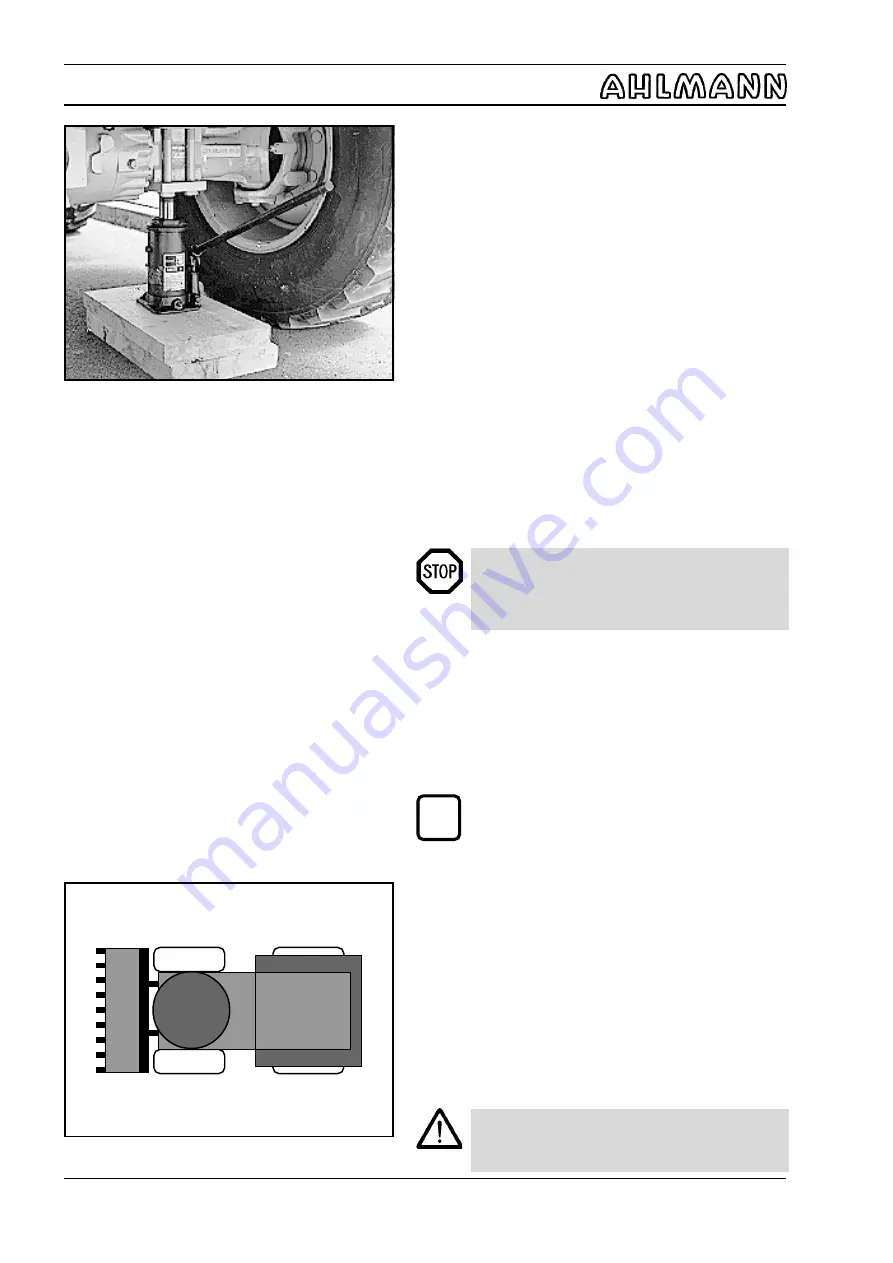
-
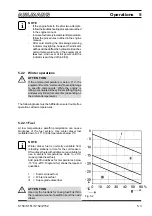
All four wheels must be of the same size and
have the same PR (ply rating) number. Refer
to Fig. 4-4 for the running direction.
(14) Replace wheel nuts manually.
(15) Lower the jack to lower the front/rear axle.
(16) Use a torque wrench (600 Nm) to tighten the wheel
nuts.
ATTENTION
Re-tighten the wheel nuts after 8 - 10 operating
hours.
Fig. 4-4
Fig. 4-3
i
Содержание AS 150
Страница 7: ...Safety regulations ...
Страница 19: ...Signs ...
Страница 22: ...Anti TheftProtection ...
Страница 25: ...Description ...
Страница 34: ...Operations ...
Страница 46: ...Attachments ...
Страница 54: ...Rescue Towing Lashing Crane Lifting ...
Страница 61: ...Maintenance ...
Страница 80: ...Troubleshooting ...
Страница 83: ...Wiring and Hydraulics ...
Страница 98: ...Technical Data Equipment ...
Страница 103: ...Technical Data Attachments ...
Страница 108: ...S150 S151 S152 Z152 12 6 12 Technical Data Attachments 12 3 Front end Loader Measurements according to ISO 7131 35 ...
Страница 110: ...S150 S151 S152 Z152 12 8 12 Technical Data Attachments 12 4 Lifting Hook Dimensions according to ISO 7131 35 ...
Страница 112: ...Optional Extras Changes ...


