


Chapter 2
37
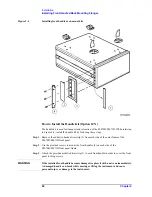
Installation
Setting the Internal Clock
2.
Inst
allation
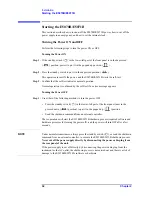
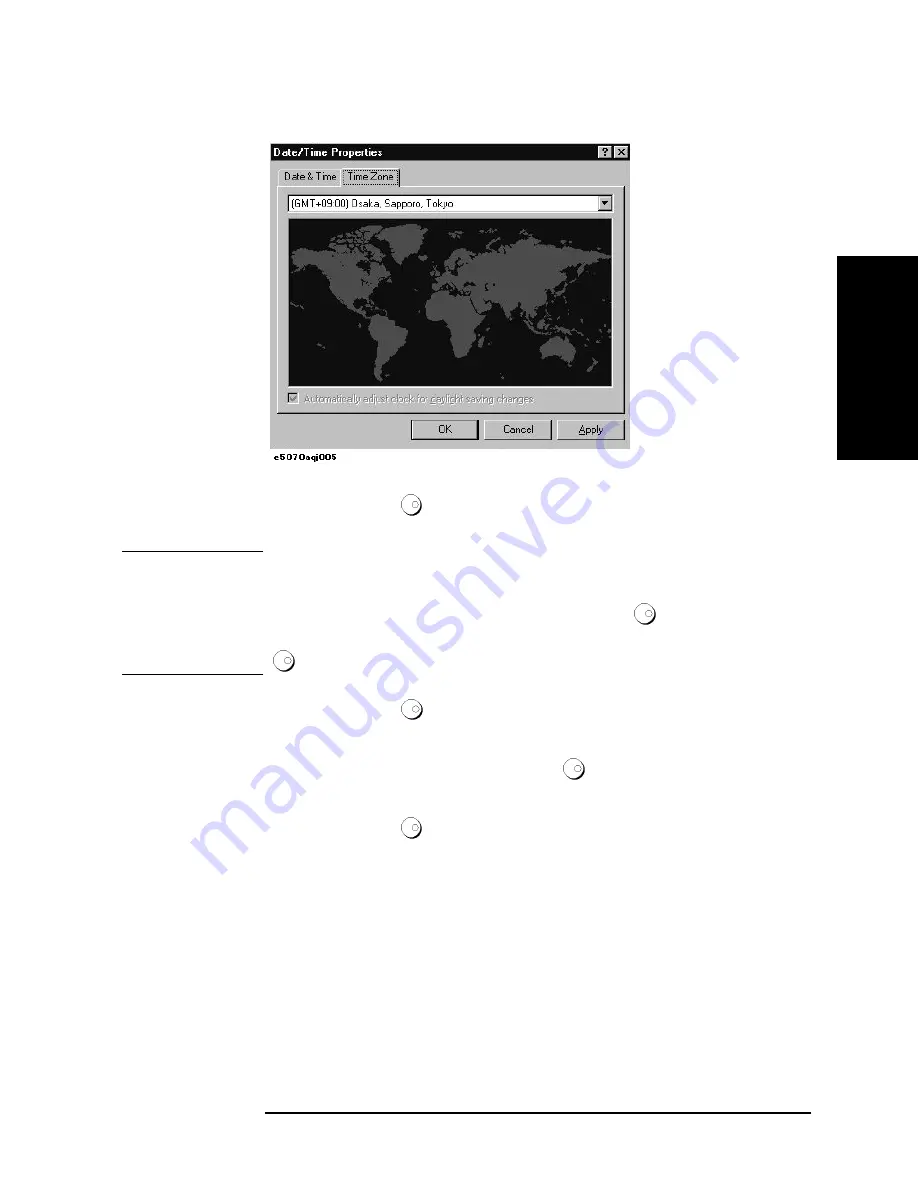
Figure 2-13
Date/Time Properties Dialog Box (“Time Zone” Tab)
Step 3.
Turn the rotary knob (
) on the front panel to point the focus to the
Time Zone
box and
press the
[
←
]
/
[
→
]
or
[
↓
]
/
[
↑
]
key to select the time zone.
NOTE
When you select the time zone for summer time, the
Automatically adjust clock for
daylight saving changes
box becomes selectable. To set the function of automatically
making summertime adjustment to ON, turn the rotary knob (
) to point the focus to the
Automatically adjust clock for daylight saving changes
box and press the rotary knob
(
) to display the
√
Step 4.
Turn the rotary knob (
) on the front panel to point the focus to the
Time Zone
tab and
press the
[
←
]
key to move the focus to the
Date & Time
tab.
Step 5.
By referring to Figure 2-12, turn the rotary knob (
) on the front panel to point the focus
to the desired item. Press the
[
←
]
/
[
→
]
or
[
↓
]
/
[
↑
]
key to set each item.
Step 6.
Turn the rotary knob (
) on the front panel to point the focus to the
OK
button and then
press
[Enter]
key.
Turning the Date/Time Display ON and OFF
The Date/time is displayed within the instrument status bar at the lower right of the display
screen.
Step 1.
Press the
[System]
key in the INSTR STATE block. Press the
[
↓
]
or
[
↑
]
key to move the
focus to the
Misc Setup
button and then press the
[Enter]
or
[
→
]
key. Press the
[
↓
]
or
[
↑
]
key, move the focus to the
Clock Setup
button, and press the
[Enter]
or
[
→
]
key. Point the
focus to the
Show Clock
button and press the
[Enter]
key to set the date/time display
on/off.
Содержание E5070B ENA Series
Страница 8: ...8 ...
Страница 14: ...14 Chapter1 Introduction of This Manual Overview of the E5070B E5071B ...
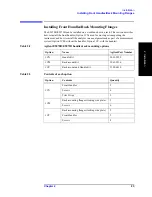
Страница 19: ...Chapter 2 19 Installation Checking the Shipment 2 Installation Figure 2 1 E5070B E5071B Accessories ...
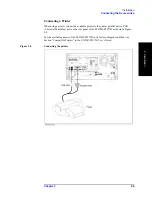
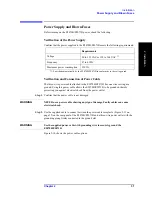
Страница 32: ...32 Chapter2 Installation Power Supply and Blown Fuses Figure 2 10 Power cable options ...
Страница 62: ...62 Chapter3 Quick Start Guide Measurement Example of a Bandpass Filter ...


