background image

S1 – External switch control for load
S2 – External switch control for load

Install the Nano Switch.

Nano Switch installs behind a lighting switch or a momentary push button. It works with only 3­wire (with neutral) lighting
setups, though each installation of Nano Switch is accordingly slightly different:

1. Shut off the main circuit breaker of your home for safety during the installation and ensure the wires are not short circuited
during the installation which will cause damage to the Nano Switch.

Note: Your home’s main circuit breaker must support the overload protection for safety.

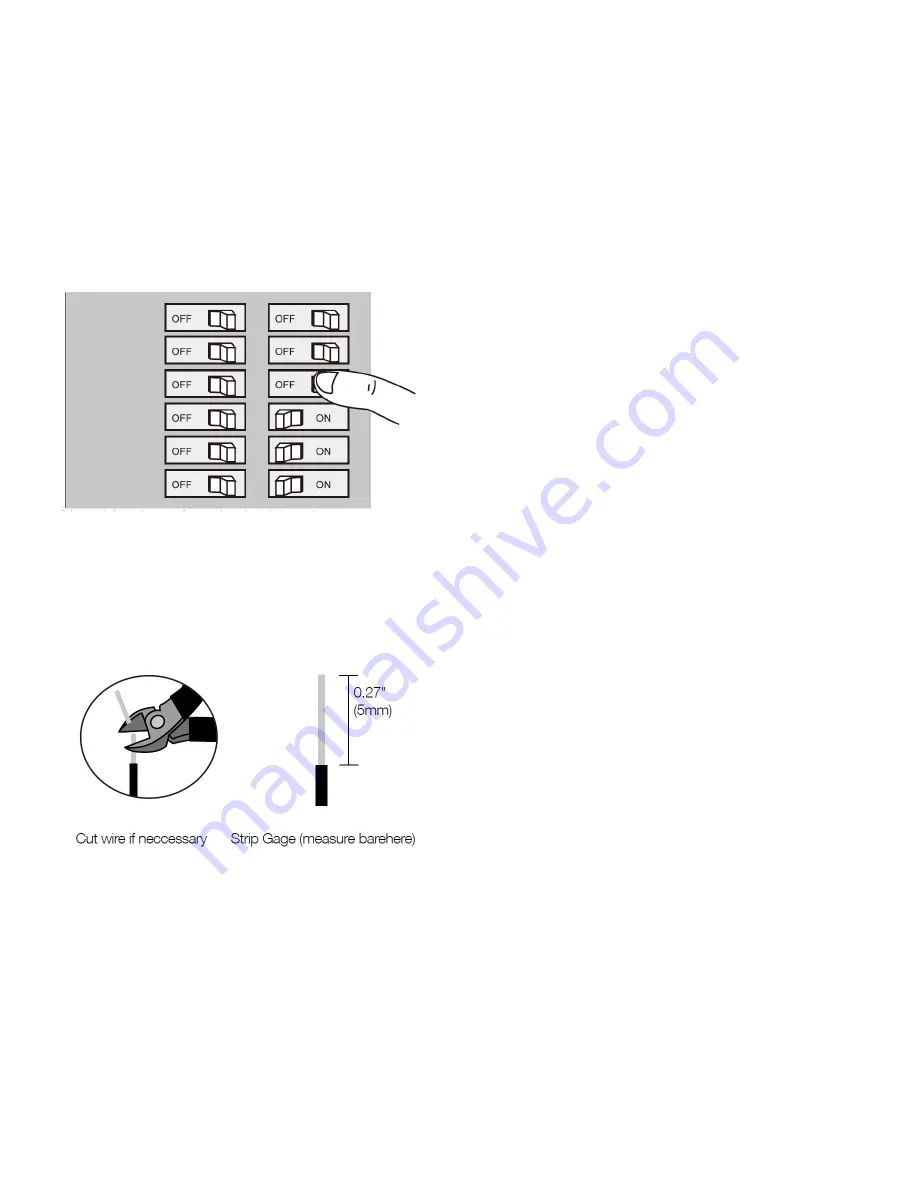
2. Preparing connection wires

14 AWG power wires for Input / Output.
18 AWG copper wires for external manual switch.
Use the wire stripper cut the metallic part of the  connection wire and make sure the length of the metallic part is about 5mm.

Note: All connection wires needs to be flexible cable.

Wiring diagram of 120/230VAC power input.

Содержание Aeotec Nano switch

Страница 1: ...ot please reference our Z Wave gateway comparison listing The technical specifications of Nano Switch can be viewed at that link Familiarize yourself with your Nano Switch Notes for the wire connectio...

Страница 2: ...y during the installation and ensure the wires are not short circuited during the installation which will cause damage to the Nano Switch Note Your home s main circuit breaker must support the overloa...

Страница 3: ...please refer to the following diagram to achieve this Wiring diagram of 120 230VAC power input connection to 24VDC power output Note The IN terminal should be connected to the of 24VDC input Wiring d...

Страница 4: ...ected to the Live of AC 120V 230V power wire All above wiring diagrams show that the Nano Switch uses 2 Way or momentary button switches as the external manual switch for 2 Way connection The below di...

Страница 5: ...res to the S1 and S2 on the Nano Switch e External manual Switch connection Connect 2 18AWG wires form the 2 terminals on the External manual Switch to the Live wire Note This is the physical connecti...

Страница 6: ...l 1 Set your Z Wave controller into pairing mode 2 Press the Action Button on the Nano Switch once or toggle the external manual switch once the green LED non secure indication will blink to indicate...

Страница 7: ...lowing the state of the output load repeat the instructions above from step 1 Advanced functions Changing mode on the External Switch Button Control The Nano Switch can be controlled via 2 state flip...

Страница 8: ...t your Nano Switch as a non secure device in your Z Wave network press the Action Button once on Nano Switch when you pair it to your gateway If inclusion is successful the green LED will be on for 2...

Страница 9: ...r Nano Switch s settings to their factory defaults To do this press and hold the Action Button for 20 seconds and then release it Your Nano Switch will now be reset to its original settings and the gr...

Отзывы: