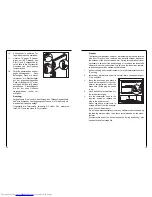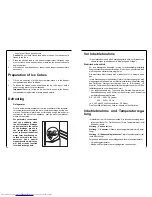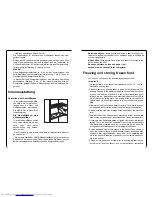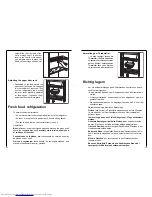
Abtauen
Kühlraum
Die sich auf dem Verdampfer
an der Rückwand des Kühlrau-
mes bildende Reifschicht taut
jedesmal in den Stillstandzei-
ten des Kompressors von
selbst ab. Das Tauwasser läuft
über eine Rinne in eine Pla-
stikschale auf der Rückseite
des Gerätes und verdunstet
dort.
Wir empfehlen, das in der Mitte der Abtauwasserrinne des Kühl-
raumes befindliche Ablaufloch für das Abtauwasser regelmäßig
zu reinigen, um zu vermeiden, daß das Abtauwasser auf Lebens-
mittel tropft.
Verwenden Sie den dafür vorgesehenen Stöpsel, der sich schon
im Ablaufloch befindet.
Gefrierraum
Die sich im Gefrierfach bildende Reifschicht mit einem Plastik-schaber
entfernen. Während dieses Vorganges ist es nicht nötig, das Gerät auszu-
schalten und die Nahrungsmittel herausnehmen.
Wenn die Reifschicht eine Dicke von ca 4mm erreicht hat muß abge-
taut werden. Um abzutauen, geht man wie folgt vor:
1.
Temperaturregler auf “0” stellen und Netzstecker ziehen.
2.
Die Lebensmittel herausnehmen, in mehere Lagen Zeitungspapier einwickeln
und an einem kühlen Ort lagern.
15
D037
Eiswürfel bereiten
1.
Eiswürfelschale zu 3/4 mit kaltem Wasser füllen, in den Gefrierraum
stellen und gefrieren lassen.
2.
Zum Herauslösen der fertigen Eiswürfel die Eiswürfelschale verwin-
den oder kurz unter fließendes Wasser halten.
Achtung! Eine eventuell angefrorene Eiswürfelschale keinesfalls mit
spitzen oder scharfkantigen Gegenständen ablösen, sonst besteht
die Gefahr, daß der Kältekreislauf beschädigt wird.
30
Prior to Initial Start–Up
• Please clean the appliance interior and all accessories prior to initial
start-up (see section: “Cleaning and Care”).
Electrical Connection
Any electrical work required to install this appliance should be carried
out by a qualified electrician or competent person.
WARNING – THIS APPLIANCE MUST BE EARTHED
The manufacturer declines any liability should these safety mea-
sures not be observed.
Before switching on, make sure the electricity supply voltage is the
same as that indicated on the appliance rating plate. The rating plate
is inside, on the left.
The appliance is supplied with a 13 amp plug fitted. In the event of
having to change the fuse in the plug supplied, a 13 amp ASTA appro-
ved (BS 1362) fuse must be used.
Important!
The wires in the mains lead are coloured in accordance with the fol-
lowing code:
Green and Yellow Earth
Blue Neutral
Brown Live
As the colours of the wires in the mains lead of this appliance may not
correspond with the coloured markings indentifying the terminals in
your plug, proceed as follows:
1.
The wire coloured green and yellow must be connected to the termi-
nal marked with the letter „E“ or by the earth symbol or coloured green
and yellow.
2.
The wire coloured blue must be connected to the terminal „N“ or
coloured black.
3.
The wire coloured brown must be connected to the terminal marked
„L“ or coloured red.
4.
Upon completion there must be not cut, or stray strands of wire pre-
sent and the cord clamp must be secure over the outer sheat.
Warning! A cut-off plug inserted into a 13 amp socket is a serious
safety (shock) hazard. Ensure that the cut-off plug is disposed of
safely.

