10
PR228
10.
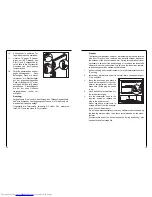
Kühlraumtür in mittleres Tür-
lager einsetzen und schließen.
11.
Unteres Türlager (3)(indem
Sie es um 180°C drehen), den
Stift (1) und Schraubfüße (2)
unten links in die Kühlraumtür
einsetzen und am Gehäuse
festschrauben.
12.
Türgriffe abschrauben und auf
gegenüberliegender Seite
befestigen. Dazu mit einem
Vorstecher die Plastikstöpsel
auf der gegenüberliegenden
Seite vorsichtig in die Tür ein-
schlagen. Mit den im Beipack
enthaltenen Plastikstöpseln
die auf der alten Griffseite
freigewordenen Löcher ver-
schließen.
Achtung:
Vergewissern Sie sich nach Ausführung des Türanschlagwechsels,
daß alle Schrauben fest angezogzen sind und die Türdichtung ein-
wandfrei am Gehäuse anliegt.
Gegenfalls die Türdichtung vorsichtig mit einem Fön erwärmen
(max.50°C) und von Hand in Form ziehen.
35
Freezer
The freezer compartment, however, will become progrssively covered
with frost. This should be removed with a plastic scraper, whenever
the tickness of the frost exceeds 4 mm. During this operation it is not
necessary to switch off the power supply or to remove the foodstuffs.
However when the ice becomes very thick on the inner liner, comple-
te defrosting should be carried out as follows:
1.
pull out the plug from the wall socket or turn the thermostat knob to th
“0” setting.
2.
remove any stored food, wrap it in several layers newspaper and put
it in a coll place.
3.
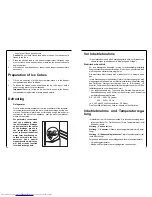
leave the door open, and place a
basin on the top shelf of the refri-
gerator compartment, under the
draun hole, lift the plug as shown
in fig..
4.
when defrosting is completed, dry
the interior thoroughly
5.
turn the thermostat knob to the
required setting or raplace the
plug in the power socket.
Never use sharp metal tools to
scrape off frost from the evapora-
tor as you could damage it.
Do not use a maechanical device or any artificial means to speed up
the thawing process other than those recommended by the manu-
facturer.
A temperature rise of the frozen food packs, during defrosting , may
shorten their safe storage life.
PR116

