PCM-9575 User’s Manual
42
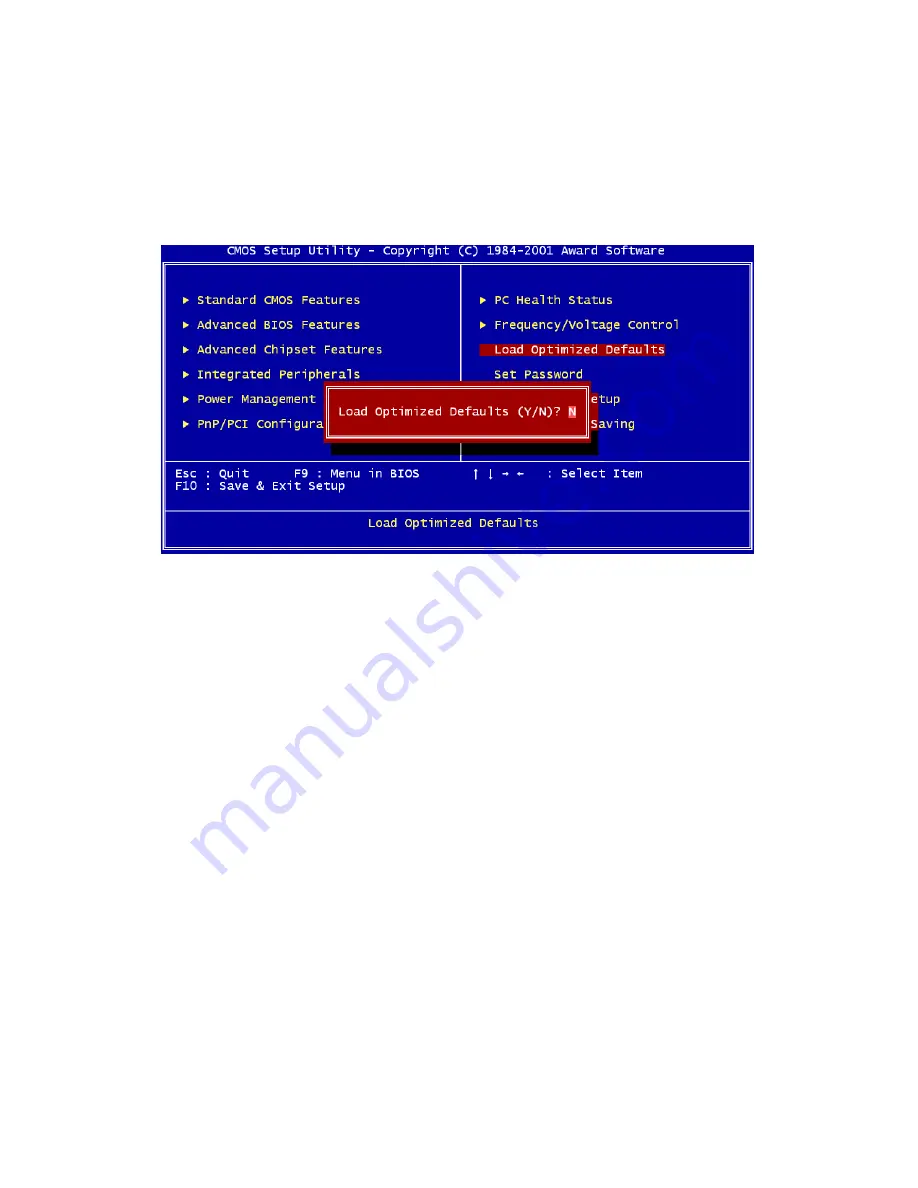
4.2.10 Load Optimized Defaults
Load Optimized Defaults loads the default system values directly from
ROM. If the stored record created by the Setup program should ever
become corrupted (and therefore unusable), these defaults will load auto-
matically when you turn the PCM-9575 Series system on.
4.2.11 Set Password
To Establish Password
1.
Choose the Set Password option from the CMOS Setup Utility
main menu and press <Enter>.
2.
When you see “Enter Password,” enter the desired password and
press <Enter>.
Figure 4.10: Load BIOS defaults screen
Note
To enable this feature, you should first go to the
Advanced BIOS Features menu, choose the
Security Option, and select either Setup or
System, depending on which aspect you want
password protected. Setup requires a pass-
word only to enter Setup. System requires the
password either to enter Setup or to boot the
system.
A password may be at most 8 characters long.
Содержание 100/10
Страница 1: ...i PCM 9575 EBX VIA Eden Ezra SBC with CPU LCD Ethernet Audio PCI and PC 104 Plus Users Manual...
Страница 4: ...PCM 9575 User s Manual iv...
Страница 10: ...x...
Страница 16: ...PCM 9575 User s Manual 6 1 4 Board layout dimensions Figure 1 1 Board layout dimensions...
Страница 20: ...PCM 9575 User s Manual 10 2 3 Locating jumpers Figure 2 1 Jumper locations...
Страница 21: ...11 Chapter 2 Installation 2 4 Locating Connectors Figure 2 2 Connectors component side...
Страница 34: ...PCM 9575 User s Manual 24...
Страница 41: ...31 Chapter 3 Software Configuration Note For Ethernet installation please see Chapter 7...
Страница 42: ...PCM 9575 User s Manual 32...
Страница 63: ...53 Chapter 5 PCI SVGA Setup Step 2 Select Adapter then Change...
Страница 64: ...PCM 9575 User s Manual 54 Step 3 Press Next then Display a list Step 4 Press the Have disk button...
Страница 68: ...PCM 9575 User s Manual 58 Step 2 Choose the Settings tab and press the Display Type button...
Страница 69: ...59 Chapter 5 PCI SVGA Setup Step 3 Press the Change button...
Страница 73: ...63 Chapter 5 PCI SVGA Setup Step 2 Choose the Video Controller VGA Compatible button...
Страница 74: ...PCM 9575 User s Manual 64 Step 3 Choose the Drive button press Update Driver button...
Страница 78: ...PCM 9575 User s Manual 68 Step 2 Choose Hardware and Device Manager press OK button...
Страница 79: ...69 Chapter 5 PCI SVGA Setup Step 3 Choose Video Controller VGA Compatible press OK but ton...
Страница 84: ...PCM 9575 User s Manual 74...
Страница 101: ...91 Chapter 6 Audio Setup Step 8 Press Next button Step 9 Press Finish to reboot...
Страница 102: ...PCM 9575 User s Manual 92...
Страница 108: ...PCM 9575 User s Manual 98 7 2 3 Installation for Windows 2000 Step 1 Open Device Manager...
Страница 109: ...99 Chapter 7 PCI Bus Ethernet Interface Step 2...
Страница 110: ...PCM 9575 User s Manual 100 Step 3 Step 4...
Страница 111: ...101 Chapter 7 PCI Bus Ethernet Interface Step 5 Step 6...
Страница 112: ...PCM 9575 User s Manual 102 Step 7 Step 8...
Страница 114: ...PCM 9575 User s Manual 104 b Click Next Step 3 a Click Select from list...
Страница 116: ...PCM 9575 User s Manual 106 Step 6 Check the highlighted item and click OK...
Страница 120: ...PCM 9575 User s Manual 110...
Страница 124: ...TPC 642 User s Manual 114...
Страница 125: ...115 Appx B B Installing PC 104 Plus Modules This appendix gives instructions for installing PC 104 Plus modules Appendix...
Страница 127: ...117 Appx B Figure B 1 PC 104 module mounting diagram...
Страница 128: ...TPC 642 User s Manual 118 Figure B 2 PC 104 module dimensions mm 0 1...
Страница 150: ...PCA 6183 User s Manual 140...
Страница 155: ...145 Appx E E Optional Extras for the PCM 9575 Appendix...
Страница 158: ...PCM 9575 User s Manual 148...
Страница 159: ...149 Appx F F Mechanical Drawings Appendix...
Страница 161: ...151 Appx F Figure F 2 PCM 9575 Mechanical Drawing component side...
Страница 162: ...PCM 9575 User s Manual 152 Figure F 3 PCM 9575 Mechanical Drawing solder side...


