9/04/2015
Free Standing Kiosk
Assembly and Operation Instructions
www.advancedkiosks.com
10
Securing the Kiosk to a Wall
In this configuration the Kiosk’s free standing base has been removed. The bottom of the
kiosk will rest on the floor and the Free Standing Wall Mount is attached to the back of
the kiosk and to the wall. Adhesive rubber feet are attached to the bottom of the kiosk -
one in each corner.
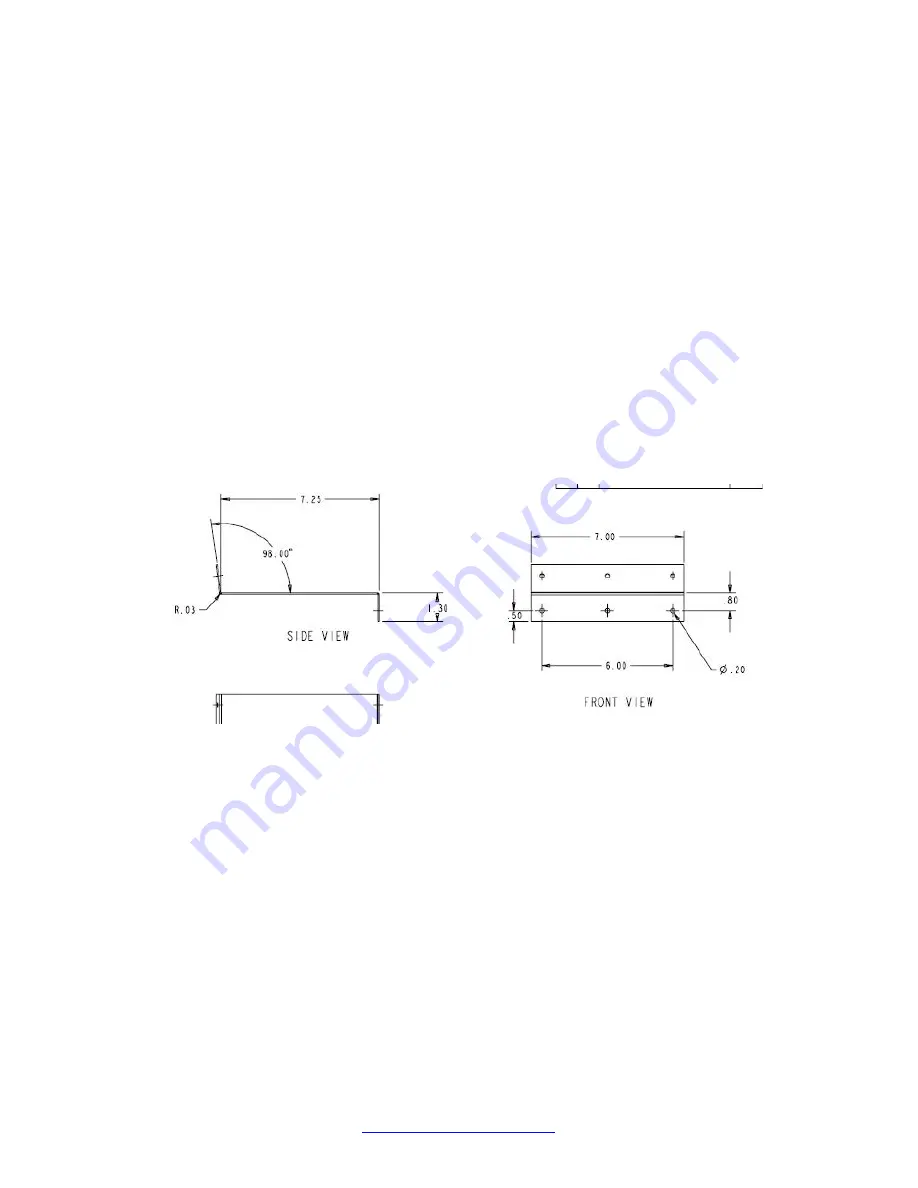
Prepare the wall to attach the Wall Bracket. The bracket has 6 holes. The holes in the
wall need to be 38 inches off the floor. These holes must be able to take a 300 lbs pull
load to securely hold the kiosk. It is recommended that the bracket be mounted into a
stud. Use the anchor chart below to help with this. If you are using a different type of
anchor make sure that that the bracket can handle a 300 lb pulling load. The bracket
side that has a 90 degree bend attaches to the wall - the other mounts to the kiosk.
FreeStanding Wall Bracket


