4.
You will then gain access to the Netgear FWG114P configuration guide.
5.
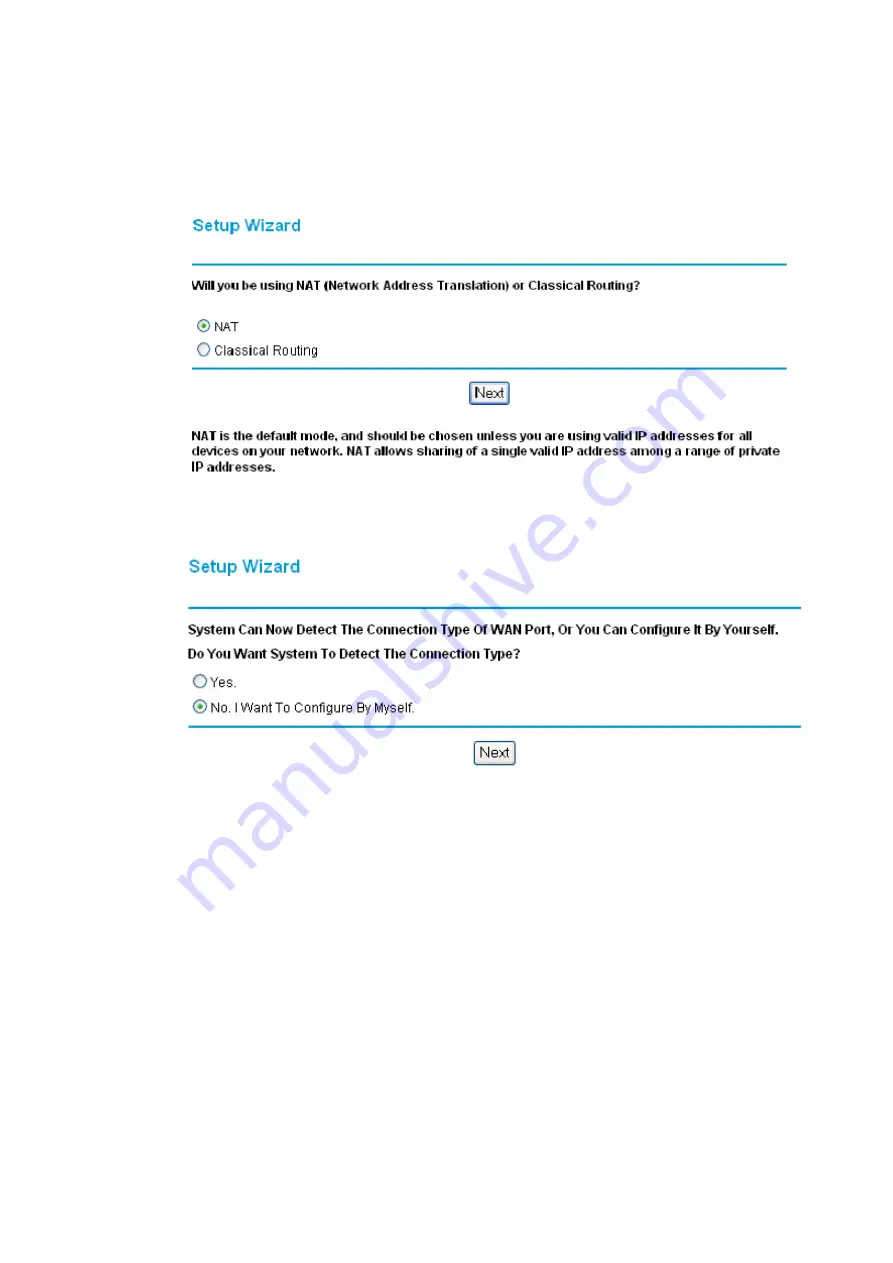
You may then be asked if you wish to use NAT or Classical Routing, select NAT
and click Next (If you do not see this option skip to step 6).
6.
You will then be asked if you would like the router to identify your connection
type, select “No. I Want To Configure By Myself.” and click Next.
7.
You will then be taken to the “Basic Settings” menu. From here you will be
asked “What type of Internet Connection do you have?” and you will need to
select “Serial Port (Modem or ISDN)”. You will then need to enter your Dial-up
Account information, enter your username and password provided by your service
provider and the phone number to which you dial-up. The “Connect as required”
checkbox will need to be selected if you wish to have a permanent connection. If
you only wish to connect periodically, you will need to verify that this box is
NOT checked. You may have to use permanent DNS server. To do this, select
“Use These DNS Servers” and enter your DNS server’s IP address (Your service
provider will be able to supply this information). Verify that all of the other
options match the figure below. Then Click Apply.


