21
4. You can reverse the direction by rotating the tuning control
counterclockwise, or by pressing the microphone UP/DN switch. The
scan step size depends upon the current step programming.
5. Scan will stop whenever a signal is received (that activates the BUSY
indicator) for a limited time.
6. Press any front panel key except LOW key to stop scanning.
3. Adjust the SQ control to the threshold point.
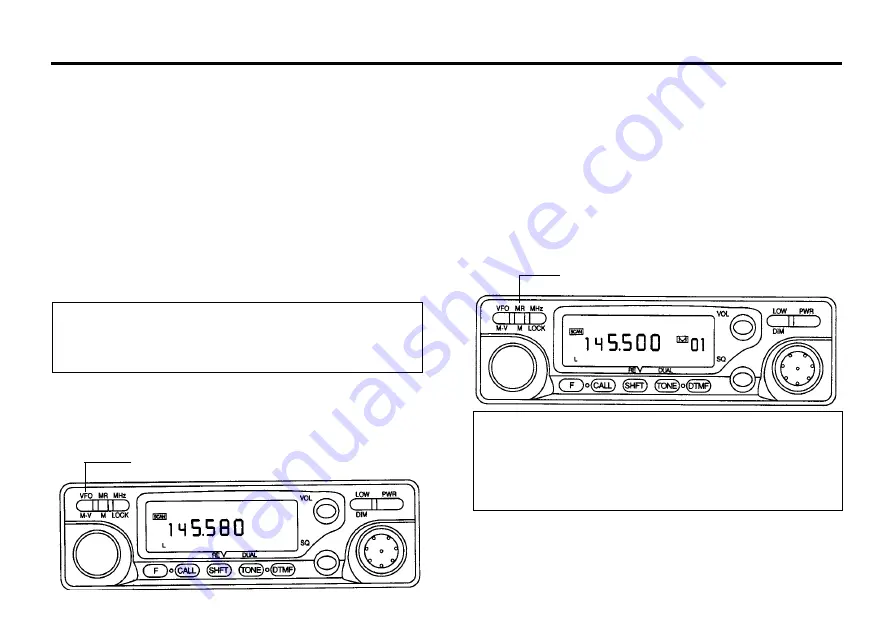
4. Press the VFO/M
V key to select the VFO mode.
5. Select a VFO frequency between the two programmed scan limits.
6. Press and hold the VFO/M
V key for longer than 1 second.
7. You can reverse the direction by rotating the tuning control
counterclockwise, or by pressing the microphone UP/DN switch.
8.Scan will stop whenever a signal is received (that activates the BUSY
indicator) for a limited time.
9. Press any front panel key except LOW key to stop scanning.
5-5-4 Programmable Band Scan
1. Press the F key for longer than 1 second and then pressing the CALL
key to turn ON/OFF the programming scan mode.
2. THe lower scan limit must be stored in memory channel 11. The
higher scan limit must be stored in memory channel 12.
5-5-5 Memory Channel Scan
1. Adjust the SQ control to the threshold point.
2.Press and hold the MR/M key for longer than 1 second. The SCAN
indicator will turn on as a visual reminder the transceiver is scanning.
Note
If the frequency in memory Channel 11 is equal to or greater
than the frequency stored in Memory channel 12 scan will
proceed over the entire band "Band Scan".
Notes
1. The transceiver will not scan if there is only one memory
channel.
2. The transceiver will skip any lock-out channel.
3. The transceiver will scan only the memory channels in which
frequencies have been stored.
3.Scan will scan at the current memory channel and proceed
sequentially i.e.M1
M2
M3
etc. Only those memory
channels with data entered are scanned.
Press and hold the VFO/M
V key for longer than 1 second.
Press and hold the MR/M key for longer than 1 second.


