background image

ACV International


1


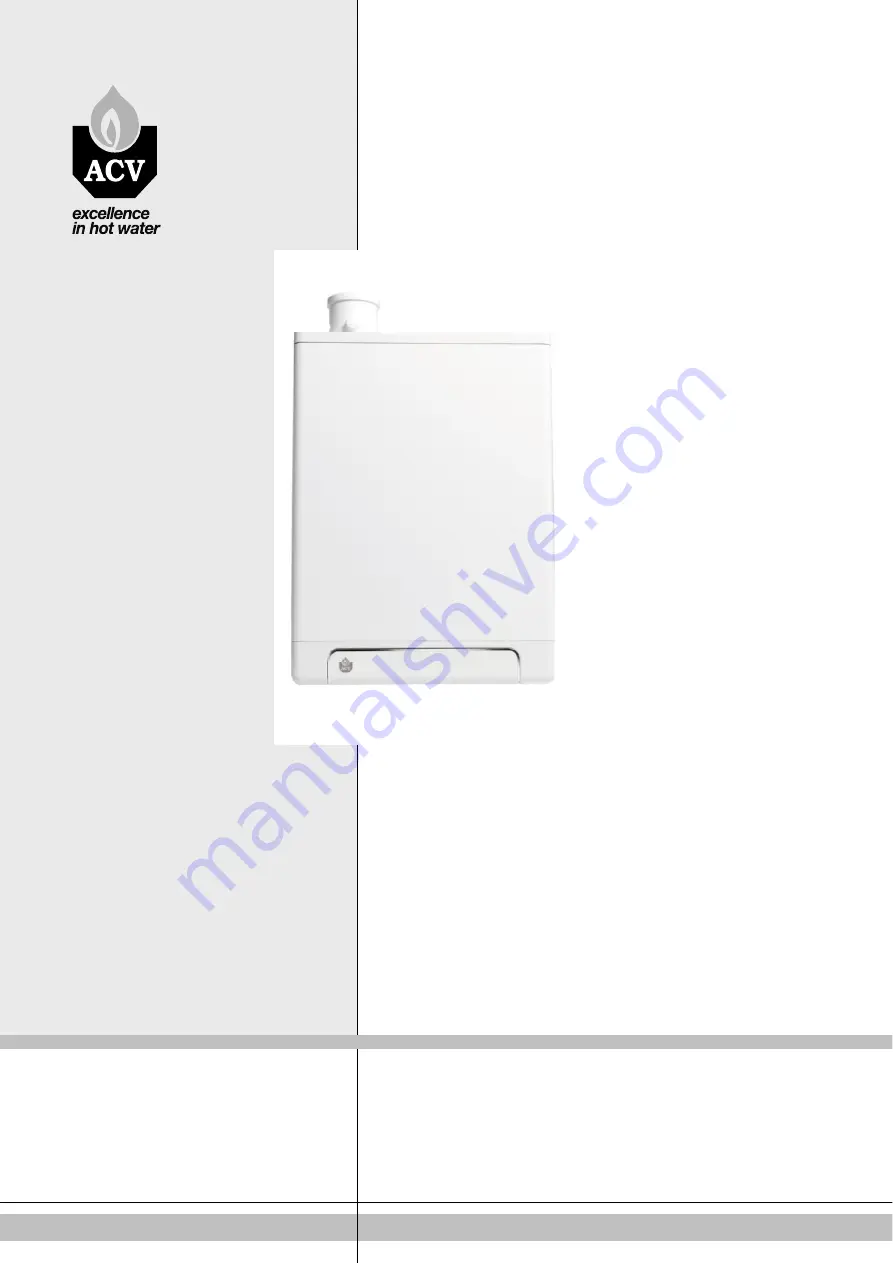
Kompakt HRE eco 

12 Solo 

18 Solo 

30 Solo 

40 Solo 


Installation instructions 


Read these installation instructions carefully before installing and using the 
appliance. 
Keep these installation instructions with the appliance. 
Always act in accordance with the instructions indicated. 

Содержание Kompakt HRE eco 12 Solo

Страница 1: ...olo 30 Solo 40 Solo Installation instructions Read these installation instructions carefully before installing and using the appliance Keep these installation instructions with the appliance Always ac...

Страница 2: ...5 7 Pipe lengths 18 5 8 Balanced flue assemblies 20 5 9 Roof outlet Common Flue System 30 6 COMMISIONING the appliance 32 6 1 Filling and venting the appliance and the installation 32 6 2 Commissionin...

Страница 3: ...ons used Description Reffered to as High efficiency HE ACV Kombi Kompakt HRE wall mounted gas fired boiler Appliance Appliance plus pipework for central heating CH installation Pictograms The followin...

Страница 4: ...installation must comply with the applicable safety and other regulations as indicated in NEN 1078 2004 Supply for gas with an operating pressure up to and including 500 mbar performance requirements...

Страница 5: ...iler controller regulates the DHW demand and assures that DHW supply takes priority over the heating The appliance has been provided with an electronic burner controller that controls the fan with the...

Страница 6: ...he CH supply temperature set on the display In the case of an OpenTherm thermostat the desired CH supply temperature is determined by the thermostat In the case of an external sensor the desired CH su...

Страница 7: ...See section 7 3 parameter 4 and 2x H Switch off test program and Actuele bedrijfssituatie Addition readings During test mode the following data can be read By pressing the button continuesly in the di...

Страница 8: ...nager M Connection block terminal strip X4 D Supply sensor S1 N Condensate drain pan E Return sensor S2 O Siphon F Fan P Position data plate G CH pressure sensor Q Heat exchanger H Mains lead 230 V AC...

Страница 9: ...co Solo 12 and 18 710 HRE eco 30 and 40 Solo Y Air supply 80 Z1 Flue pipe 80 Z2 Flue pipe air supply Concentric 60 100 standard or 80 125 After changing the flue adapter Appliance mounting bracket com...

Страница 10: ...zing of the condensate drain pipe the appliance must be installed in a frost free room 4 2 1 Installing in a kitchen cupboard The appliance can be installed between two kitchen cabinets or in a cabine...

Страница 11: ...ove the front panel 8 Fit the flexible tube to the siphon outlet 9 Fill the siphon with water and slide it as far as possible upwards on to the condensate drain connector C below the appliance 10 Conn...

Страница 12: ...ce in order to prevent overheating of the appliance Appliance with zone regulation If there is next to the CH system another heating source as for example a stove or a fireplace in the living room oft...

Страница 13: ...ce with the schedule Remove the link between 9 and 10 of connector X4 Connect cable of the devider valve to connector X2 and the DHW tank sensor to connector X4 see schedule 10 2 Aansluitschema indire...

Страница 14: ...to remove 2 Unscrew screw A to gain access to the burner manager B 3 Pull the burner manager unit forwards the burner manager will tip downwards to provide access 4 Consult sections 5 3 1 and 10 2 fo...

Страница 15: ...RF room thermostat menu One of the following codes will be shown on the display of the unit 1 rF and L the display above the button shows an L alternated by a red led flashing The CH boiler has not b...

Страница 16: ...in combination with an on off room thermostat In principle any on off room thermostat can be combined with an outdoor sensor Upon request of the room thermostat the boiler will provide heat until the...

Страница 17: ...stion gas flue 80 mm As per table 8 of NEN 1078 1987 Insulation 10 mm vapour tight insulation material in case of possibility of condensation on the outside as a result of a low wall temperature and a...

Страница 18: ...co 30 Solo 10 m 10 m Kompakt HRE eco 40 Solo 10 m 10 m Concentrisc 80 125 C13 C33 C93 Kompakt HRE eco 12 Solo 29 m 29 m See 5 8 8 Kompakt HRE eco 18 Solo 29 m 29 m Kompakt HRE eco 30 Solo 29 m 29 m Ko...

Страница 19: ...x the permissible pipe length for 80 Contact the manufacturer for check calculations for the resistance of the air supply and combustion gas flue pipe and the wall temperature at the end of the combus...

Страница 20: ...with heat and moisture resistant aluminium tape Assemble all air supply pipes as indicates below 1 Slide the air supply pipe into the appliance inlet 2 Seal non airtight connections with moisture resi...

Страница 21: ...80 mm ACV dual pipe horizontal duct Can be extended for purposes of a gallery balcony terminal with one or two standard pipes 80 mm Permissible pipe length Air supply and flue pipe together 100 metre...

Страница 22: ...he combustion gas flue pipe must be extended to at least the front of the protruding part If the air supply cannot be disturbed by obstacles such as a support or dividing wall and if the terminal is n...

Страница 23: ...0 meters Kompak HRE eco 40 Solo 60 meters Concentric Air supply and combustion gas flue pipe excluding the length of the combi duct 60 100 80 125 Kompak HRE eco 12 and 18 Solo 11 meters 29 meters Komp...

Страница 24: ...nce with the dimensions indicated 3 Fit the outlet grille and secure it to the inner pipe 4 Fit the combi duct and combi extension pipe with a fall towards the appliance Fitting a combi duct horizonta...

Страница 25: ...0 Solo 60 meters Concentric Air supply and combustion gas flue pipe excluding the length of the combi duct 60 100 80 125 Kompak HRE eco 12 and 18 Solo 11 meters 29 meters Kompak HRE eco 30 Solo 10 met...

Страница 26: ...double walled flue pipe 80 mm with Giveg approved flue cowl on a sloped roof flashing at the desired position 2 Fit a standard ventilation pipe 80 mm with cross cowl and roof flashing for the air supp...

Страница 27: ...nts the prefabricated chimneys must be adjusted to the local situation a gas certificate is not required VOORZICHTIG CAUTION The connection of the air supply and the flue discharge between the applian...

Страница 28: ...sembly see section 5 8 Assembly general Mounting of air supply horizontal The air supply A can be made at any place in the outside wall 1 Make an opening of diameter 90 mm at the place of the supply 1...

Страница 29: ...pipe length Total lengt of the air supply pipe until the inlet grid plus the flue exaust pipe until the common flue discharge system Kompak HRE eco 12 and 18 Solo 100 meter Kompak HRE eco 30 Solo 80 m...

Страница 30: ...um diameters for the Common Flue System have been based on the supplement sheet 2001 02 inspection requirement nr 138 of KIWA Gastec HRE eco 12 and 18 Solo HRE eco 30 Solo Number of appliances Concent...

Страница 31: ...st be supported in accordance with supplier instructions The assembly instruction of the manufacturer for the flue system must always be followed in full In existing installations the shaft must be in...

Страница 32: ...re display 3 Bleed the appliance with the manual bleed screw A An automatic air bleeding device may be fitted to the appliance in place of the manual bleed screw 4 Bleed the air in the installation wi...

Страница 33: ...The appliance will now switch to CH operation 5 will show on the display 4 Heat the installation an dthe appliance to apporximately 80 C 5 Check the temperature difference between the supply and retu...

Страница 34: ...zing of the appliance it is equipped with frost protection If the temperature of the geat exchanger becomes too low the burner switches on until the temperature of the heat exchanger is sufficient If...

Страница 35: ...f key closes the settings menu without storing the changes The reset key closes the settings menu and the changes are stored If no key is pressed during a period of 30 seconds the settings menu is clo...

Страница 36: ...CH power set 99 85 85 99 Adjustment range of set value parameter c up to 85 HRE eco 18 and 30 Solo or up to 99 HRE eco 40 Solo 3 Max power modulating pump 80 80 80 99 Adjustment range value par c unt...

Страница 37: ...a CH demand is answered 0 0 0 0 Adjustment range 0 to 15 minutes o Eco days 3 3 3 3 Not applicable P Anti cycle time Delay time reacting on CH demand after exceeding maximum setting CH temp 5 5 5 5 A...

Страница 38: ...The ACV HRE Solo boilers are equped with a modulating A class pump which modulates on the basis fo the CH power provided The minimum and maximum capacity of the pump can be adjusted with the parameter...

Страница 39: ...n accordance with the heating line set The maximum supply temperature T max is set via the temperature display If desired the heating line can be changed with the service code See section 7 3 Heating...

Страница 40: ...rds the rear B 10 Replace the O ring C and the gas restriction D with the rings from the conversion set 11 Re assemble in reverse sequence 12 Open the gas tap 13 Check the gas connections before the g...

Страница 41: ...brated O2 measuring device The measurement must be performed first at maximum power and thereafter on the minumum power see 7 10 1 and 7 10 2 For reference reasons the tables below contain O2 and CO2...

Страница 42: ...ure a capital H is shown in the display to ensure the appliance to run at maximum power 7 Wait until the reading of the flue gas analyser is stable minimal 3 minutes 8 Note the measured value O2 H or...

Страница 43: ...3P G31 CO2 CO2 Maximum value CO2 H CO2 H 0 3 Minimum value 8 4 9 4 Important The gas air ratio is set correctly when the measured value at minimum output is within the upper and lower limit Adjusting...

Страница 44: ...is for natural gas 4b and 5b is for Propane The value measured at maximum output as noted during the measurement on maximum output CO2 H or O2 H Turning clockwise of the adjustment screw will raise t...

Страница 45: ...5 0 1 10 6 10 3 0 1 10 4 10 1 0 1 10 2 9 9 0 1 10 0 9 7 0 1 9 8 9 5 0 1 Example when using natural gas G20 During the measurement at maximum output the value of O2 H was 4 1 The setting for O2 L at mi...

Страница 46: ...ling Gas block or ignition unit not receiving current 5 Poor flame signal Condensate drain blocked Check adjustment of gas block 6 Flame detection fault Replace ignition cable spark plug cap Replace i...

Страница 47: ...lty Contact the gas company No Recirculation of combustion gasses Yes Check the gas flue an the air supply No Gas air adjustment not correctly set Yes Check the setting see gas air adjustment 8 2 4 No...

Страница 48: ...ors must be open No The boiler power has not been correctly set for the installation Yes Adjust the power See setting maximum CH power No No heat transfer as a result of lime scale or fouling in the h...

Страница 49: ...nwards 3 turning it anti clockwise 8 Lift the condensate drain pan on the left hand side from the connection to the siphon 4 and turn it to the right with the siphon connection over the edge of the ba...

Страница 50: ...ion still inf ont of the base tray Then turn it to the left 2 and push it downwards into the siphon connection 3 Make sure in doing this that the back of the ondensate drain pan comes to rest on the l...

Страница 51: ...C 90 90 90 90 Other data Gas consumption G20 m3 h 0 36 1 22 0 59 2 30 0 75 3 40 0 80 4 41 Gas consumption G31 m3 h 0 14 0 47 0 22 0 74 0 29 1 08 0 31 1 68 Appliance pressure loss CH mWk See section 7...

Страница 52: ...nnual energy consumption dB 50 45 45 55 CAUTION Please read all instructions before fitting this appliance This appliance is not intended for use of persons including children with diminished physical...

Страница 53: ...pump F Fuse 3 15 A T V Fan 3 15AT Connector X4 24V 6 7 On off room thermostat 0 1A 24V and or Frost thermostat 8 9 Outdoor sensor 12kOhm 25 C 9 10 Boilersensor or boilerthermostat When using 9 and 10...

Страница 54: ...or on behalf of the gas company The installation and operating instructions that we issue for the appliances and stoves concerned should be fully adhered to 19 The manufacturer s liability under the a...

Страница 55: ...ACV International 55...

Страница 56: ...ACV International 56 ACV Belgium Oude Vijverweg 6 B 1653 Dworp tel 32 2334 82 40 fax 32 2334 82 59 www acv com...

Отзывы: