V
13
Configuring the
Action
tec 54 Mbps Wireless Access Point
V
12
Configuring the
Action
tec 54 Mbps Wireless Access Point
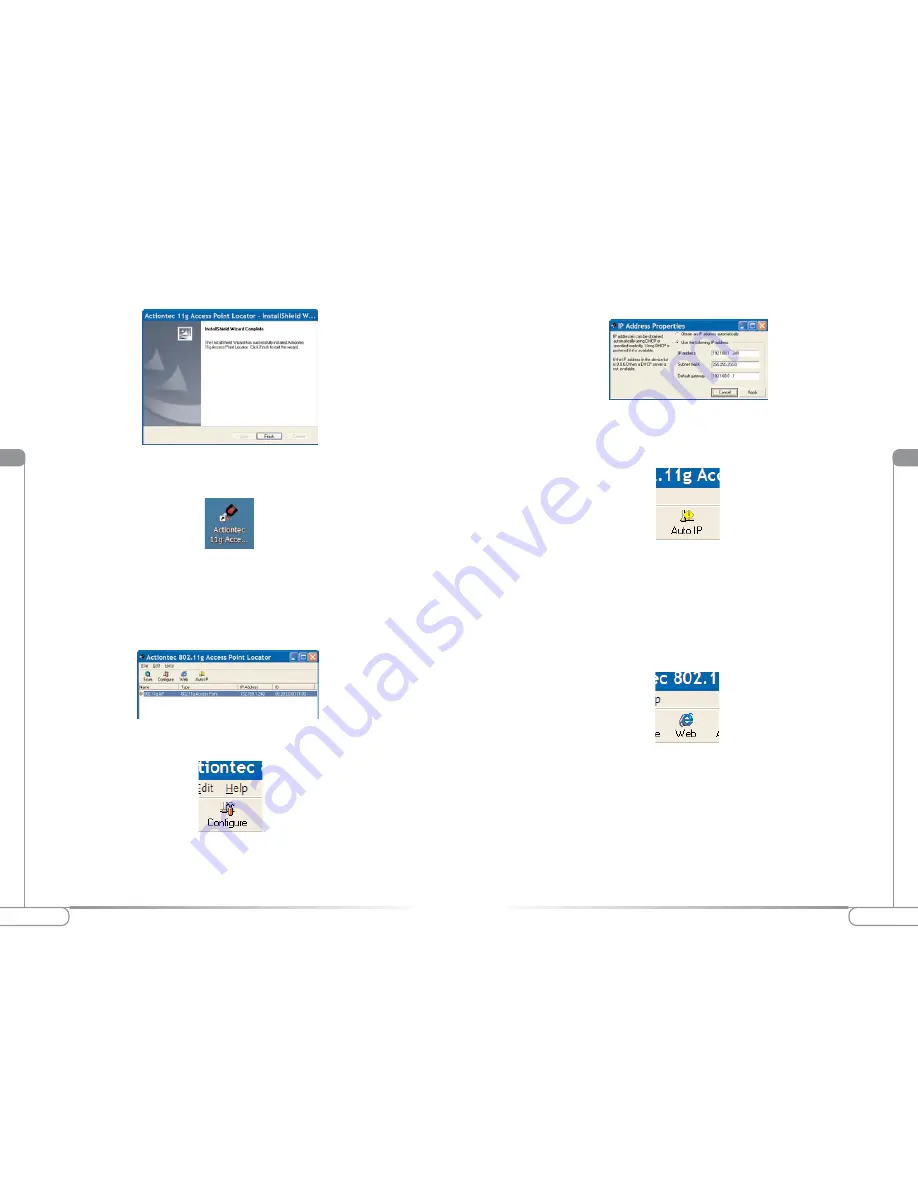
4.
When the following screen appears, click
Finish
to continue.
5.
Once the Installation is complete, from the Windows Desktop click on the
Access Point Locator Icon.
Note:
The Access Point Locator allows the end user to identify the IP address of
the Access Point as an aid to Adjusting the Access Point’s
network address values, we reccommend keeping the factory defaults.
6.
The
Access Point Locator
will scan for any available Access Points and
display their information.
7.
If you wish to change the factory defaul values, click on the configure icon.
Note:
Make sure you record the current IP settings prior to changing the current
configuration.
8.
When the following screen appears, enter the appropriate values and
click
Apply
.
9.
If you are not sure of the IP addressvalues, you can click on the Auto
IP Icon. This will configure the Access Point properly.
Note:
Make sure you record the IP settings assigned by the Auto IP function.
We reccommend keeping the factory defaults if you are not sure
10.
Once completed, click on the
Internet Explorer Icon
on the Access
Point Locator Window in order to adjust the Access Point Settings
using the Web Interface
.
Note:
The Access Point can also be adjusted manually by accessing it from
any browser.


