This equipment is designed with utmost care for the safety of those who install
and use it. However, special attention must be paid to the dangers of electric shock
and static electricity when working with electronic equipment. All guidelines of
this manual and of the computer manufacturer must therefore be followed at all
times to ensure the safe use of the equipment.
Physical installation of the
Action
tec 54 Mbps Wireless Wireless Access Point
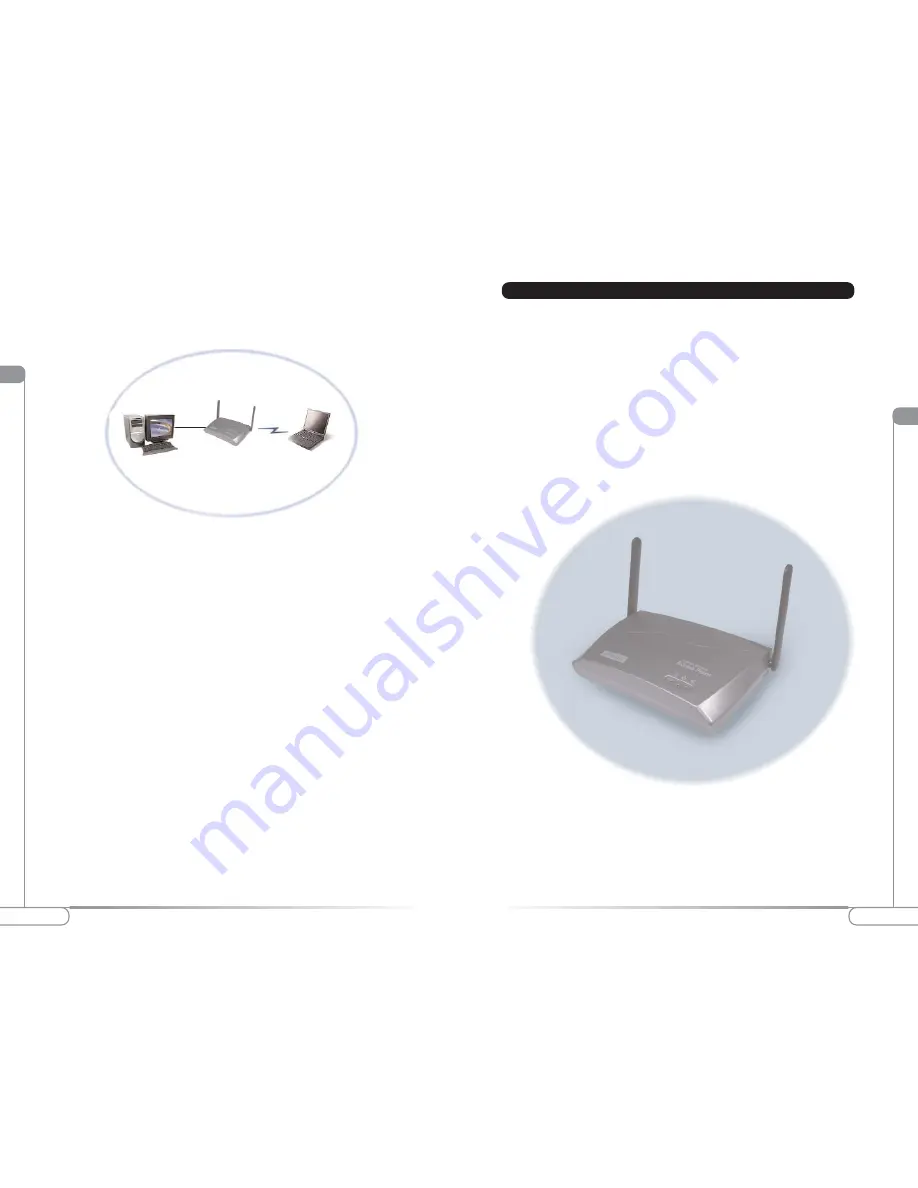
For best performance, and range, the
Action
tec 54 Mbps Wireless Access point
needs to be placed in a flat hoizontal position with the antennae extended up as
shown in figure 4.
Installing the
Action
tec 54 Mbps Wireless Access Point
Figure 4
Action
tec 54 Mbps Wireless Wireless Access Point
lV
lll
6
7
Installing the
Action
tec 54 Mbps Wireless Access Point
Introduction to Wireless Networks
Connecting an Access Point directly to a computer
Your
Action
tec 54 Mbps Wireless Access Point can be connected directly to your
computer as shown in figure 3.
Note:
Refer to the appropriate user manual for successful installation of your
wireless network.
Follow these steps to connect your
Action
tec 54 Mbps Wireless Access Point
directly to your computer:
1.
Install a network interface card (NIC) in the computer you want to
connect the
Action
tec 54 Mbps Wireless Access Point to.
2.
Configure the IP settings for this client.
3.
Install the Access Point.
Note:
For this connection you need to use a cross-over Ethernet cable.
4.
You can now use the wireless network.
5.
For further functionality and security, the
Action
tec 54 Mbps Wireless
Access Point can be configured using the
Action
tec 54 Mbps Wireless
Access Point Locator software utility and the Web Interface.
6.
Install the wireless client computer(s).
Figure 3. Connecting Directly to a Computer


