


– 18 –
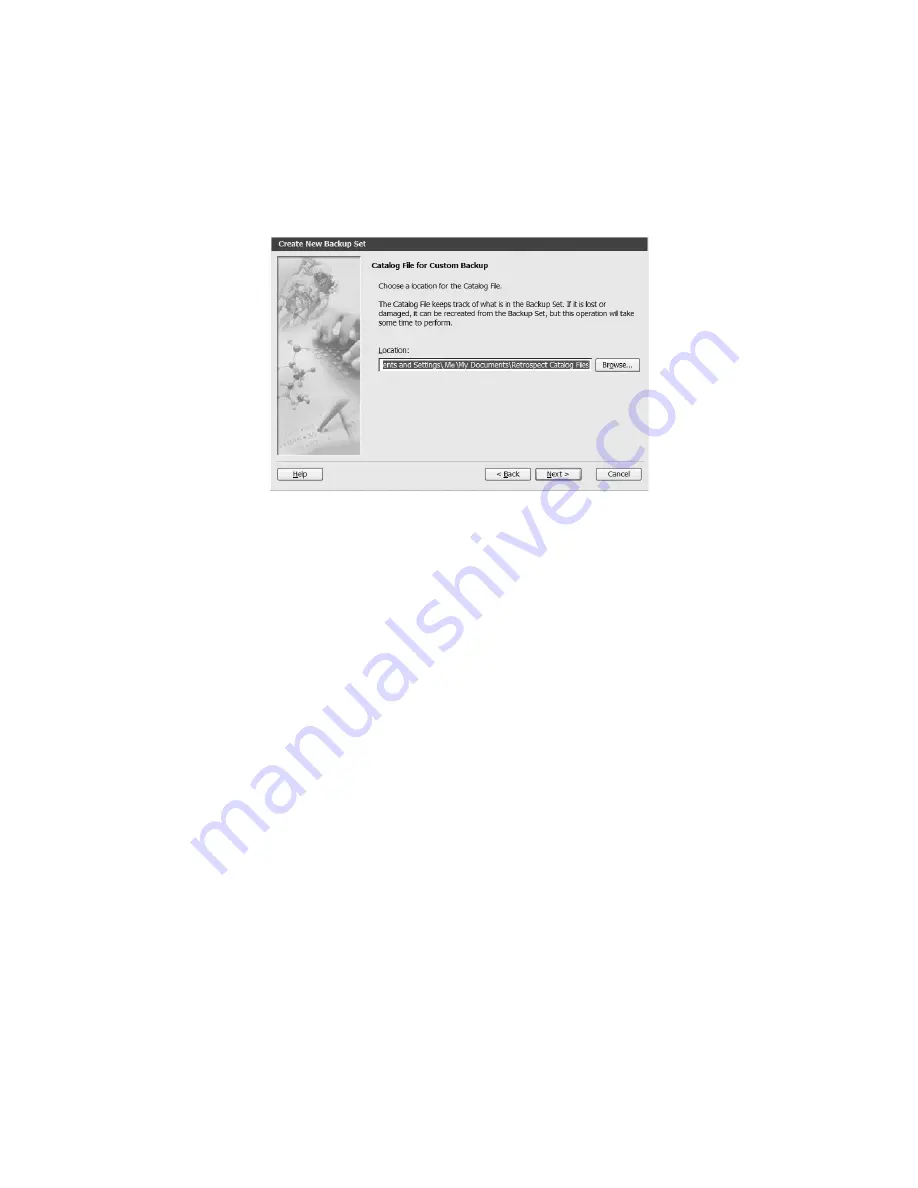
13. Click
Next
to save the
Retrospect Catalog File
for this Backup Set in the default
location:
My Documents\Retrospect Catalog Files
(Figure 20). Retrospect uses the
catalog to keep track of the files in the Backup Set.
14. Click
Finish
to close the
Backup Set Creation
wizard.
15. Select the Backup Set in the
Destination
selection window and click
OK
.
16. Select the Backup Set in the
Retrospect Button Backup: Destinations
window and
click
OK
.
17. In the Backup summary window, Retrospect Express confirms the source and des-
tination that you selected. The Selecting category lists the file selection criteria that
Retrospect Express uses with this script. By default Retrospect Express uses the All
Files criteria, which means that Retrospect Express will back up all your files the first
time it performs a backup, but will back up only new and changed files with each
following backup. If you want to use the
Selecting
button to choose file selection
criteria other than the
All Files
default, see the Help menu in Retrospect Express.
18. To add software compression to allow for more backups to the AcomData Drive,
click on
Options
in the
Backup summary
window. Check “
Data compression (in soft-
ware)”
and click
OK
to return to the
Backup summary
window.
19. After making sure that the backup script is correct, click
OK
to save your changes.
20. To use your new script, quit Retrospect Express and press the PushButton™ on
your AcomData Drive.
FIGURE 20
Содержание HD250UFAPE5
Страница 1: ...PUSHBUTTON BACKUP USER S GUIDE ...


