


-3-
6.
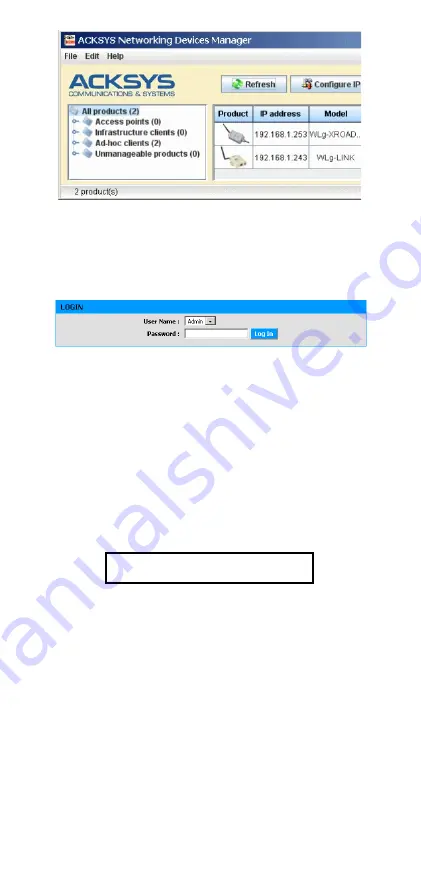
Run the WEB configuration interface
Click on the
Web
button to access the built-in web-based interface from your
web browser.
In order to change the configuration you must choose the
Admin
user.
No password is required by default.
You are directed to a general product status page. From there you can
navigate with the general menu bar (horizontal, below the banner) and a
submenu bar (vertical, on the left). The fundamental parameters are in the
“
BASIC
” menu and the “
Wireless
” and “
Serial port
” submenus.
The “
HELP
” menu describes the parameters shown in all the other menus,
and contains a detailed glossary.
The default factory settings are:
-
“Ad-hoc” mode
-
SSID: “acksys”
-
No security (no WEP, no WPA, no WPA2, no MAC filter)
-
802.11b/g mode
-
Radio channel 6
-
“Diversity” antenna mode
Observe local laws when choosing
radio channels
And for the serial port:
-
Virtual COM (VIP)
-
Automatic configuration (as specified by user application)
See the “
Serial service type selection
” section if you are unsure about
these options.
7.
If required, install VIP, the COM port redirector
Install
VIP
only if you meet both of the following conditions:
-
You will use the product from a Windows application
-
And you configured the serial service as “
Virtual COM (VIP)
” or (less
common) as “
TCP raw port server
”.
VIP
must be installed on the PC where the application using the virtual COM
port will run.
VIP
is provided on the CD-ROM.
8.
Wire the serial port
The DB9 plug from the product can be used as RS232, RS422 (4 wires) or
RS485 (2 wires). Check the kind of interface your serial equipment uses. It
must match the configuration chosen through the browser. Refer to the
“
Connectors
” section for wiring information.


