


Chapter 1
15
The Euro symbol
If your keyboard layout is set to United States-International or United Kingdom or if you have a keyboard with
a European layout, you can type the Euro symbol on your keyboard.
NOTE: For US keyboard users: The keyboard layout is set when you first set up Windows. For the Euro
symbol to work, the keyboard has to be set to United States-International.
To verify the keyboard type:
1.
Click on Start, Settings, Control Panel.
2.
Double-click on Keyboard.
3.
Click on the Language tab.
4.
Verify that the keyboard layout used for “En English (United States)” is set to United States-International.
If not, select and click on Properties; then select United States-International and click on OK.
5.
Click on OK.
To type the Euro symbol:
1.
Locate the Euro symbol on your keyboard.
2.
Open a text editor or word processor
3.
Hold
a
a
a
a
Gr and press the Euro symbol.
NOTE: Some fonts and software do not support the Euro symbol. Please refer to http://www.microsoft.com/
typography/faq/faq12.htm for more information.
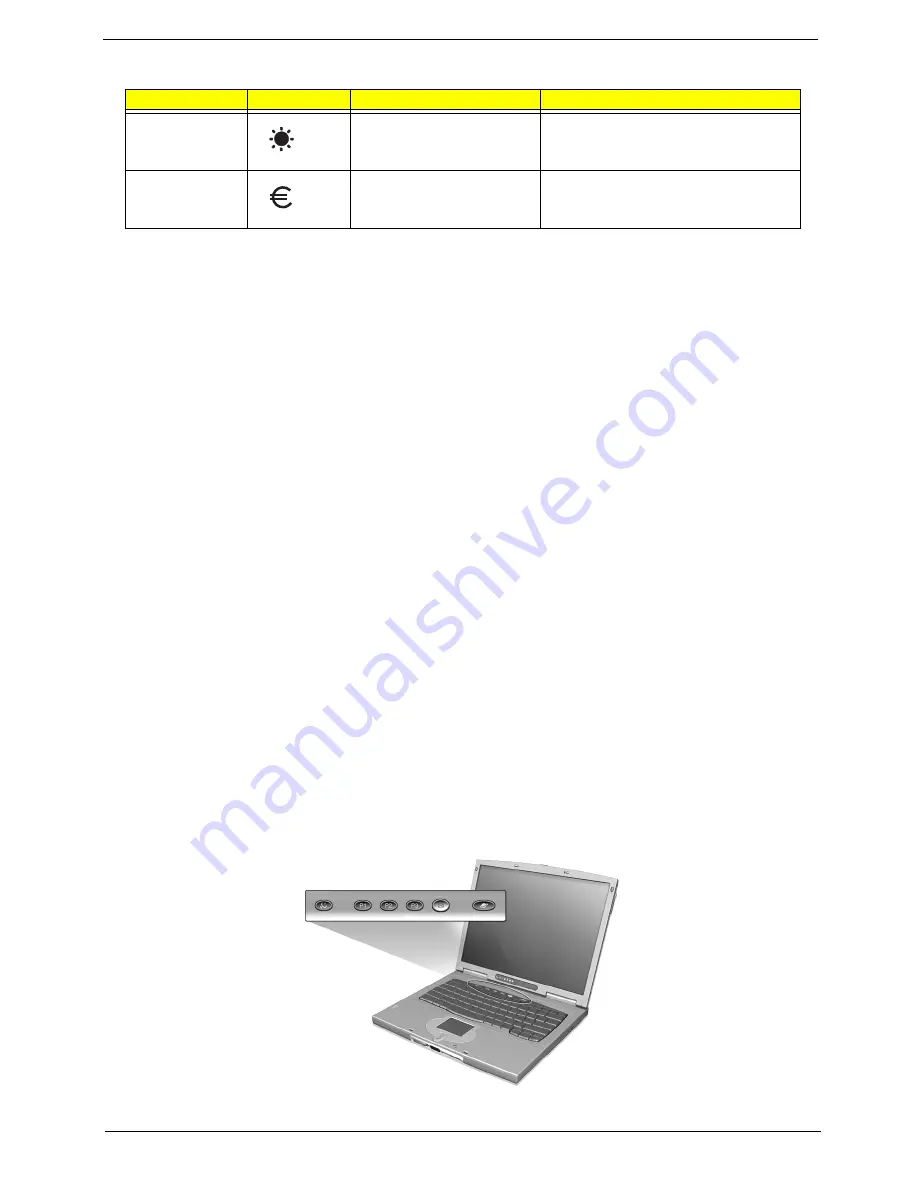
Launch Keys
Located at the top of the keyboard are five buttons. These buttons are called launch keys. They are
designated as P1, P2, P3, mail button and Web browser button. By default, buttons P1and P2 are users
programmable. The mail button is used to launch the email application. The LED of the mail button will flash
when the user has received an incoming email. The P3, by default is used to launch a multimedia application
that came bundled with your system. The Web browser button, by default, is used to launch your Internet
browser.
Fn-
z
Brightness down
Decreases the screen brightness.
a
Gr-Euro
Euro
Types the Euro symbol (available on some
models.
Hot key
Icon
Function
Description
Содержание TravelMate 610 series
Страница 6: ...VI ...
Страница 10: ...VIII Table of Contents ...
Страница 54: ...46 Chapter 2 ...
Страница 61: ...Chapter 3 53 4 Disconnect the connector from the hard disk drive module ...
Страница 71: ...Chapter 3 63 9 Then remove the two LCD hinges from the LCD panel ...
Страница 82: ...74 Chapter 3 ...
Страница 96: ...88 ...
Страница 102: ...94 Chapter 5 ...
Страница 104: ...96 ...
Страница 114: ...106 ...
Страница 116: ...108 Appendix A ...
Страница 126: ...118 Appendix B ...
Страница 128: ...120 Appendix C ...
Страница 131: ...Index 123 W Windows 2000 Environment Test 112 Windows 98 EnvironmentTest 110 Windows Millenium EnvironmentTest 115 ...
Страница 132: ...124 Index ...