


38
Chapter 2
Setting a Password
1.
Enter the BIOS utility and select “System Security” .
2.
Highlight the “Supervisor Password”
parameter to set a Setup password, or “User Password” to set a
power-on password. Then press the left or right arrow key. The following screen appears:
3.
Type a password. The password may consist of up to seven characters. Then press
Enter
.
4.
Retype the password then press
Enter
.
5.
After setting the password, highlight the “Set or Change Password” option.
6.
Press
Esc
to return to the System Security screen. If you have set a Supervisor password (and/or User
password), the Supervisor Password (and/or User password) setting automatically changes to
Present
.
7.
Press
Esc
to return to the Main menu.
8.
Press
Esc
to exit the BIOS utility. A dialog box appears asking if you want to save the CMOS data.
9.
Select “Yes” to save the changes and reboot the system.
If you have set a Supervisor password, the next time you want to enter the BIOS utility, you must key-in your
Supervisor password.
If you have set a User password, you will be prompted to enter that password every time you boot your
system.
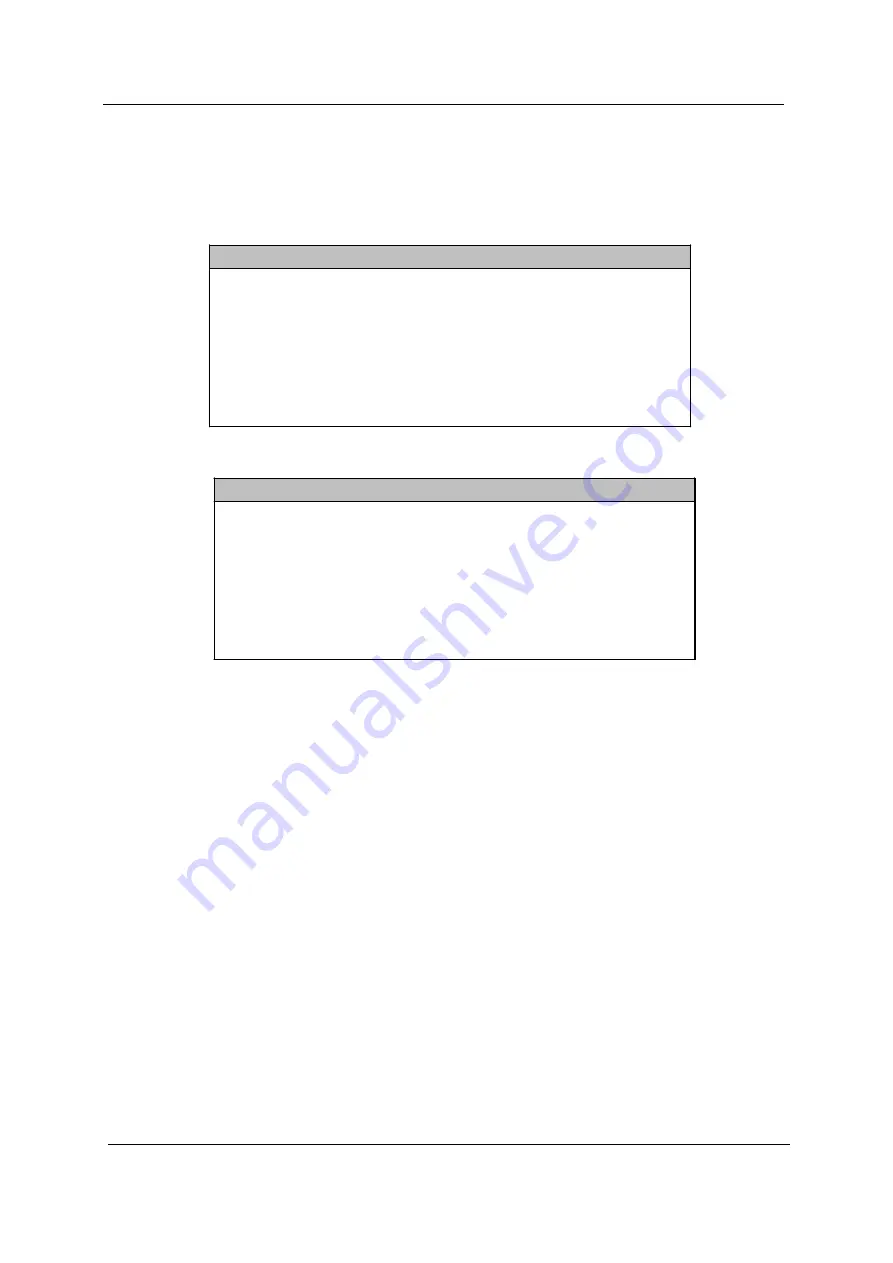
Supervisor Password
Enter your Password twice. The Password
may be up to 7 characters long.
Enter Password ...................... [
!!!!!!!
]
Enter Password again ................ [
!!!!!!!
]
Set or Change Password
User Password
Enter your Password twice. The Password
may be up to 7 characters long.
Enter Password ...................... [
!!!!!!!
]
Enter Password again ................ [
!!!!!!!
]
Set or Change Password
Содержание S511P
Страница 10: ...4 Chapter 1 12 Pink Microphone in jack 13 orange Headphone out jack Label Icon Color Description ...
Страница 12: ...6 Chapter 1 12 Burgundy Parallel printer port Label Icon Color Description ...
Страница 67: ...Chapter 3 61 5 Disconnect the FDD cable from the FDD then remove the cable from the FDD ...
Страница 71: ...Chapter 3 65 4 Remove the HDD screw soft mount from the HDD case ...
Страница 72: ...66 Chapter 3 ...
Страница 82: ...76 Chapter 4 ...
Страница 88: ...82 Chapter 6 Veriton FP2 Exploded Diagram ...
Страница 89: ...Chapter 6 83 ...
Страница 90: ...84 Chapter 6 ...
Страница 108: ...102 Appendix A ...
Страница 118: ...114 Appendix B ...
Страница 120: ...114 Appendix C ...


