


12
Chapter 1
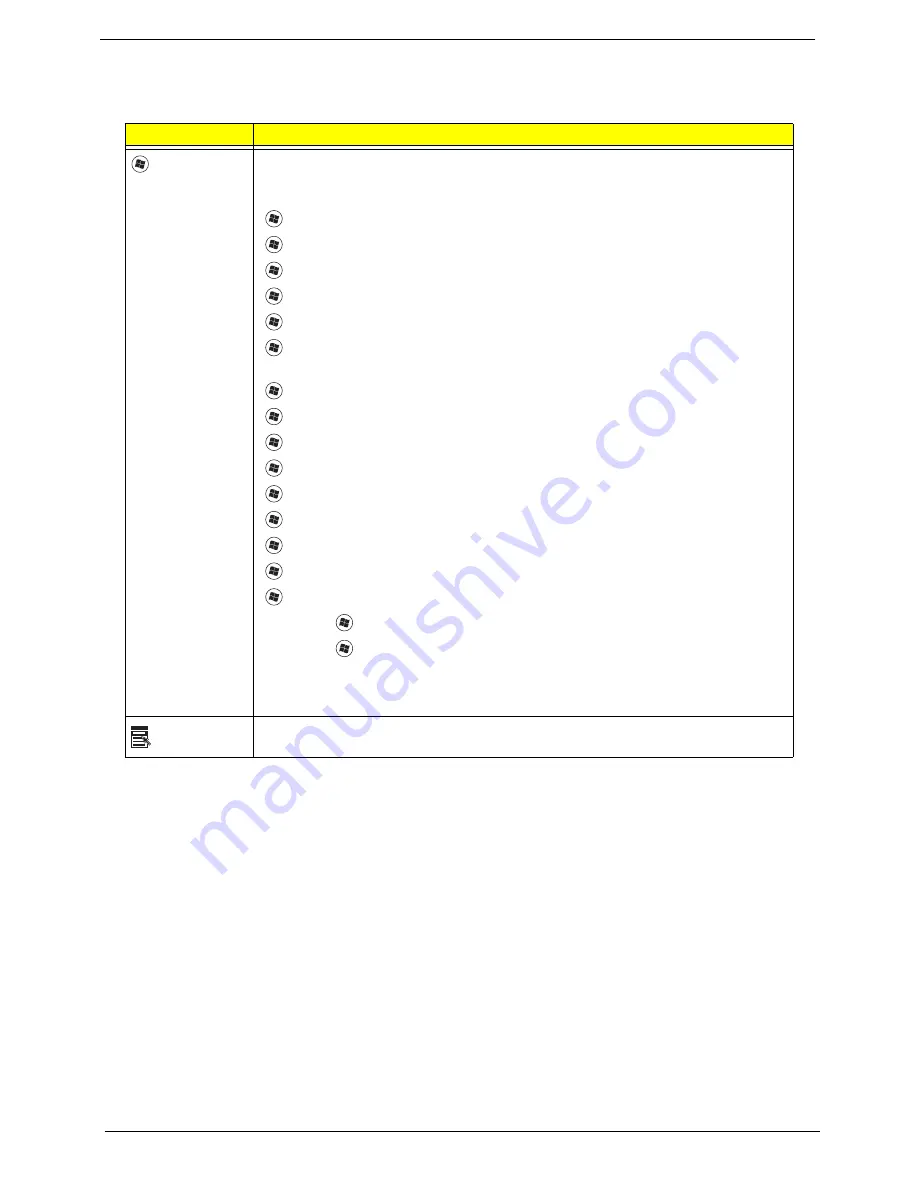
Windows Keys
The keyboard has two keys that perform Windows-specific functions.
Key
Description
Windows key
Pressed alone, this key has the same effect as clicking on the Windows Start button;
it launches the Start menu. It can also be used with other keys to provide a variety of
functions:
<
>
:
Open or close the Start menu
<
>
+ <D>:
Display the desktop
<
>
+ <E>:
Open Windows Explore
<
>
+
<F>
: Search for a file or folder
<
>
+
<G>
: Cycle through Sidebar gadgets
<
>
+
<L>
: Lock your computer (if you are connected to a network domain), or
switch users (if you're not connected to a network domain)
<
>
+
<M>
: Minimizes all windows
<
>
+ <R>:
Open the Run dialog box
<
>
+
<T>
: Cycle through programs on the taskbar
<
>
+ <U>:
Open Ease of Access Center
<
>
+
<X>
: Open Windows Mobility Center
<
>
+
<BREAK>
: Display the System Properties dialog box
<
>
+ <SHIFT+M>:
Restore minimized windows to the desktop
<
>
+ <TAB>:
Cycle through programs on the taskbar by using Windows Flip 3-D
<
>
+ <SPACEBAR>:
Bring all gadgets to the front and select Windows Sidebar
<CTRL> +
<
>
+ <F>:
Search for computers (if you are on a network)
<CTRL> +
<
>
+ <TAB>:
Use the arrow keys to cycle through programs on the
taskbar by using Windows Flip 3-D
Note:
Depending on your edition of Windows Vista or Windows XP, some shortcuts
may not function as described.
Application
key
This key has the same effect as clicking the right mouse button; it opens the
application's context menu.
Содержание Aspire 2430
Страница 6: ...VI ...
Страница 10: ...X Table of Contents ...
Страница 32: ...22 Chapter 1 ...
Страница 59: ...Chapter 3 49 5 Detach the WLAN board from the WLAN socket ...
Страница 71: ...Chapter 3 61 5 Remove both Speaker Modules ...
Страница 73: ...Chapter 3 63 7 Place the computer rightside up and remove the cables from the housing ...
Страница 83: ...Chapter 3 73 4 Grasp the left side of the bracket and angle upwards to remove ...
Страница 89: ...Chapter 3 79 5 Lift the module from the mainboard ...
Страница 99: ...Chapter 3 89 4 Lift up the bezel and disconnect the MIC module 5 Remove the bezel from the LCD module ...
Страница 101: ...Chapter 3 91 5 Disconnect the left and right Inverter board cables as shown ...
Страница 117: ...Chapter 3 107 6 Replace the three securing screws ...
Страница 131: ...Chapter 3 121 Replacing the DIMM Modules 1 Replace the DIMM modules bottom first and press down to lock in place ...
Страница 134: ...124 Chapter 3 ...
Страница 156: ...146 Chapter 4 ...
Страница 173: ...Chapter 6 163 ...
Страница 238: ...Appendix A 228 ...
Страница 244: ...234 Appendix B ...
Страница 246: ...236 Appendix C ...
Страница 249: ...239 Wireless Function Failure 138 WLAN Board 48 ...
Страница 250: ...240 ...


