120
Chapter 4
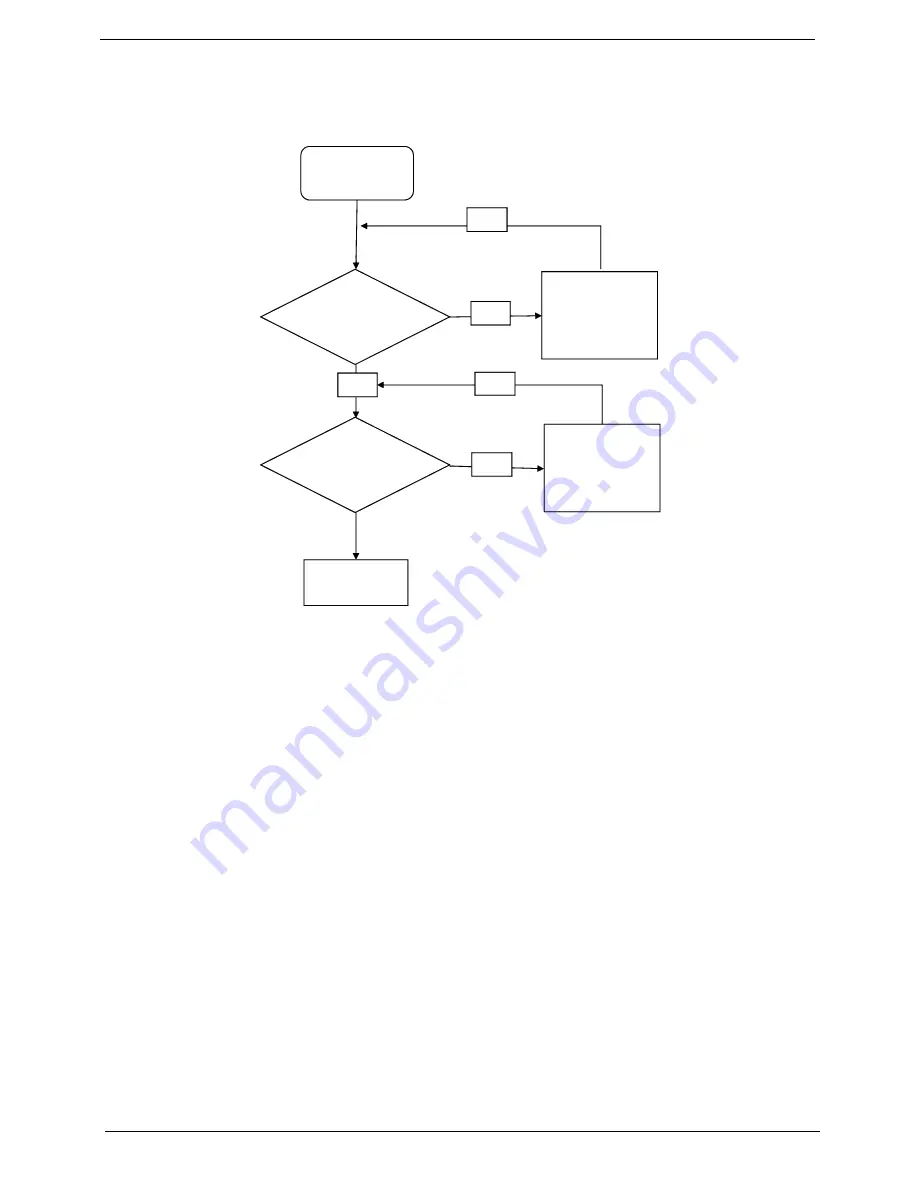
Power On Issue
If the system doesn’t power on, perform the following actions one at a time to correct the problem. Do not
replace non-defective FRUs:
Computer Shuts down Intermittently
If the system powers off at intervals, perform the following actions one at a time to correct the problem.
1.
Check the power cable is properly connected to the computer and the electrical outlet.
2.
Remove any extension cables between the computer and the outlet.
3.
Remove any surge protectors between the computer and the electrical outlet. Plug the computer directly
into a known good electrical outlet.
4.
Remove all external and non-essential hardware connected to the computer that are not necessary to
boot the computer to the failure point.
5.
Remove any recently installed software.
6.
If the Issue is still not resolved, see “Online Support Information” on page 207.
Start
Check
AC/Batt
only power
on
Swap
AC/Battery
OK
NG
Check
Power/B
Whether
OK
OK
Swap Power
SW/B
OK
NG
Swap M/B
Содержание AOD250
Страница 6: ...VI ...
Страница 10: ...X Table of Contents ...
Страница 28: ...18 Chapter 1 ...
Страница 45: ...Chapter 2 35 3 Execute MAC BAT to write MAC information to eeprom ...
Страница 46: ...36 Chapter 2 ...
Страница 52: ...42 Chapter 3 4 Lift the Memory cover up to remove 5 Lift the 3G cover up to remove ...
Страница 60: ...50 Chapter 3 6 Disconnect the FFC and remove the Keyboard ...
Страница 70: ...60 Chapter 3 4 Remove the WLAN Board from the Mainboard ...
Страница 78: ...68 Chapter 3 4 Lift the Thermal Module clear of the Mainboard ...
Страница 101: ...Chapter 3 91 IMPORTANT Ensure that the LCD Cable runs as shown to avoid trapping when the Bezel is replaced ...
Страница 104: ...94 Chapter 3 3 Connect the Camera cable as shown ...
Страница 113: ...Chapter 3 103 7 Run the LVDS cable along the cable channel as shown 8 Connect the LVDS cable to the Mainboard ...
Страница 126: ...116 Chapter 3 4 Replace the single screw to secure the HDD in place ...
Страница 155: ...Chapter 5 145 Power board Item Description SW1 Power button LED1 Power LED ...
Страница 208: ...Appendix A 198 ...
Страница 216: ...206 Appendix B ...
Страница 218: ...208 Appendix C ...
Страница 222: ...212 ...


