


4 Upgrading your system
54
3
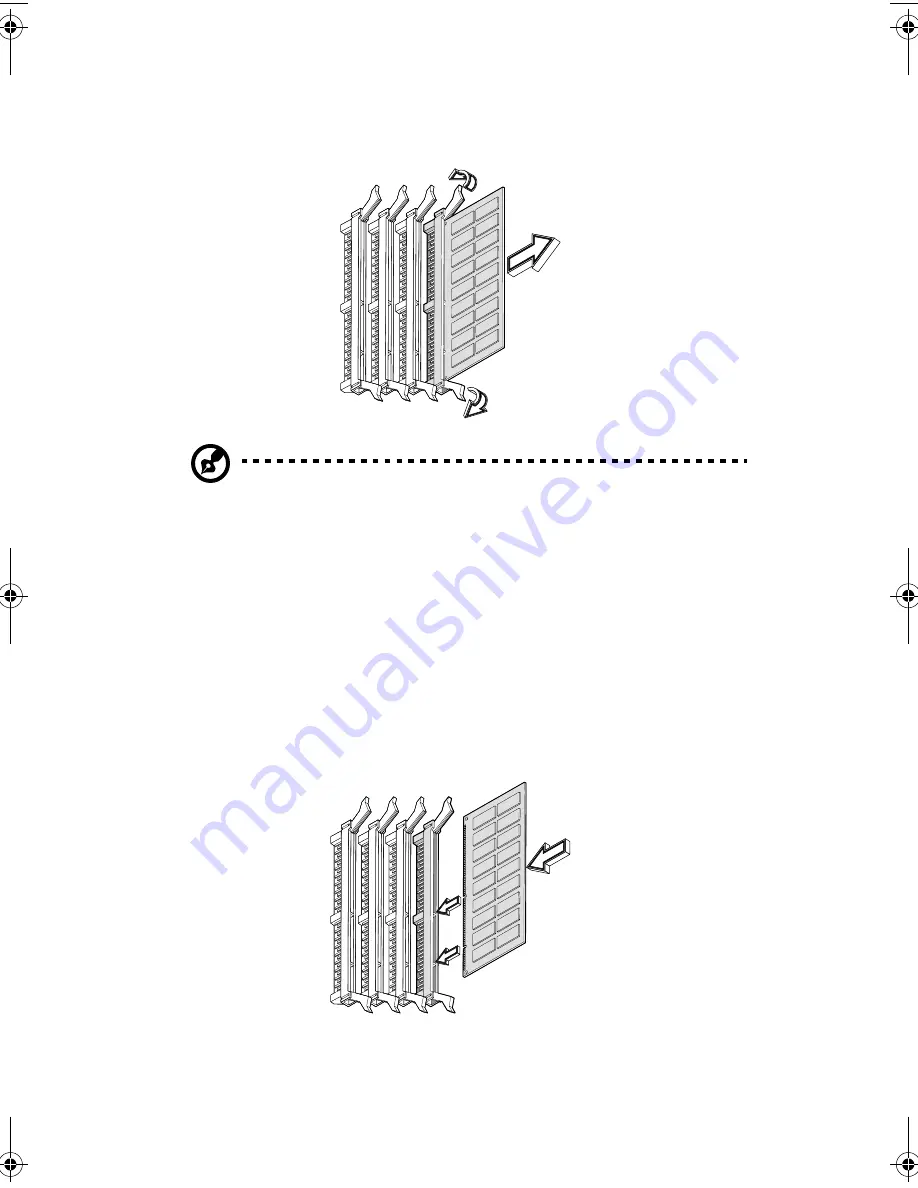
Press the holding clips on both sides of the socket outward to
release the DIMM.
Note:
Place your forefingers on the top of the DIMM before
pressing the holding clips to gently disengage the DIMM from the
socket.
Installing a DIMM
Before you can install a new DIMM in a socket, remove first any
previously installed DIMM from that socket.
1
Locate the DIMM socket on the mainboard.
2
Align then insert the DIMM into the socket.
3
Press the holding clips inward to lock the DIMM in place.
aa r500.book Page 54 Thursday, September 20, 2001 11:06 AM
Содержание Altos R500
Страница 1: ...Acer Altos R500 User s guide ...
Страница 10: ......
Страница 11: ...1 System overview ...
Страница 20: ...1 System overview 10 ...
Страница 21: ...2 System tour ...
Страница 22: ...This chapter discusses the features and components of your computer ...
Страница 30: ...2 System tour 20 ...
Страница 31: ...3 Setting up your system ...
Страница 32: ...This chapter contains step by step instructions on how to set up your system ...
Страница 43: ...4 Upgrading your system ...
Страница 66: ...4 Upgrading your system 56 ...
Страница 67: ...5 Setup utility ...
Страница 107: ...Appendix A ASM Pro quick installation guide ...
Страница 108: ...This appendix shows you how to set up ASM Pro and its agent software ...
Страница 126: ...Appendix A ASM Pro quick installation guide 116 ...
Страница 127: ...Appendix B System rack installation guide ...
Страница 139: ...129 ...
Страница 140: ...Appendix B System rack installation guide 130 ...
Страница 142: ...132 ESD 35 post installation 36 preinstallation 35 ...


