


3. Installation
User Guide
Page 3-6
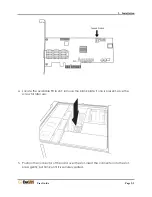
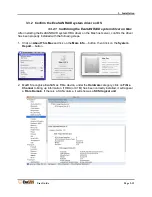
2.
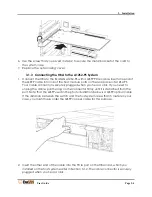
Slide the disk array into the rack and secure into place with the fixing screws.
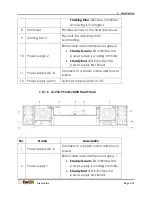
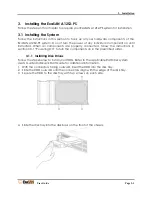
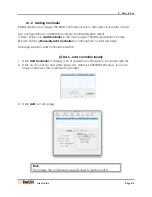
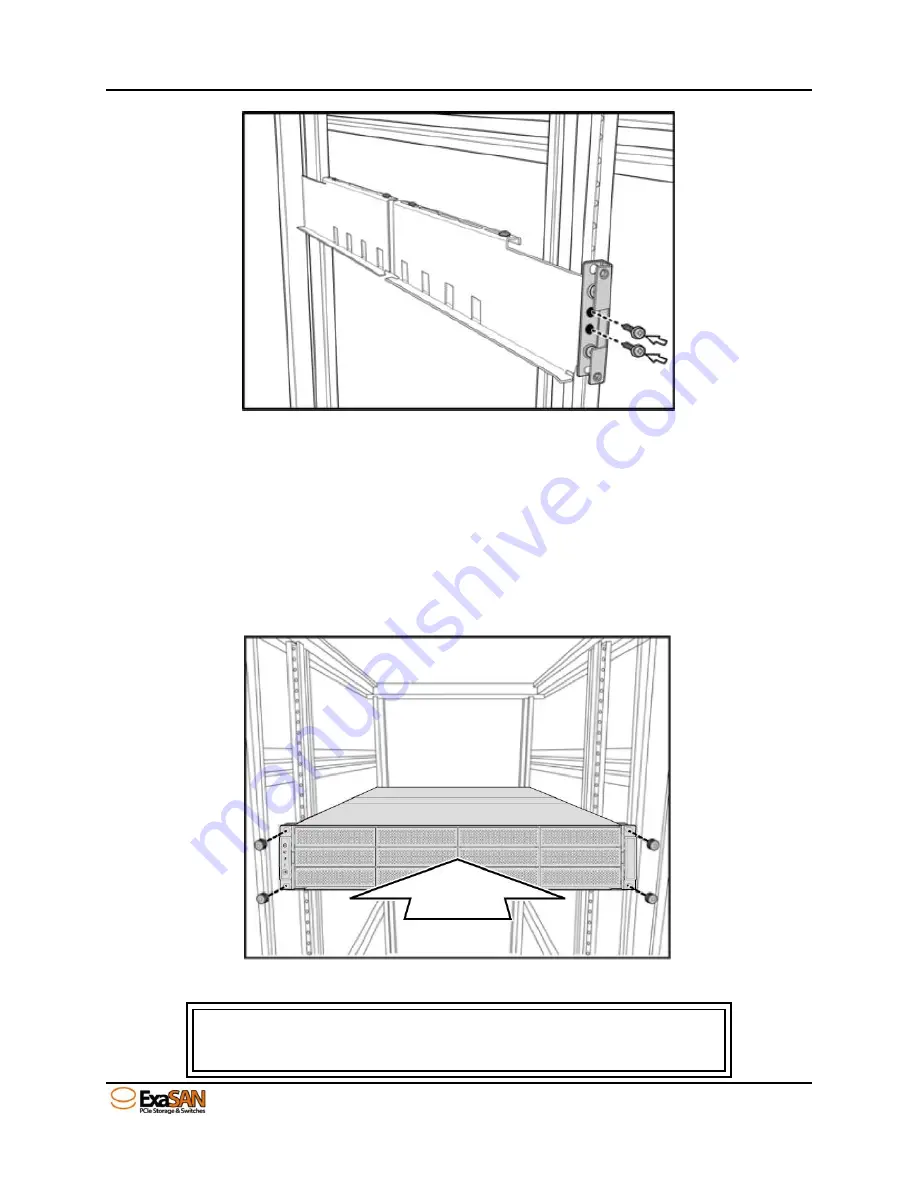
To mount the disk array in a rack:
1.
Attach eight rack nuts into the rack, making sure that they correspond with the
mounting points on the rails.
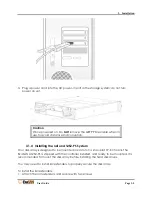
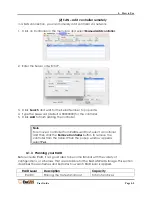
2.
Attach the rails and adjust the length to fit the rack.
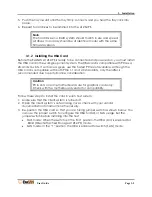
3.
Secure the rails with two nuts and bolts on both the front and back of the rack.
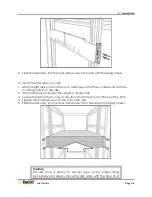
4.
Tighten the locking screws on the top of the rails.
5.
Slide the disk array into the rack and secure it into place with the fixing screws.
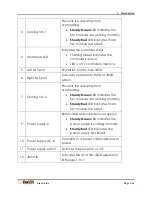
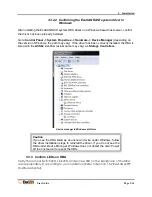
Caution
The disk array is heavy. To prevent injury, follow proper lifting
procedures and always move the disk array with the help of at
Содержание ExaSAN A12S2-PS
Страница 8: ...1 Introduction User Guide 1 Introducing ExaSAN PCIe 2 0 Storage System...
Страница 28: ...2 Preparation User Guide 2 Preparing to Install ExaSAN A12S2 PS...
Страница 31: ...3 Installation User Guide 3 Installing the ExaSAN A12S2 PS...
Страница 47: ...4 How to Use User Guide 4 Using RAIDGuard X...
Страница 77: ...4 How to Use User Guide Page 4 30 2 Check the Confirm box and click Unlock Drive...
Страница 79: ...5 RAID User Guide 5 RAID Overview...
Страница 83: ...Appendices User Guide Page 1 Appendices...