ProPanel-HD (FW4), Revised August 2020
Page 10 of 24
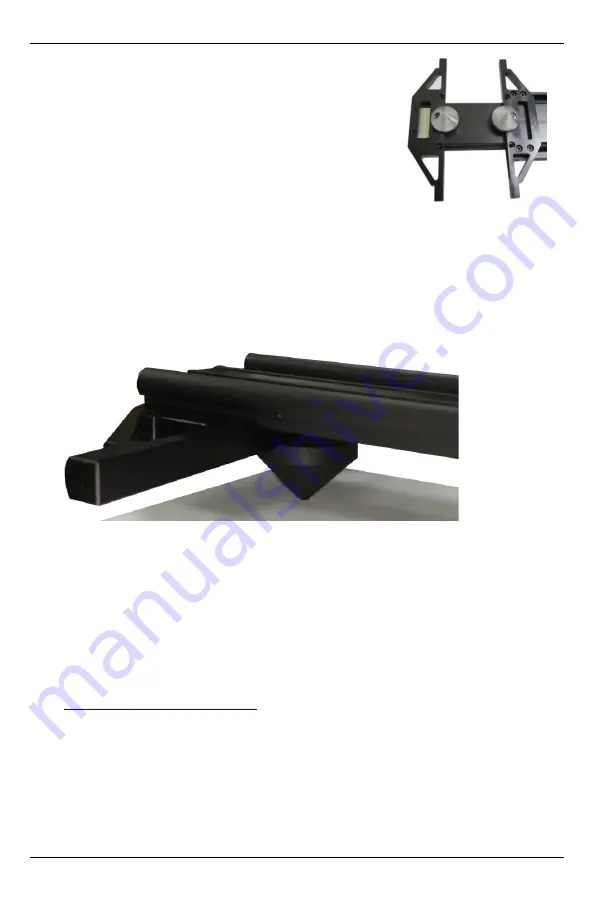
Hole-to-Hole Measurements
(Using optional Cone Kit parts)
1. Close the jaws together and momentarily push
the DATUM key.
2. Install both full cones as shown using the supplied
3/16” wrench.
3. Press the F1 key until the #2 superscript appears
on the screen.
Notes:
•
The tips of the cones are even with the edges of the jaws, so the value
displayed is the same as for outside measuring.
•
Hole-to-
hole measurements less than 1.5” are not possible.
4. Open the jaws and place the cones into the holes in the part. A slight
“wiggling” of the ProPanel will ensure the cones self-center into the holes.
5. Read the Hole-to-Hole distance on the readout.
6. If you need to recalibrate with the cones installed:
a. Press the DATUM key to clear the readout.
b. Close the moving carriage so the edge of the cones touch.
c. Press the F1 key until the #2 superscript appears.
d. The reading should equal 1.500 inches.
Note: Videos showing how these measurements are made are posted at web
site:


