3078-HDR ZOOM STEREO MICROSCOPE
ACCU-SCOPE
®
73 Mall Drive, Commack, NY 11725 • 631-864-1000 • www.accu-scope.com
8
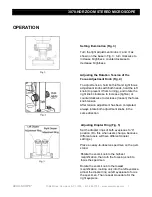
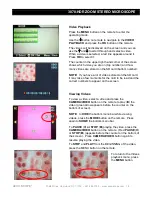
Adjusting Interpupillary Distance (Fig. 6)
Different users have different interpupillary
distances (this distance is between the centers of
the pupils of each eye). When the operator
changes, it will be necessary to adjust the
interpupillary distance.
While looking through the eyepieces, hold the left
and right eyetubes of the viewing head
and adjust
the eyetubes by opening or closing them until the
left and right fields of view coincide completely and
you are able to see a complete circle.
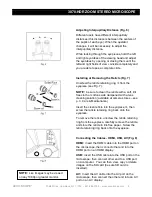
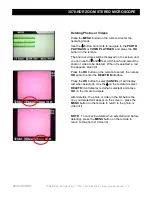
Installing or Removing the Reticle (Fig. 7)
Unscrew the reticle retaining ring
from the
eyepiece (see Fig. 7).
NOTE:
be sure to clean the reticle with a soft, lint
free cloth or cotton swab dampened with a lens
cleaning solution (available at camera stores
– see
p. 3, Care & Maintenance).
Insert the clean reticle into the eyepiece
, then
screw the reticle retaining ring back onto the
eyepiece.
To remove the reticle, unscrew the reticle retaining
ring from the eyepiece, carefully remove the reticle,
and store the reticle in lint-free paper. Screw the
reticle retaining ring back onto the eyepiece.
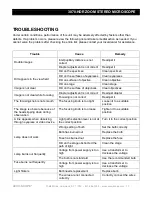
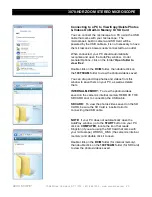
Connecting the Cables - HDMI, USB, AV (Fig. 8)
HDMI:
insert the HDMI cable into the HDMI port on
the microscope, then connect other end into the
HDMI port on an HDMI display.
USB:
insert the USB cable into the USB port on the
microscope, then connect other end to a USB port
on a computer. You can then view, copy or delete
images on the SD card (be sure SD card is
inserted).
AV:
Insert the AV cable into the AV port on the
microscope, then connect the other end into an AV
port on an AV display.
NOTE:
Live images may be viewed
on any 1080p or greater monitor.


