51
Technical Information
Step
Procedure
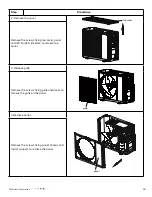
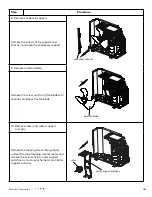
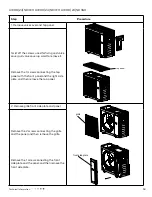
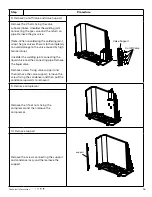
Remove the 5 screws connecting the panel
with the chassis and the motor support, and
then remove the panel.
3. Remove right side plate and left side plate
Remove the scre ws connecting the right
side plate with the chassis, the valve
support and the electric box, and then
remove the right side plate assy .
Remove the screws connecting the left side
plate and the chassis, and then remove the
left side plate assy.
56
Installation and Maintenance
Service Manual
c
a
b
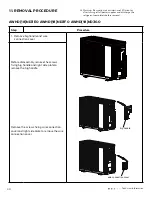
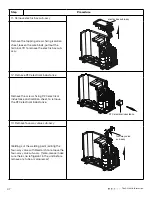
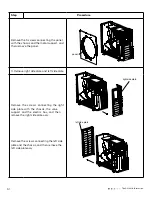
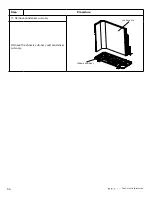
Remove the 5 screws connecting the panel
with the chassis and the motor support,
and then remove the panel.
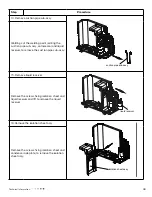
3. Remove right side plate and
left side plate
Remove the scre ws connecting the right
side plate with the chassis, the valve
support and the electric box, and then
remove the right side plate assy .
panel
right side plate
Remove the screws connecting the left
side plate and the chassis, and then
left side plate
remove the left side plate assy.
Содержание AWHD(18)ND3GO
Страница 1: ...AC Pro Multi Zone Outdoor 18 24K Service Manual AWHD 18 ND3GO AWHD 24 ND3GO Refrigerant R410A ...
Страница 2: ......
Страница 64: ...61 Technical Information ...

