SOTOX A™ MOBILE ANALYSER | USER GUIDE
9 | EN
2. GET TING STARTED
2.3
Control keys
The SoToxa Mobile Analyser has three control keys: the left selection key, the right selection key and the five way navigation button. Please see section
2.1 SoToxa Mobile Analyser at a glance
, which shows the location of these buttons.
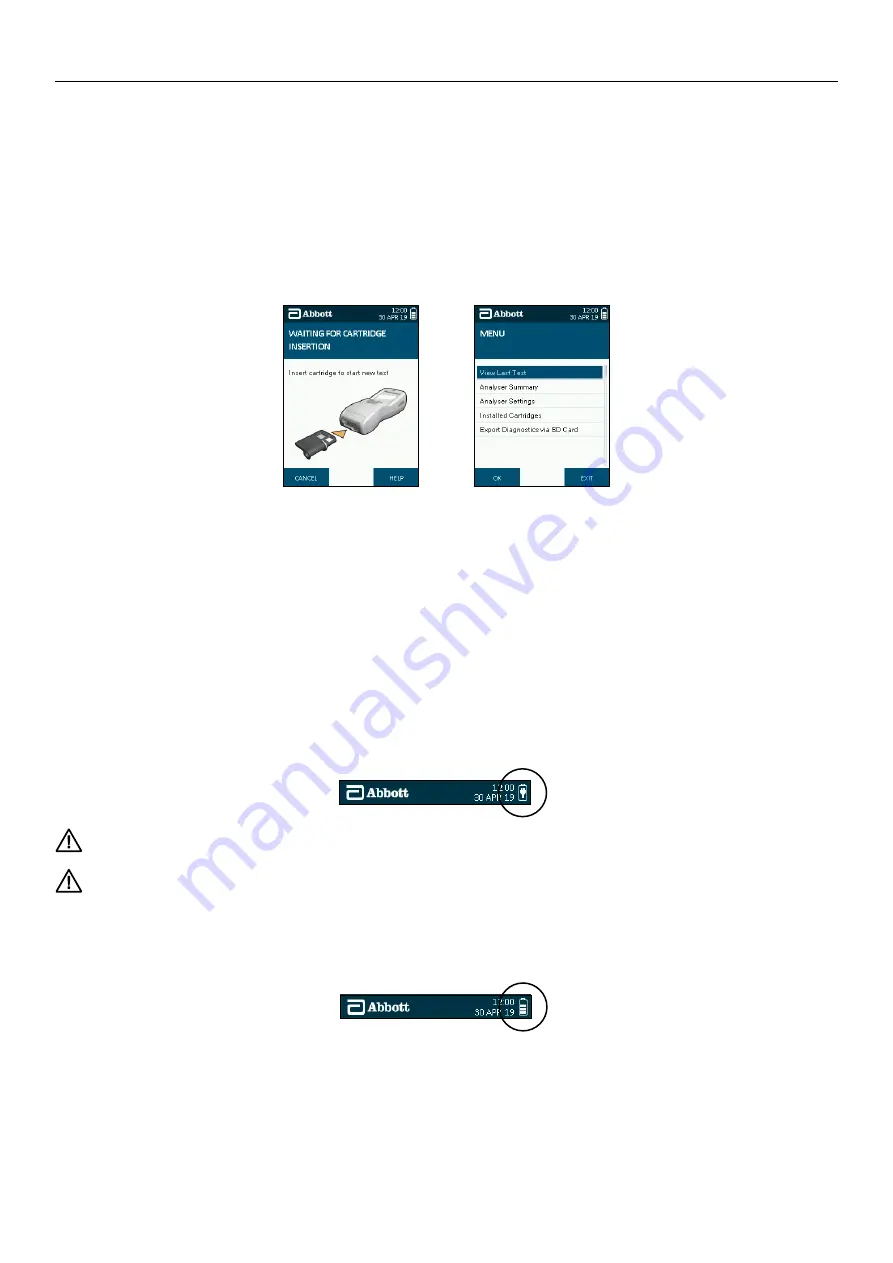
The left and right selection keys can be used to select the corresponding on-screen buttons which will appear at the bottom left and right hand corners of the
screen when input is required from the user. For example, if the screen below appears, pressing the left selection key would take the user to the idle screen and
the prompt to insert the PQC cartridge, while pressing the right selection key would take the user to the help function associated with this step.
The five way navigation key can be used to scroll up, down, left and right by pressing the top, bottom, left or right edge of the button respectively. For example,
if the screen below appears, the five way navigation key can be used to move the highlighter bar up and down through the menu options. Pressing the centre of
the five way navigation key selects the option that is highlighted on the screen and can be used instead of the left and right selection keys for ‘OK’ and ‘Enter’.
2.4
S
etting up
The SoToxa Mobile Analyser does not require any installation steps. The analyser can be connected to mains power, to the printer and to a PC using the cables
provided in the system case. Use only the connections and printer provided. Alternative connections and printers should not be used as these may be unsafe or
incompatible with the analyser.
2.5
Mains power
The SoToxa Mobile Analyser can be powered from mains AC power or by its internal batteries. To connect the analyser to the mains:
Step 1: Insert the AC power cable into the power supply unit.
Step 2: Connect the power supply unit to the power supply connector, located at the top of the analyser.
Step 3: Connect to the corresponding AC power socket.
Step 4: Turn on the analyser by pressing the power button.
Step 5: If mains power is connected when the analyser is running from batteries, the analyser will switch to the mains supply as a power source.
When the analyser is connected to the mains power, the mains connected symbol will be displayed in the status line:
Do not use cables or power supply units that are damaged as there may be risk of electric shock.
If the analyser battery requires charging, the battery charging symbol will be displayed when the analyser is connected to the mains power.
2.6
Battery power
The analyser will automatically operate from battery when turned on if not connected to the mains. If mains power is lost or interrupted, the analyser will switch to
battery power automatically. To switch to battery power when in use, simply disconnect the analyser from the mains supply.
When running the analyser on battery power, the battery charge level is displayed by the battery status symbol within the status line as shown below:
Step 5
Содержание SoToxa TOX400PHO
Страница 1: ...USER GUIDE EN SoToxa MOBILE ANALYSER...


