AastraLink RP System Administrator Guide 19
Using Administrator
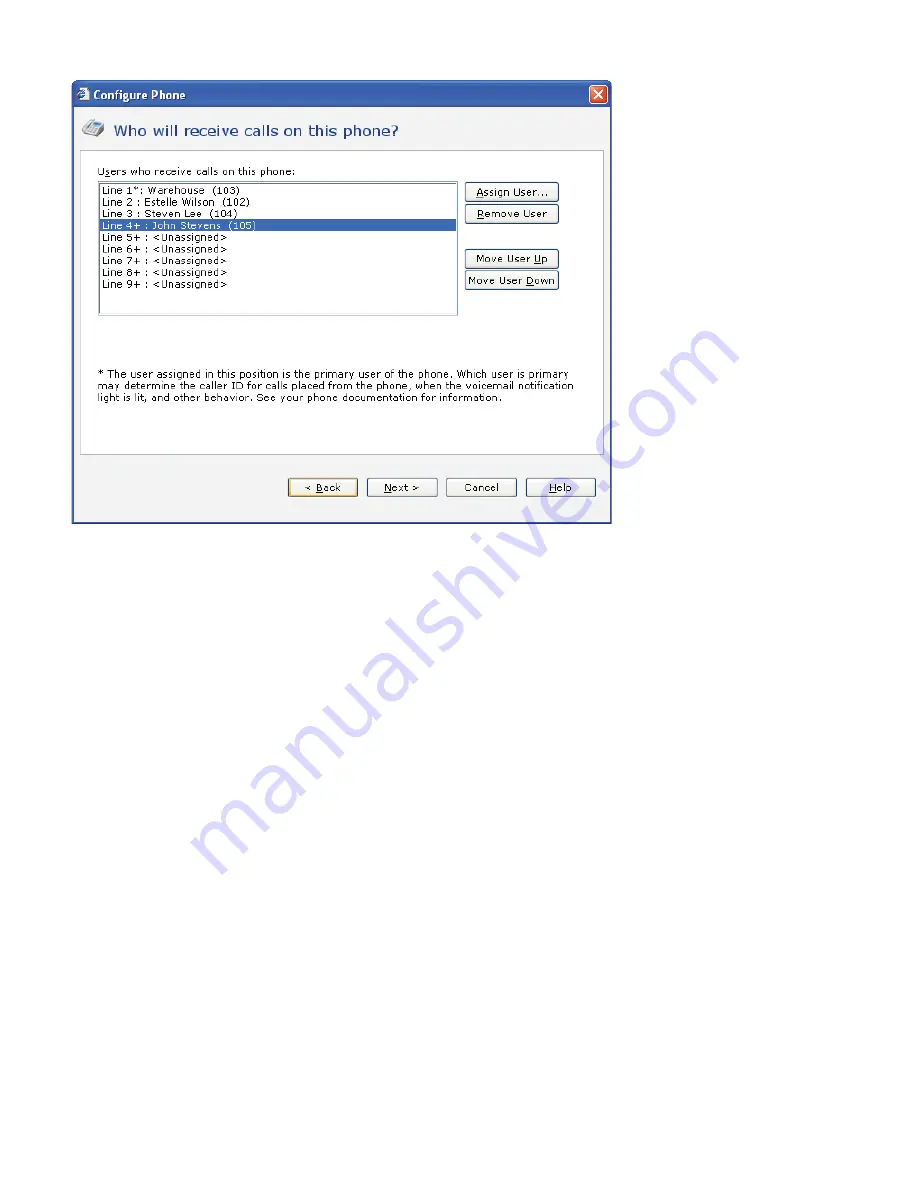
5 Click Next to display the Who will receive calls on this phone page.
6 Click Assign User to select an existing user, and click OK. (To add a new user, click New User at the bottom of the
Administrator - Select dialog box, and type the correct information on the Identification tab.)
Note: Lines marked with + require activation on the Web UI followed by restarting the phone. See Activating phone lines on
the Web UI on page 19 to finish adding these lines.
7 Click Next.
8 On the What do you want to name this phone page, the name and owner of the phone have been filled in for you. You
can change them both if you want.
9 Click Finish.
10 When the configuration process is complete, click Close.
Activating phone lines on the Web UI
If you are using more than 2 phone lines on model 6753i RP or more than 3 lines on model 6757i CT RP, you must first assign
the lines in the Administrator software, and then activate the extra lines on the Web UI and restart the phone. This final
Web UI activation and restart can be done by the end-user of the phone or the system administrator. An administrator
account is not required to activate phone lines on the Web UI.
1 From within the Administrator software, click the Phone System button.
Note: For more information on the Web UI interface, see Using the Aastra Web UI on page 41.
2 In the Tasks pane, under Phones, click Edit Phone. The the Select the phone you want to edit list opens.
Содержание 6751i RP
Страница 2: ......
Страница 4: ......
Страница 62: ...56 AastraLink RP System Administrator Guide Troubleshooting Solutions...
Страница 64: ......
Страница 67: ......


