AAMP Global M2M IN MOTION DCRCAM1 Скачать руководство пользователя страница 4

email | [email protected] 

tel | 727-732-2727

6.

INSTALLATION PROCEDURE

DCRCAM1

(PLUG AND PLAY OBD II CABLE)

STEP 1:

STEP 2:

STEP 3:

STEP 4:

STEP 5:

Mount the camera to the windshield or dashboard by firmly pressing the 
camera in place for 30 seconds. 
(Ensure the camera lens is facing forward with an unobstructed view of the road)

To adjust the camera angle use the provided Allen key and adjust the mount-
ing bracket until you get the desired angle and then tighten the mount in 
place.

Once the camera’s angle is set, plug in the cameras power cable and 

secure 

the cable in place using the two phillips screws provided, route the power 
wire up towards the headliner or front windshield seem and then route the 
cable left and down the driver’s A-pillar into the drivers’ dashboard area near 
the factory OBD II port and plug the DCRCAM1 connector into the OBD II port.

Secure the excess power cable extension into the headliner or under the 
dash area with the mounting adhesive tabs included with the camera.

Ensure the plastic protective film is removed from front facing and interiror 
facing lenses. 

HARDWIRED INSTALLATION PROCEDURE

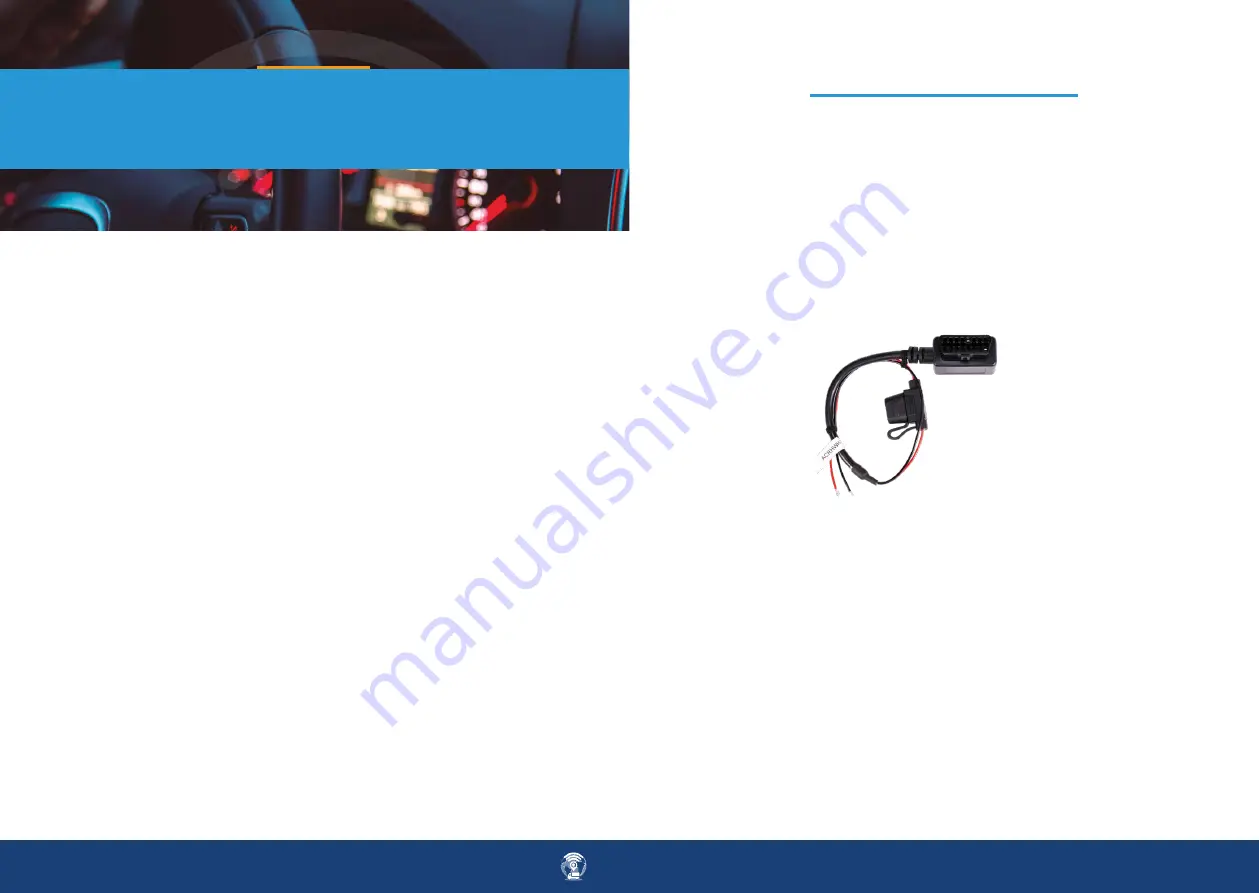
FOR ACCESSORY CABLE PART # AHRHW

*Note – IF a non-OBD II cable is used the camera will default to power on when 
the camera senses movement and power off when the vehicle is parked and will 
not provide any DTC, FUEL, OR VEHICLE NETWORK INFORMATION.

*Note if you do not have an account already set up note the camera serial num-
ber that is located on the product box, activation card, or on the bottom of the 
camera, you will need this information when requesting an account set up at 
m2minmotion/.com/getstarted

Using optional cable Part # AHRHW:

Confirming the final installation:

Red- 

Connect to 12-volt constant power or directly to the vehicle’s battery 

Black-

 connect to the vehicle’s chassis ground using a self-tapping grounding 

screw and ground ring terminal or directly to the vehicle battery. 

1. Once the camera is connected, place the vehicle outside with an unob-
structed view of the sky and start the vehicle and let it run for 5 minutes 
allowing time for the DCRCCAM1 to communicate with the vehicle’s network.

2. Login into the M2M account and confirm the vehicle is tracking and video is 
streaming.

Содержание M2M IN MOTION DCRCAM1

Страница 1: ...DCRCAM1 HARDWARE INSTALLATION MANUAL ...

Страница 2: ...Onscreen vehicle information FEATURES Trip history with video replay Parking motion sensing and recording in Guard Mode Web and mobile applications supported Unauthorized tamper and power disconnect notification Audio Streaming on off enables audio from the camera embedded mi crophones when streaming live or historical video footage in the Web App Audible Alerts alerting the driver whenever a nota...

Страница 3: ...r plate SIM SD CARD INFORMATION INSTALLATION DETAILS Select the location to mount the camera is it recommended that the camera be mounted in the center of the windshield behind the rearview mirror with the camera lens facing forward or in the center of the vehicles dashboard Clean the pre selected mounting location with the Alcohol prep wipe provided Remove the 3M camera mounting adhesive backing ...

Страница 4: ...e plastic protective film is removed from front facing and interiror facing lenses HARDWIRED INSTALLATION PROCEDURE FOR ACCESSORY CABLE PART AHRHW Note IF a non OBD II cable is used the camera will default to power on when the camera senses movement and power off when the vehicle is parked and will not provide any DTC FUEL OR VEHICLE NETWORK INFORMATION Note if you do not have an account already s...

Страница 5: ...hime alerting the driver whenever a notable event occurs The most common Audible event is the speeding event Audible Alerts are Enabled by default To disable Audible Alerts from the Driver Alerts section use the toggle button and disable Audible chimes for events Audio Enable disable audio recording and streaming Cameras Enable disable the road or cabin facing cameras Driver Alerts Enable disable ...

Страница 6: ...era if the card is inserted but not showing Power off the camera by turning off the vehicle s ignition or pressing the power reset button located on the base of the camera and allow the camera to reboot Hardwired installation using the AHRHW Accessory cable confirm the connections 12 Volts on the Red wire and chassis ground on the Black wire and confirm the 3 AMP fuse is good Camera display inform...

Страница 7: ...PTCRB FCC Temperature TECHNICAL SPECIFICATIONS DCRCAM1 Connectivity Power Size LTE CAN Bus Height 2 0 Wi Fi USB Micro B Width 1 1 Bluetooth BLE Powered by the OBD II port with intelligent power management Length 7 75 OBD II Backup battery if DCRCAM1 is unplugged Weight 0 37lbs Storage Security Processor 16GB Internal storage Encrypted cloud storage Qualcomm Snapdragon 650 64 bit hexa core CPU Micr...

Страница 8: ...CONTACT US m2mfleetmotion com IUG_DCRCAM1 REV031422 ...

Отзывы: