Edit Mode: Gain, Loop/Trim points
You can edit some features of samples without using a computer. These edits do not change
the actual WAV file, they just store loop points and gain information in a separate file for the
STS to use.
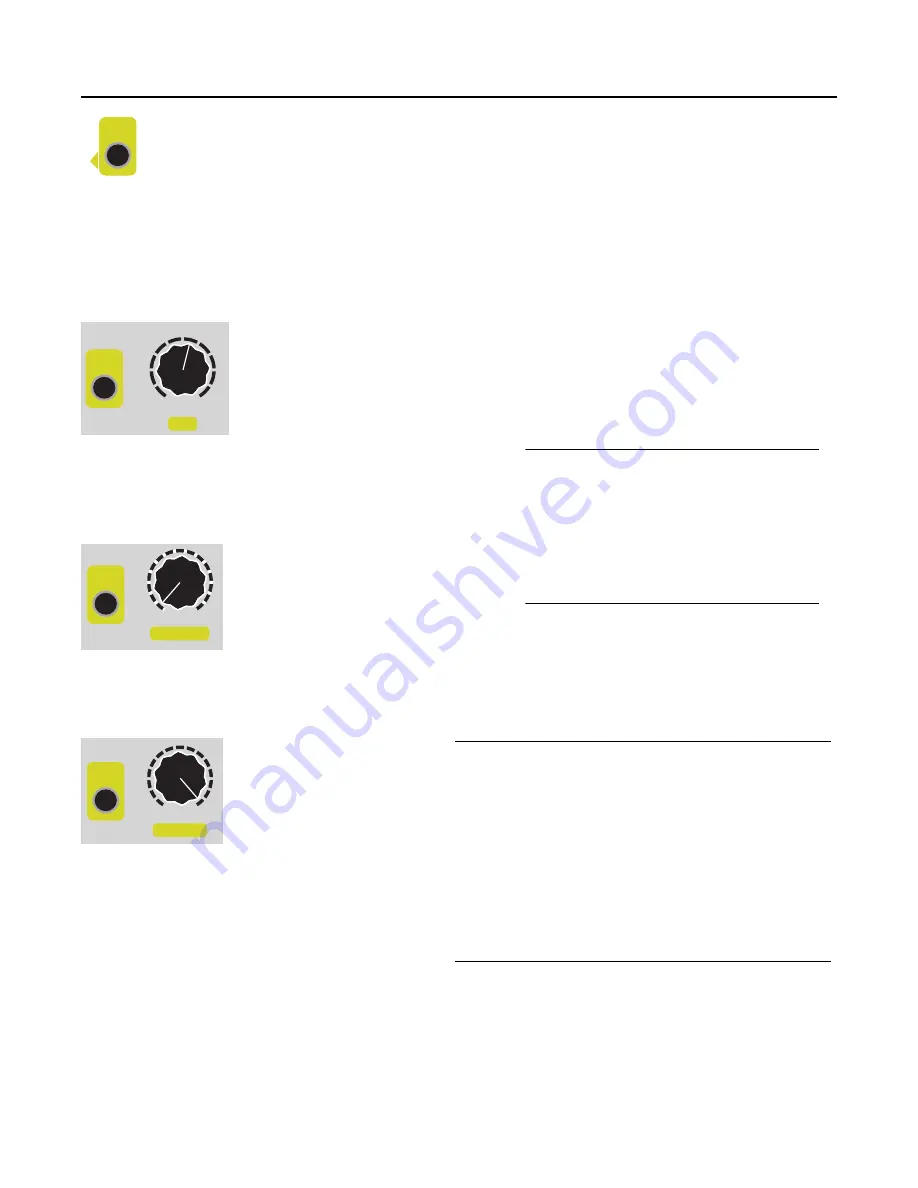
All these features use the
Edit
button to modify the sample loaded into the left side. As a
reminder of this, there’s an arrowhead pointing left next to the
Edit
button.
The changes you make using the
Edit
features are not saved until/unless you tell the STS to save your
changes. This way, if you goof up, you can always go back to how it was. Remember, your WAV files
are never modified, the STS just stores the loop/trim points and gain settings in its own file.
Editing a sample: Gain
By holding down the
Edit
button and turning the
Gain
knob (right side
Sample
knob) you can adjust the gain of the sample being played.
At 0% the gain is set to 0.1, or 10% of the volume.
At 50% the gain is set to 1, which is the default.
At 100% the gain is set to 5, or 500% of the volume (clipping may occur!)
Try this out now: play a sample on the left side and hold
Edit
while you turn
Gain
. Hear how the gain changes. It
can even make a sample clip or overdrive if you want to.
Editing a sample: Loop/Trim start and stop points
Similar to gain, you can also edit the
maximum start and stop points of a
sample. These are known as the
Loop or Trim points, and are
controlled using the
Scrub Start
/
End
feature.
Hold
Edit
and turn the right side
Scrub Start
or
Scrub End
knobs. The STS will scrub the start or end
point of the sample as you turn the knob. The knob is velocity-sensitive, so turning it quickly will scrub
a large distance, while turning it slowly will scrub a small amount.
Release the
Edit
button
when you’re done
scrubbing. To hear how the
newly trimmed sample
sounds, make sure you turn
the left side’s
Start Pos
knob
to 0, and
Length
knob to 100% and then press
the left side
PLAY
. If you want to adjust them
some more, you can do
Edit
+
Scrub
again as
much as you like.
This is a very useful technique for creating
loops, or isolating “hits” or parts from a longer
sample. Example: you can isolate phrases or
words from a speech or audio book, or you can create a drum loop from a pop song. Or split up a
sample into a bunch of smaller slices. It’s also useful for removing silence or noise from the beginning
or end of a sample file.
Remember to Save your work! Your Loop/Trim points will be in effect as long as the STS is powered
up. If you want to keep them after power down, you have to save them. Hold
Edit
and
Save
(left side
Page of
13
24
Edit
Sample
Edit
Sample
Edit
Sample
Edit
Sample
Sample
1
10
2
9
3
8
4
7
5
6
Gain
Gain
+
Edit
Sample
Edit
Sample
Start Pos.
Scrub Start
Scrub Start
+
Edit
Sample
Edit
Sample
Length
Scrub End
Scrub End
+
Gain vs. Volume:
The gain setting stays
with the sample, no
matter which channel you
play it on, as opposed to
t h e C h a n n e l Vo l u m e
feature which stays with
the channel, no matter
what sample you play.
Start Pos/Length vs. Scrub Start/End:
How is
Scrub Start/End
different than using the
Start
Pos
and
Length
knobs? It has the same effect, but the
difference is that the Loop/Trim points (
Edit
+
Scrub
Start
/
End
points) can be saved after you power down.
The
Start Pos
and
Length
knobs are limited in range
by the Loop/Trim points: no matter how you CV and
knob-twist the
Start Pos
and
Length,
it’ll always stay
within the Loop/Trim window. So you can effectively
create a new sample by grabbing a short window from
a long sample.


