


VISIX Camera Quick Start Guide |
VX-2A-B-IWD (R)
10225 Westmoor Drive, Suite 300, Westminster, CO 80021 | www.3xlogic.com | (877) 3XLOGIC
9
10225 Westmoor Drive, Suite 300, Westminster, CO 80021 | www.3xlogic.com | (877) 3XLOGIC
9
7
Factory Default
Resetting the device back to the factory default will reinitialize all parameters including the IP address back to
the factory defaults. To reset back to the factory default:
Steps:
1).
Press the reset button and hold it while the device is in use.
2).
Release the button after about 10 seconds.
3).
Wait for the system to reboot.
NOTE:
Factory Default Connection Settings
IP Address
192.168.XX.YY
Network Mask
255.255.0.0
Gateway
192.168.0.1
User ID
admin
Password
12345
8
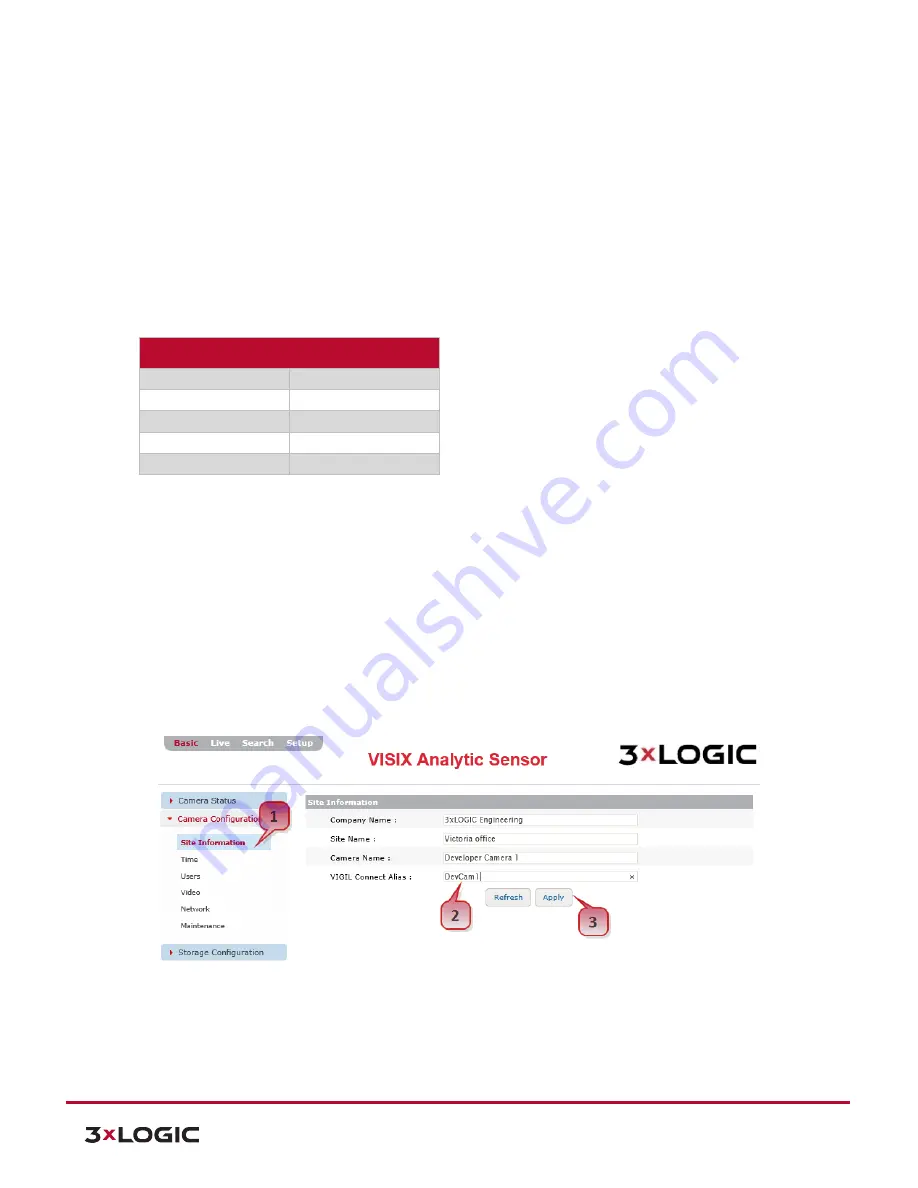
Configure the Camera’s VIGIL Connect Alias
VIGIL Connect allows VIGIL VMS users to remotely connect to a VIGIL Server/V-Series All-in-One camera using
the system serial number or a user defined VIGIL Connect
alias
, without the need for extensive changes to an
existing network’s settings. This allows for the device to be networked with other VIGIL suite utilities with little
effort and minimal knowledge of the device’s network connection values.
Steps:
1).
To configure a VIGIL Connect alias, navigate to the camera’s
Basic Tab>Camera Configuration Menu>Site
Information Settings
page.
Figure 4-6:
Configuring a VIGIL Connect Alias
2).
Fill in the
VIGIL Connect Alias
field with an alias of your choosing.
3).
Click
Apply
to save the new alias.