


16
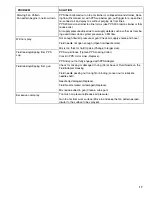
Troubleshooting
WARNING
PRESSURIZED EQUIPMENT HAZARD
To reduce the risk of a serious injury, follow the
Pressure Relief Procedure
on page 11 whenever
you are instructed to relieve pressure.
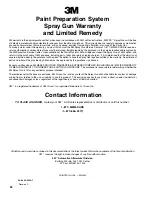
Correct fan pattern
Follow all
Setup
procedures, starting on page 6. Hang some 3M masking
paper. Hold spray gun with Air Cap perpendicular and 8 in. from masking
paper. Spray for two seconds and check what you get for fan pattern
outline on the paper. See troubleshooting chart for how to adjust/service
spray gun to correct Fan Pattern defects.
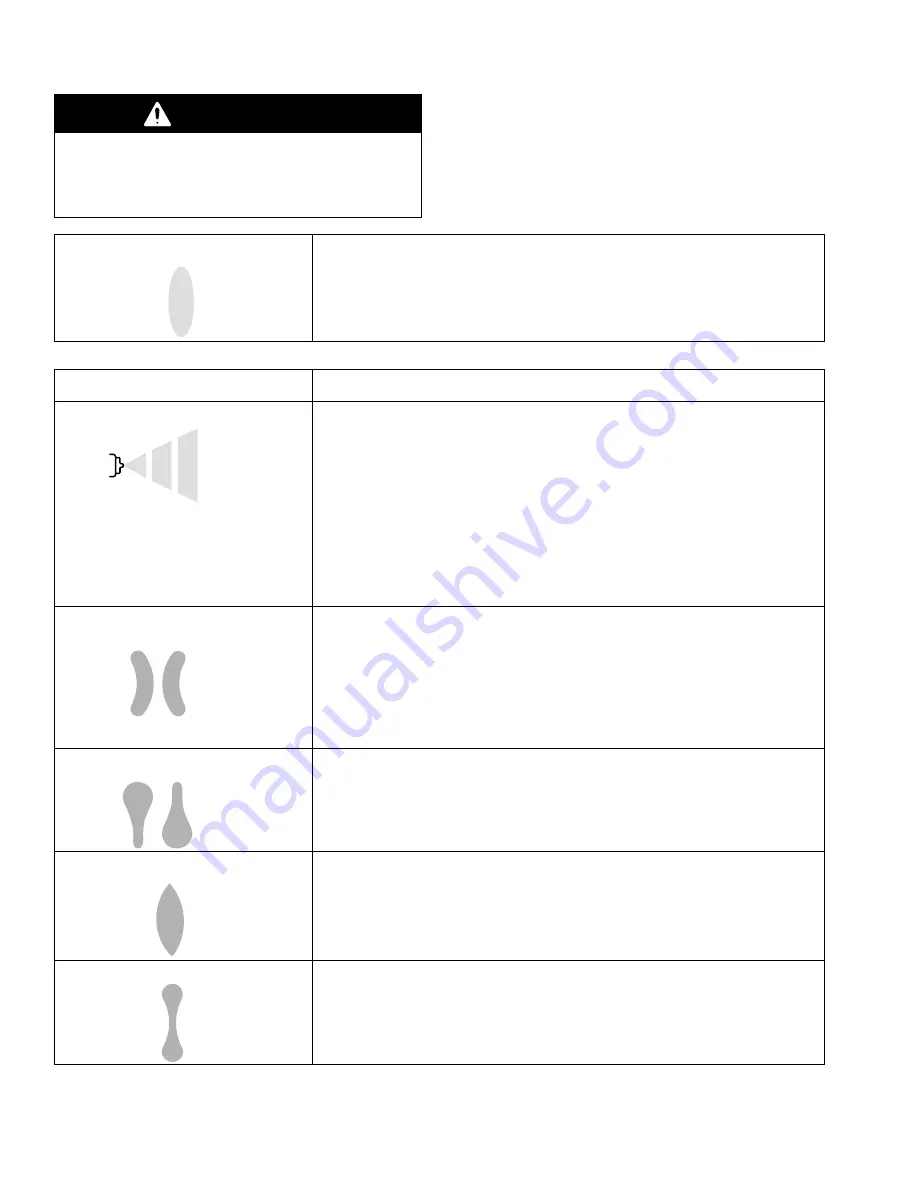
PROBLEM
CAUSE AND SOLUTION
Fluttering or spitting spray
Loose or damaged fluid tip/seat (Tighten or replace).
Material level too low in cup (Refill cup)
Gun cup tilted too far over or upside down while spraying (Purge Air out of
PPS cup).
PPS 200–micron strainer too fine for mix (Use PPS 300 micron strainer or
thin/reduce mix).
Partial obstruction in fluid passage (Flush with solvent).
Dry or loose fluid needle packing nut (Lubricate or tighten).
Pattern is curved.
Air Cap or Fluid Tip Defective. Determine if defect is in the Air Cap or Fluid
Tip. Rotate Air Cap one–half turn and spray another test pattern. If defect
is inverted/reverse of previous fan pattern, then defect is in the Air Cap.
Clean air Cap.
If defect is not inverted/reverse of previous Fan Pattern, defect is in the
Fluid Tip. Check Fluid Tip for damage or partial blockage with dried materi-
al. Check Fluid Needle Tip for damage. Replace as necessary.
Pattern is off–set or heavy on one
end.
One or more Air Horn Holes Plugged (Clean Air Cap)
Fluid Needle Tip Damaged (Replace Fluid Needle Tip)
Fluid Nozzle Damaged or partially blocked.(Clean and or replace Fluid
Nozzle)
Pattern is heavy in the center
.
Air Pressure too low (Increase Air Pressure).
Fan Pattern set too narrow (Open Fan Pattern).
Material is too thick (Reduce/Thin the Mix).
Pattern is split.
Air Pressure too high (Reduce Air Pressure).
Fan Pattern set wide open (Close down Fan Pattern).