


65
3D Systems, Inc
.
Printing the Level Gap Calibration File
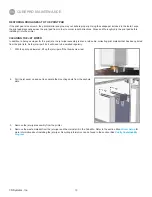
NOTE: Ensure the print pad is completely clean from glue and printed parts before beginning this procedure .
1 .
Download the Level Gap Calibration file from
www .Cubify .com
to your USB
mass storage device .
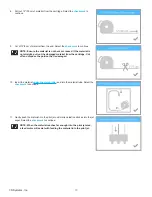
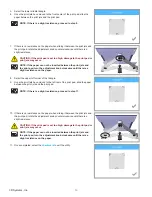
2 . Insert the USB mass storage device into the USB host port .
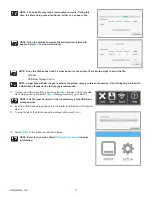
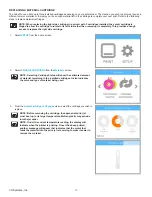
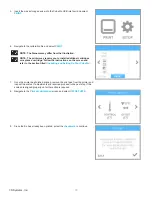
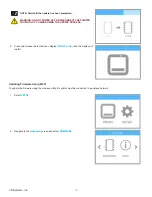
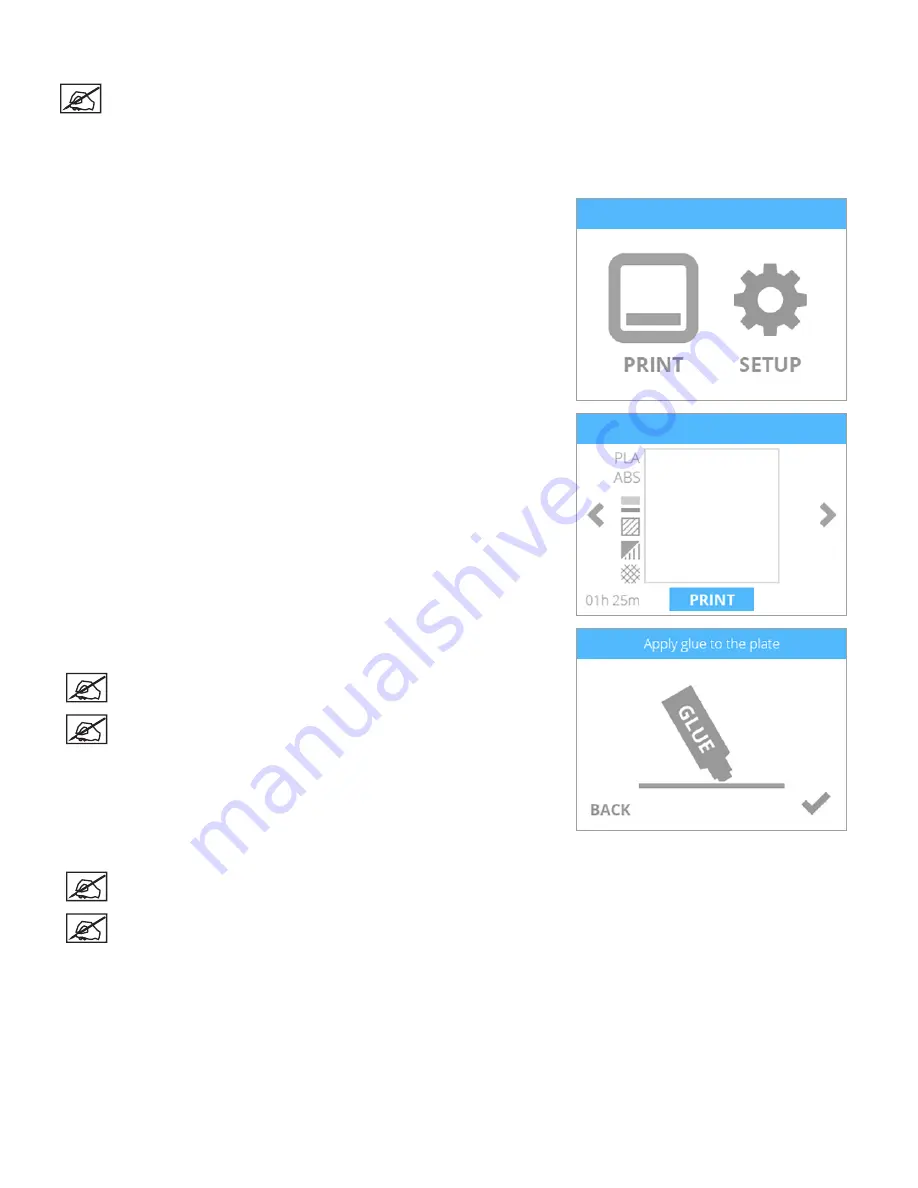
3 . Select
.
4 .
Using the arrows, navigate to the Level Gap Calibration file and select
.
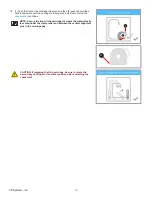
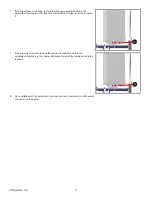
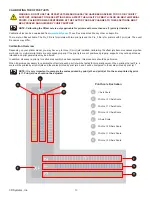
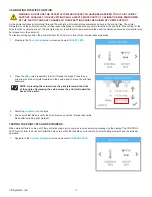
5 . Apply two thin layers of Cube Glue to the print pad in an area of 50 mm x 50
mm . Select the
checkmark
to continue .
NOTE: For more information, refer to the section titled
Applying
Cube Glue
.
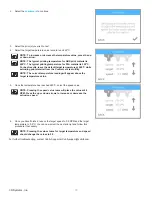
NOTE: It may take several minutes to print the file.
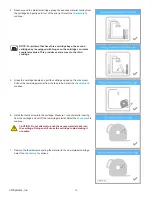
6 .
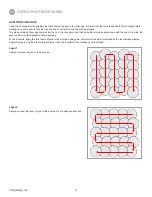
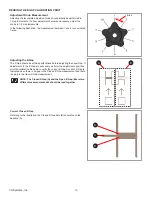
When finished, remove the print pad and verify the Level Gap.
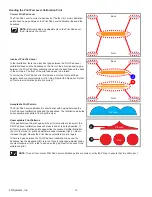
NOTE: Refer to the sections titled
Reading The Z-Gap Calibration
and
Reading The Print Pad Level Calibration Print
.
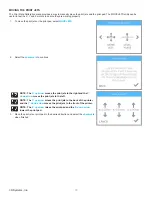
NOTE: If any adjustments are needed, perform this procedure again
after making the adjustments . Make sure all glue and plastic residue
have been removed prior to performing this procedure again .


