15
3D Systems, Inc
.
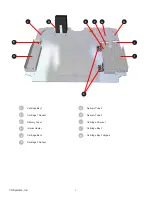
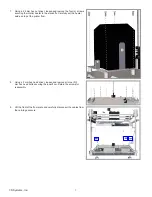
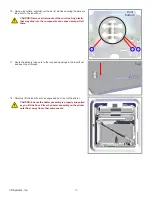
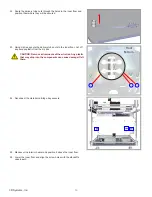
27. Insert the original nine (9) screws that were removed in step 5 and
secure the inner floor to the standoffs using a 3 mm hex head driver.
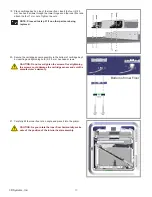
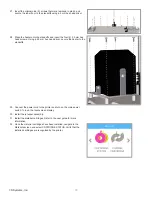
28. Place the heater onto the standoffs and insert the four (4) 2.5 mm hex
head screws. Using a 2.5 mm hex head driver, secure the heater to the
standoffs.
29. Connect the power cord to the printer and turn on the main power
switch. Turn on the touchscreen display.
30. Install the jet wiper assembly.
31. Install the material cartridges. Refer to the user guide for more
information.
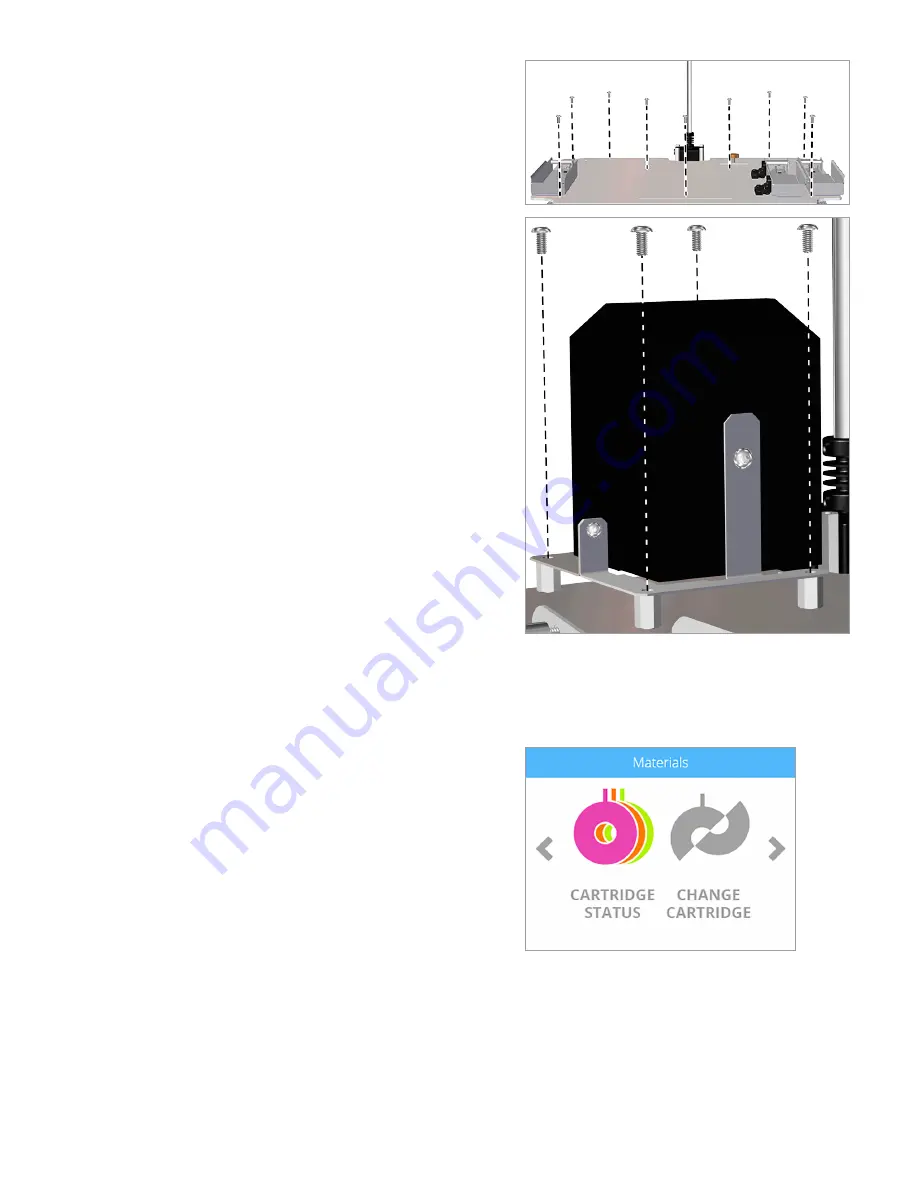
32. Once the material cartridges have been installed, navigate to the
Materials screen and select CARTRIDGE STATUS. Verify that the
installed cartridges are recognized by the printer.

