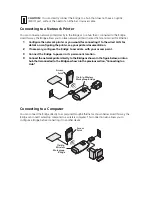
Observing Safety Precautions
This equipment must be installed in compliance with local and national building codes, regulatory
restrictions, and FCC rules. For the safety of people and equipment, only professional network personnel
should install the Bridge.
1
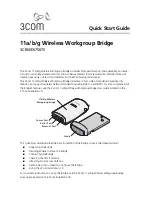
Unpacking the Bridge
Make sure that you have the following items, which are included with the Bridge:
■
Power adapter and power cord.
■
Standard Category 5 unshielded twisted pair (UTP) Ethernet cable.
■
Locking bar (used for securing a wall-mounted installation).
■
Rubber feet (four; used for a flat-surface installation).
■
3Com Installation CD.
2
Deciding Where to Place the Bridge
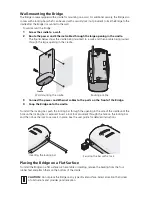
Place the Bridge in a dry, clean location near the hub, computer, or printer that will be connected to the
Bridge. The location must have a power source and be within the following distance of a Wi-Fi-
compliant wireless LAN access point or ad hoc wireless station:
■
For 802.11a compatibility, place the Bridge within 50 m (164 ft) of a Wi-Fi compliant wireless
LAN access point.
■
For 802.11b/g compatibility, place the Bridge within 100 m (300 ft) of a Wi-Fi compliant
wireless LAN access point.
The location should be away from transformers, heavy-duty motors, fluorescent lights, microwave ovens,
refrigerators, or other equipment that could cause radio signal interference.
WARNING:
To comply with FCC radio frequency (RF) exposure limits, a minimum body-to-
antenna distance of 20 cm (8 in.) must be maintained when the Bridge is operational.
WARNING:
To avoid possible injury or damage to equipment, you must use either the provided
power supply or power supply equipment that is safety certified according to UL, CSA, IEC, or
other applicable national or international safety requirements for the country of use. All references
to power supply in this document refer to equipment meeting these requirements.
CAUTION:
The 3Com power supply (part number 61-0107-000) input relies on a 16A rated
building fuse or circuit protector for short circuit protection of the line to neutral conductors.

