


66
WDR
Enable
WDR
to
distinguish
the
bright
and
dark
areas
in
the
same
image.
NOTE!
This
parameter
is
available
only
when
Exposure
Mode
is
set
to
Automatic
,
Custom
,
Shutter
Priority
,
Indoor
50Hz
,
or
Indoor
60Hz
and
electronic
image
stabilization
and
defog
are
disabled.
You
can
set
this
parameter
only
when
Exposure
Mode
is
neither
Customize
nor
Manual
and
when
Image
Stabilizer
is
disabled.
WDR
Level
After
enabling
the
WDR
function,
you
can
improve
the
image
by
adjusting
the
WDR
level.
NOTE!
Use
level
7
or
higher
when
there
is
a
high
contrast
between
the
bright
and
dark
areas
of
the
scene.
In
the
case
of
low
contrast,
it
is
recommended
to
disable
WDR
or
use
level
1
‐
6.
Suppress
Stripes
WDR
When
enabled,
The
device
can
automatically
adjust
slow
shutter
frequency
according
to
the
frequency
of
light
to
minimize
stripes
that
may
appear
in
images.
WDR
Sensitivity
Open
Enable
the
WDR
sensitivity.
NOTE!
This
parameter
is
available
only
when
WDR
is
set
to
Automatic
.
WDR
Sensitivity
Close
Disable
the
WDR
sensitivity.
NOTE!
This
parameter
is
available
only
when
WDR
is
set
to
Automatic
.
(3)
To
restore
the
default
settings,
click
Default
.
(4)
Smart
Illumination
(1)
Click
Setup
>
Image
>
Image
and
then
click
Smart
Illumination
.
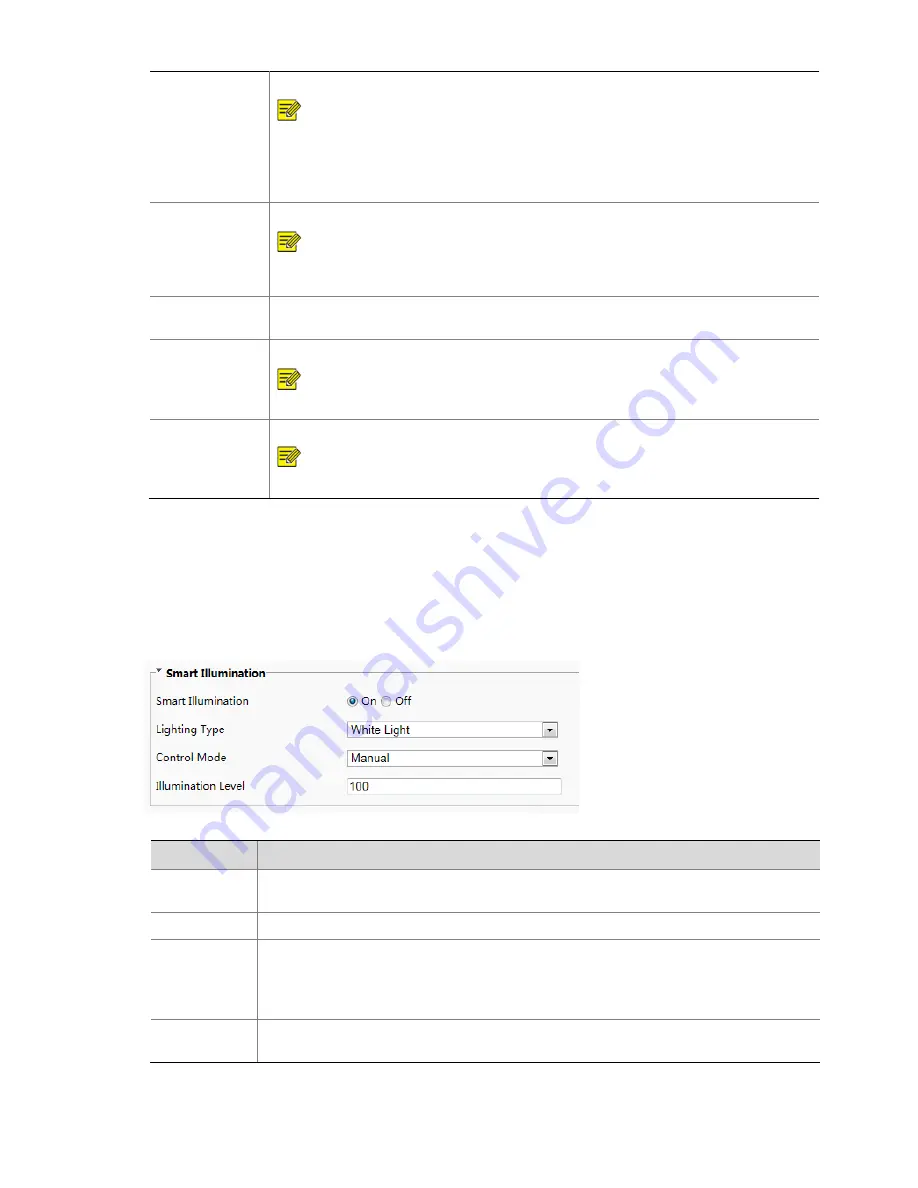
Figure7-35
Smart
Illumination
Interface
(2)
Set
smart
illumination
parameters
by
referring
to
the
table
below
based
on
actual
scenes.
Item
Description
Smart
Illumination
Select
whether
to
enable
smart
illumination
based
on
actual
conditions.
Lighting
Type
It
can
be
set
to
White
Light
only
currently.
Control
Mode
Manual:
After
smart
illumination
is
enabled,
the
light
supplement
lamp
automatically
controls
illumination.
Manual
–Always
on:
After
smart
illumination
is
enabled,
the
light
supplement
lamp
will
always
supplement
illumination.
Illumination
Level
Set
the
intensity
level
of
the
IR
light.
The
greater
the
value,
the
higher
the
intensity.
0
means
that
the
IR
light
is
turned
off.
(3)
To
restore
the
default
settings,
click
Default
.


