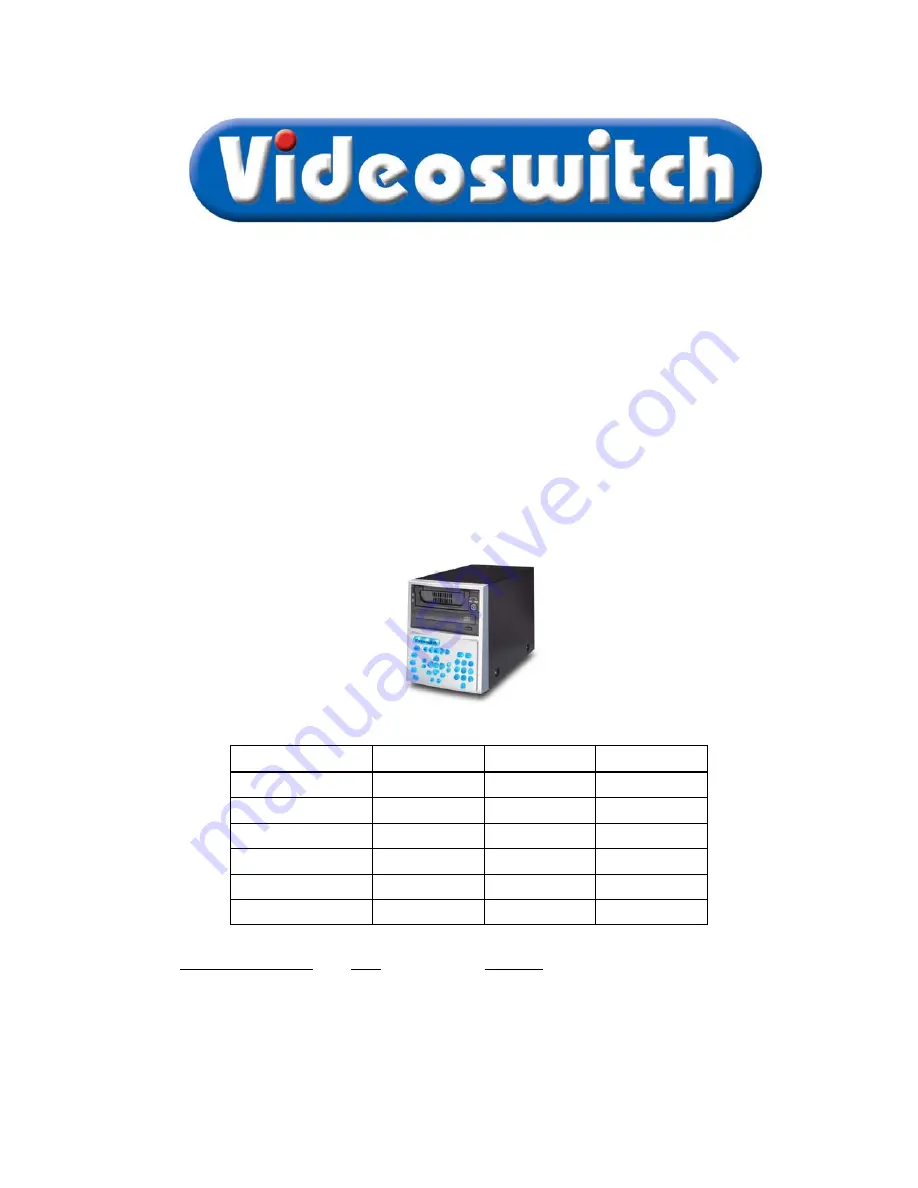
Vi200 Digital Recorder
User Manual
Models covered by this manual
Hard Drive Capacity
4 Cameras
6 Cameras
9 Cameras
80 Gbytes
Vi200-G80-4e Vi200-G80-6e Vi200-G80-9e
160 Gbytes
Vi200-G160-4e
Vi200-G160-6e
Vi200-G160-9e
250 Gbytes
Vi200-G250-4e
Vi200-G250-6e
Vi200-G250-9e
300 Gbytes
Vi200-G300-4e
Vi200-G300-6e
Vi200-G300-9e
400 Gbytes
Vi200-G400-4e
Vi200-G400-6e
Vi200-G400-9e
500 Gbytes
Vi200-G500-4e
Vi200-G500-6e
Vi200-G500-9e
Document Reference Date Firmware
Vi602f.doc 14/11/2005
From
Vi008B11/F
Videoswitch
Telephone
01252-851510
Ocean House, Redfields Industrial Park
Fax
01252-851296
Redfields Lane, Church Crookham
Hants GU52 0RD
Web
www.videoswitch.co.uk
Summary of Contents for Vi200
Page 2: ...Vi602f...
Page 6: ...Digital Recorder iv...
Page 51: ...Digital Recorder 45 Serial Number of Vi200 Notes Notes...
Page 52: ...Digital Recorder 46...
Page 54: ......
Page 55: ......