background image

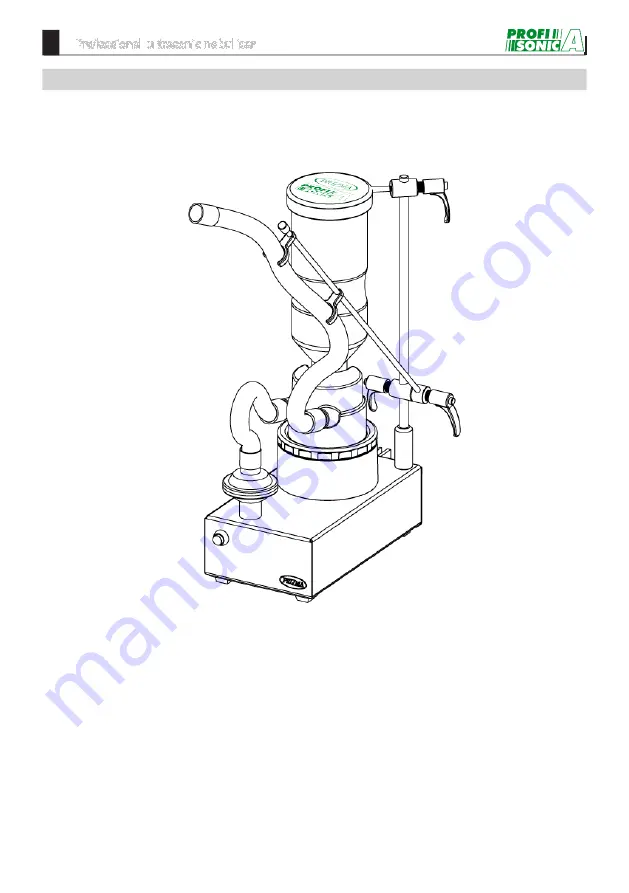
Professional ultrasonic nebulizer 


Dear customer, 


Thank  you  for  purchasing  this  ultrasonic  nebulizer.  Please  read  this  instruction  manual 

carefully before using the unit as it contains important health and safety information. Please 
keep your instruction manual at hand all the time. 

Be sure to use unit properly according to instructions given by veterinary professionals. Only 
use solutions to nebulize as prescribed and instructed by your veterinary professional. 


We wish you good health and all the best in the future. 

With best regards, 

PRIZMA 

Summary of Contents for Profi Sonic A

Page 1: ...it contains important health and safety information Please keep your instruction manual at hand all the time Be sure to use unit properly according to instructions given by veterinary professionals O...

Page 2: ...tion 11 USE OF NEBULIZER How to prepare therapy 12 How to perform therapy 17 How to finish therapy 18 PRODUCT CARE MAINTENANCE How to take care of bacterial filter 19 Cleaning and disinfection 19 Trou...

Page 3: ...lain and stable surface during operation operator is in the vicinity of the nebulizer the horse is carrying mask over breathing openings or device is nebulizing aerosol in cabin or horse trailer in fr...

Page 4: ...f the product mentioned in this Instruction manual including the power source and installation environment 6 Trouble and or damage caused as a result of modifying and or improper repair of the product...

Page 5: ...shock The icon indicates prohibitions what you cannot do Matters involving specific prohibitions are indicated by text or pictures shown in or near The icon refers to prohibition to disassemble The ic...

Page 6: ...n or pull the power plug from the electric outlet with wet hands You may suffer electric shock or you may injure yourself Do not wash the main unit with water or splash water to the power source never...

Page 7: ...not plug the power cord into a loose electric outlet You may suffer electric shock or the unit may ignite due to short circuit Do not scratch tear modify forcibly band pull twist or bundle the power...

Page 8: ...tank of the main unit Do not disinfect the unit by boiling in a microwave oven After cleaning and disinfecting the components assemble them after they are completely dried Do not wipe the main unit wi...

Page 9: ...9 Professional ultrasonic nebulizer Components of the product 08 Main unit Bacterial filter Aeration hose 15cm Chamber holder Water tank Start stop button 06 05 03 0...

Page 10: ...holder Bottle holder Power button Fuses Electric power socket 220V AC Electric power socket 12V DC AC Power cord DC power cable Instruction manual 10 10 18 Optional parts Equine mask Isapak chamber Is...

Page 11: ...e vibrator located at the bottom of the water tank into water 2 The ultrasonic vibrations are transmitted to the Isapak chamber through the water in the water tank 3 The ultrasonic vibration emits med...

Page 12: ...the cooling water Fill the cooling water into water tank The proper amount is approximately 300 ml Pour some water until the sensor level float in the water tank rises to its upper position Recommend...

Page 13: ...lution Two filling options can be selected 1 Filling the solution directly into the Isapak chamber Attach Isapak adapter to the sterile water bottle Place the Isapak sterile water bottle into the Isap...

Page 14: ...bottle Carefully fill the medicine into the sterile water bottle Screw the Isapak adapter onto the sterile water bottle Only touch the adapter at the screw cap Place the Isapak sterile water bottle i...

Page 15: ...ning on main device Attach the aeration hose 15 cm to the bacterial filter and to the Isapak chamber Approximately 10 mm of the hose length should be fitted over the adapters Attach the inhalation hos...

Page 16: ...lighter adapter 12V DC Connect DC power cable running from car cigarette lighter adapter to socket on the rear side of unit Observe the keyhole at the top of the connector on DC power cable Keyhole pr...

Page 17: ...the trailer cabin should be as small as possible to make the therapy more effective To avoid damaging the device should be physically separated from animal End of inhalation hose should be placed in...

Page 18: ...ter as it explained on illustrations 3 Release Isapak sterile water bottle by moving bottle holder to a side 4 Pull up the Isapak sterile water bottle to remove it from the Isapak chamber 5 Remove the...

Page 19: ...to the high level of dirt in the air CLEANING AND DISINFECTION Warning Adhere to the following hygiene instructions at all times to prevent any health hazard through contaminated PROFI SONIC A Clean t...

Page 20: ...common After immersing the parts wash them sufficiently with water and dry promptly Carefully store the parts so that they are not re infected Boiling disinfection Note Do not boil the main unit The...

Page 21: ...rectly and drain the pooled medication Is the aeration hose placed correctly Place the aeration hose correctly The amount of aerosol has decreased Is the room temperature too low and or water temperat...

Page 22: ...nt of cooling water 300 ml Capacity of medication cup max 150 ml optimal 50 ml External dimensions 300 x 150 x 250 mm Weight of the main unit 3 5 kg Operating conditions 15 40 C 59 104 F 30 85 RH 700...

Page 23: ...operation of the unit and create potentially unsafe situation Recommendation is to keep a minimum distance of 7 m Verify correct operation of device in case the distance is shorter Further documentat...

Page 24: ...ak chamber Packaging unit 1 pc Aeration hose 15cm Packaging unit 1 pc Bacterial filter Packaging unit 1 pc Equine mask Packaging unit 1 pc Isapak adapter Packaging unit 1 pc Seal stopper Packaging uni...

Reviews: