background image

Basic

Operating Instructions

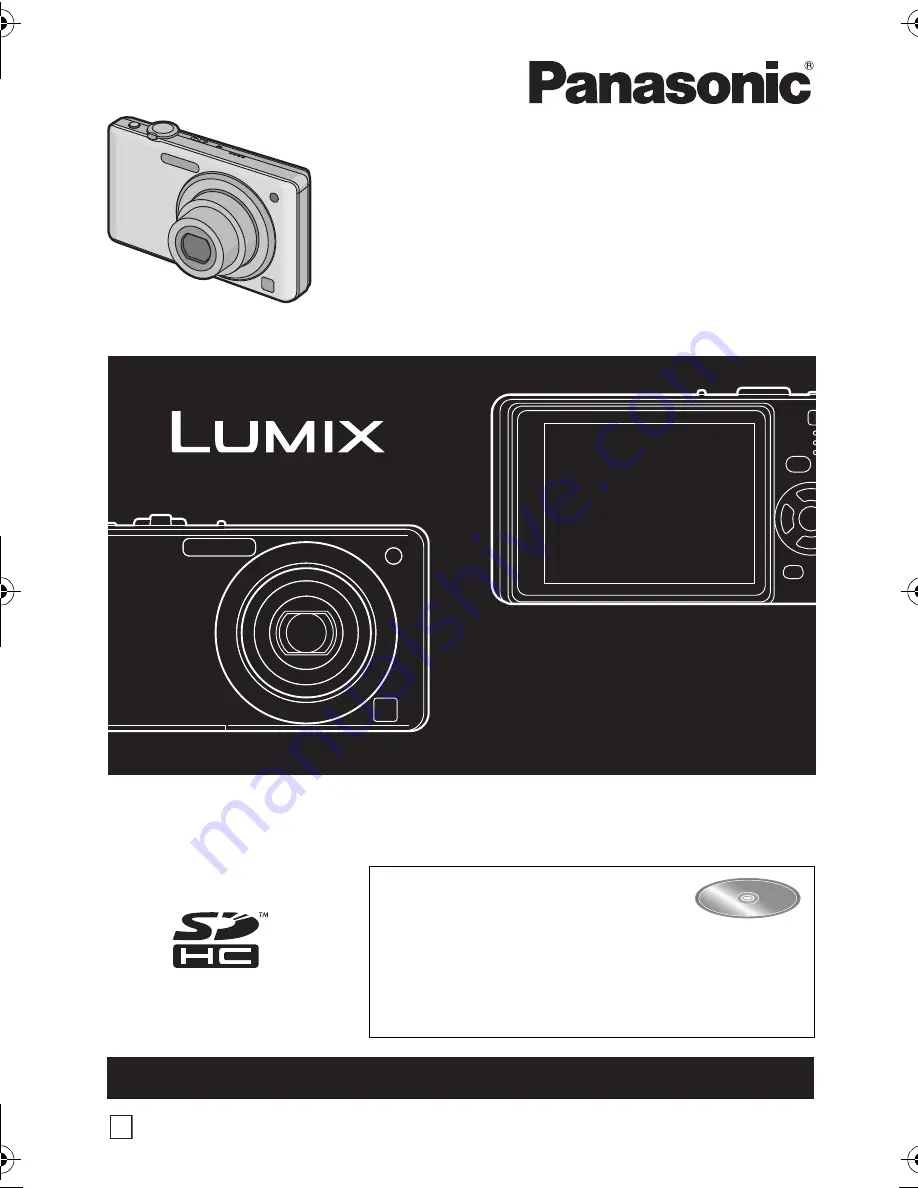
Digital Camera

Model No. 

DMC-FS12

 Before connecting, operating or adjusting this product,

please read the instructions completely.

Please also refer to Operating 
Instructions (PDF format) 
recorded on the CD-ROM 
containing the Operating Instructions 
(supplied).

You can learn about advanced operation methods 
and check the Troubleshooting.

VQT2D42

For USA and Puerto Rico assistance, please call: 1-800-211-PANA(7262) or, 
contact us via the web at: http://www.panasonic.com/contactinfo

P

until 
2009/4/30

DMC-FS12&FS62P-VQT2D42_eng.book  1 ページ  2009年3月25日 水曜日 午前11時17分

Summary of Contents for Lumix VQT2D42

Page 1: ...pletely Please also refer to Operating Instructions PDF format recorded on the CD ROM containing the Operating Instructions supplied You can learn about advanced operation methods and check the Troubleshooting VQT2D42 For USA and Puerto Rico assistance please call 1 800 211 PANA 7262 or contact us via the web at http www panasonic com contactinfo P ...

Page 2: ...d or broadcast material for purposes other than your own private use may infringe copyright laws Even for the purpose of private use recording of certain material may be restricted Information for Your Safety A lithium ion battery that is recyclable powers the product you have purchased Please call 1 800 8 BATTERY for information on how to recycle this battery WARNING TO REDUCE THE RISK OF FIRE EL...

Page 3: ...on between the equipment and receiver Connect the equipment into an outlet on a circuit different from that to which the receiver is connected Consult the dealer or an experienced radio TV technician for help FCC Caution To assure continued compliance follow the attached installation instructions and use only shielded interface cables with ferrite core when connecting to computer or peripheral dev...

Page 4: ...eyes Rinse eyes thoroughly with water and then consult a doctor CAUTION Danger of explosion if battery is incorrectly replaced Replace only with the same or equivalent type recommended by the manufacturer Dispose of used batteries according to the manufacturer s instructions Warning Risk of fire explosion and burns Do not disassemble heat above 60 xC 140 oF or incinerate CAUTION DO NOT INSTALL OR ...

Page 5: ...r hitting it Do not subject to strong pressure The camera may malfunction recording pictures may become impossible or the lens the LCD monitor or the external case may be damaged We strongly recommend you do not leave the camera in your trousers pocket when you sit down or forcefully insert it into a full or tight bag etc Damage to the LCD monitor or personal injury may result Do not attach any ot...

Page 6: ...ith 4 GB or more capacity A 4 GB or more Memory Card without an SDHC logo is not based on the SD Standard and will not work in this product Please confirm the latest information on the following website http panasonic co jp pavc global cs This Site is English only Keep the Memory Card out of reach of children to prevent swallowing If you see this symbol Information on Disposal in other Countries o...

Page 7: ...es using the automatic function ñ Intelligent Auto Mode 18 Scene detection 19 Taking pictures with your favorite settings Normal picture mode 20 Focusing 20 Playing back Pictures NORMAL PLAY 21 Deleting Pictures 22 To delete a single picture 22 To delete multiple pictures up to 50 or all the pictures 22 Reading the Operating Instructions PDF format 23 Specifications 24 Digital Camera Accessory Sys...

Page 8: ...uctions 5 Hand Strap 6 Battery Case SD Memory Card and SDHC Memory Card are indicated as card in the text The card is optional You can record or play back pictures on the built in memory when you are not using a card For information about optional accessories refer to the Digital Camera Accessory System If any accessories are lost customers should contact Panasonic s parts department at 1 800 833 ...

Page 9: ...Delete button 9 MODE button 10 REC PLAYBACK selector switch 11 Cursor buttons A 3 Exposure compensation Auto bracket B 4 Macro mode C 2 Self timer button D 1 Flash setting button In these operating instructions the cursor buttons are described as shown in the figure below or described with 3 4 2 1 e g When you press the 4 down button or Press 4 1 2 3 11 4 10 9 5 7 8 6 ...

Page 10: ...he camera is attached to it 22 Card Battery door 23 Release lever 24 DC coupler cover When using an AC adaptor ensure that the Panasonic DC coupler DMW DCC4 optional and AC adaptor DMW AC5PP optional are used We recommend you use a battery with sufficient battery power or the AC adaptor when recording motion pictures If while recording motion pictures using the AC adaptor the power supply is cut o...

Page 11: ...eit battery packs which look very similar to the genuine product are made available to purchase in some markets Some of these battery packs are not adequately protected with internal protection to meet the requirements of appropriate safety standards There is a possibility that these battery packs may lead to fire or explosion Please be advised that we are not liable for any accident or failure oc...

Page 12: ...ure 23 oC 73 4 oF Humidity 50 when LCD monitor is on Using a Panasonic SD Memory Card 32 MB Using the supplied battery Starting recording 30 seconds after the camera is turned on When the Optical image stabilizer function is set to AUTO Recording once every 30 seconds with full flash every second recording Rotating the zoom lever from Tele to Wide or vice versa in every recording Turning the camer...

Page 13: ... lever A being careful about the direction you insert it Pull the lever A in the direction of the arrow to remove the battery Card Push it fully until it clicks being careful about the direction you insert it To remove the card push the card until it clicks then pull the card out upright B Do not touch the connection terminals of the card The card may be damaged if it is not fully inserted 1 Close...

Page 14: ...settings that were performed When MENU SET has been pressed to complete the settings without the clock having been set set the clock correctly by following the Changing the clock setting procedure below Select CLOCK SET in the REC or SETUP menu and press 1 It can be changed in steps 3 and 4 to set the clock The clock setting is maintained for 3 months using the built in clock battery even without ...

Page 15: ... select the Normal picture mode settings and the same setting can be used for the PLAYBACK menu and SETUP menu as well Example Setting AF MODE from Ø to š in the Normal picture mode Setting menu items Turn the camera on A MENU SET button B REC PLAYBACK selector switch C MODE button Slide the REC PLAYBACK selector switch to and then press MODE When selecting the PLAYBACK mode menu settings set the ...

Page 16: ...UP menu icon Press 1 Select a menu item next and set it Press 3 4 to select AF MODE Select the item at the very bottom and press 4 to move to the second screen Press 1 Depending on the item its setting may not appear or it may be displayed in a different way Press 3 4 to select š Press MENU SET to set SET MENU ...

Page 17: ...U SET button B REC PLAYBACK selector switch C MODE button Slide the REC PLAYBACK selector switch to Press MODE Press 3 4 to select the mode Press MENU SET Intelligent auto mode The subjects are recorded using settings automatically selected by the camera Normal picture mode The subjects are recorded using your own settings My scene mode Pictures are taken using previously registered recording scen...

Page 18: ... and then press MENU SET You can quickly switch to Intelligent auto mode by pressing A when the REC PLAYBACK selector switch is set to record Pressing again takes you back to the previous mode The status indicator 3 lights when you turn this unit on 2 It turns off after about 1 second 1 Shutter button Hold the camera gently with both hands keep your arms still at your side and stand with your feet...

Page 19: ...e camera while taking pictures Face detection When or is selected the camera automatically detects a person s face and it will adjust the focus and exposure Note Due to conditions such as the ones below a different scene may be identified for the same subject Subject conditions When the face is bright or dark The size of the subject The distance to the subject The contrast of the subject When the ...

Page 20: ...r switch to and then press MODE A MODE button B REC PLAYBACK selector switch Press 3 4 to select NORMAL PICTURE and then press MENU SET C MENU SET button Aim the AF area at the point you want to focus on Press the shutter button halfway to focus The focus indication green lights when the subject is focused The focus range is 50 cm 1 64 feet to Press the halfway pressed shutter button fully to take...

Page 21: ... play back the picture If you keep pressing 2 1 the number of pictures forwarded rewound increases Slide the REC PLAYBACK selector switch A to Normal playback is set automatically in the following cases When the mode was switched from the REC to PLAYBACK When the camera was turned on while the REC PLAYBACK selector switch was at Press 2 1 to select the picture 2 Play back the previous picture 1 Pl...

Page 22: ...tton B button Press 2 to select YES and then press MENU SET To delete multiple pictures up to 50 or all the pictures Press Press 3 4 to select DELETE MULTI or DELETE ALL and then press MENU SET DELETE ALL step 5 Press 3 4 2 1 to select the picture and then press DISPLAY to set Repeat this step appears on the selected pictures If DISPLAY is pressed again the setting is canceled Press MENU SET Press...

Page 23: ...will need Adobe Acrobat Reader 4 0 or later or Adobe Reader 6 0 or later to browse or print the Operating Instructions PDF format Download and install a version of Adobe Reader that you can use with your OS from the following Web Site http www adobe com products acrobat readstep2_allversions html If using Windows 2000 SP4 Windows XP SP2 or SP3 Windows Vista and SP1 Insert the CD ROM containing the...

Page 24: ...sing Focus range Normal 50 cm 1 64 feet to Macro Intelligent auto 5 cm 0 17 feet Wide 50 cm 1 64 feet Tele to Scene mode There may be differences in the above settings Shutter system Electronic shutteriMechanical shutter Motion picture recording 848k480 pixels 30 frames second only when using a Card 640k480 pixels 30 frames second only when using a Card 320k240 pixels 30 frames second Burst record...

Page 25: ...ng mode Multiple LCD monitor 2 7q TFT LCD Approx 230 000 dots field of view ratio about 100 Flash Flash range ISO AUTO Approx 30 cm 0 99 feet to 6 3 m 20 7 feet Wide AUTO AUTO Red eye reduction Forced flash ON Forced ON Red eye reduction Forced flash OFF Slow sync Red eye reduction Microphone Monaural Speaker Monaural Recording media Built in Memory Approx 50 MB SD Memory Card SDHC Memory Card Pic...

Page 26: ...tal USB 2 0 Full Speed Analog video audio NTSC Audio line output monaural Terminal AV OUT DIGITAL Dedicated jack 8 pin Dimensions Approx 97 0 mm W k54 4 mm H k21 7 mm D Approx 3 13 16q W k2 1 8q H k7 8q D excluding the projecting parts Mass weight Approx 117 g 4 13 oz excluding card and battery Approx 139 g 4 90 oz with card and battery Operating temperature 0 oC to 40 oC 32 oF to 104 oF Operating...

Page 27: ...c DE A59B Information for your safety Input 110 V to 240 V 50 60 Hz 0 2 A Output CHARGE 4 2 V 0 65 A Equipment mobility Movable Battery Pack lithium ion Panasonic DMW BCF10PP Information for your safety Voltage capacity Minimum 3 6 V 940 mAh ...

Page 28: ...ard 16 GB SDHC Memory Card 12 GB SDHC Memory Card 8 GB SDHC Memory Card 6 GB SDHC Memory Card 4 GB SDHC Memory Card 4 GB SDHC Memory Card 2 GB SD Memory Card 2 GB SD Memory Card 1 GB SD Memory Card Accessory Description Illustration DMW CHFX30 DMW AC5PP DMW DCC4 Semi Hard Case DMW BCF10PP Battery Pack DMW CS5 Soft Case RP SDV32GU1K RP SDV16GU1K RP SDM12GU1K RP SDV08GU1K RP SDM06GU1K RP SDM04GU1K R...

Page 29: ... To Mr Mrs Ms First Last Street Address City State Zip Phone Day Night 4 Shipping information UPS delivery requires complete street address Please photocopy this form when placing an order 3 Method of payment check one Check of Money Order enclosed NO C O D SHIPMENTS VISA MasterCard Make Check or Money Order to PANASONIC ACCESSORIES Please do not send cash 2 Items Ordered Quantity Accessory Price ...

Page 30: ...r unit to Panasonic Services Company Customer Servicenter Suite B 4900 George McVay Drive McAllen TX 78503 Reason for requesting service USA and Puerto Rico Only Please make a copy of this page and note the problem you are having Include it with your proof of purchase and ship your camera to the address below ...

Page 31: ...de by the warrantor During the Labor warranty period there will be no charge for labor During the Parts warranty period there will be no charge for parts You must carry in or mail in your product during the warranty period If non rechargeable batteries are included they are not warranted This warranty only applies to products purchased and serviced in the United States or Puerto Rico This warranty...

Page 32: ...RANTY COVERAGE THE WARRANTOR IS NOT LIABLE FOR INCIDENTAL OR CONSEQUENTIAL DAMAGES RESULTING FROM THE USE OF THIS PRODUCT OR ARISING OUT OF ANY BREACH OF THIS WARRANTY As examples this excludes damages for lost time travel to and from the servicer loss of media or images data or other memory content The items listed are not exclusive but are for illustration only ALL EXPRESS AND IMPLIED WARRANTIES...

Page 33: ...ucts by visiting our Web Site at http www pstc panasonic com or send your request by E mail to npcparts us panasonic com You may also contact us directly at 1 800 332 5368 Phone 1 800 237 9080 Fax Only Monday Friday 9 am to 9 pm EST PANASONIC SERVICE AND TECHNOLOGY COMPANY 20421 84th Avenue South Kent WA 98032 We Accept Visa MasterCard Discover Card American Express and Personal Checks Obtain Prod...

Page 34: ...hot s reprinted with permission from Microsoft Corporation Other names company names and product names printed in these instructions are trademarks or registered trademarks of the companies concerned One Panasonic Way Secaucus NJ 07094 Panasonic Consumer Electronics Company Division of Panasonic Corporation of North America Panasonic Corporation 2009 Printed in China ...

Reviews: