Palax C750.2, Instruction Manual
The Palax C750.2 is an efficient and powerful wood processor, designed to make firewood preparation quick and effortless. Get the most out of this machine by easily accessing its comprehensive Instruction Manual, available for free download at manualshive.com. Maximize your productivity with this user-friendly manual and unleash the full potential of your Palax C750.2.
Share
Download


Reviews:
No comments
Related manuals for C750.2
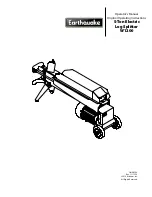
W1200
Brand: EarthQuake Pages: 16
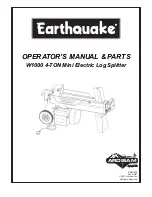
W1000
Brand: EarthQuake Pages: 12

ZI-HS8PT
Brand: Zipper Mowers Pages: 45

650
Brand: AVANT Pages: 34

250754
Brand: Wallenstein Pages: 42

M90500
Brand: Scheppach Pages: 12

5905501915
Brand: Scheppach Pages: 68

Woodstar lf 100
Brand: Scheppach Pages: 100

Sun joe LJ602E-RM
Brand: SHOWJOE Pages: 16

KS 7THE 52/30
Brand: Könner & Söhnen Pages: 11

KS 12THE V 65/40
Brand: Könner & Söhnen Pages: 14

LS5T-52
Brand: Cotech Pages: 60

ASP 5-UG
Brand: ATIKA Pages: 122

ASP 4 - 370 - 2
Brand: ATIKA Pages: 122

ASP 4 N
Brand: ATIKA Pages: 136

ASP 10 N-400
Brand: ATIKA Pages: 147

ASP 5 N-UG
Brand: ATIKA Pages: 148

ASP 12 TS
Brand: ATIKA Pages: 148


