background image

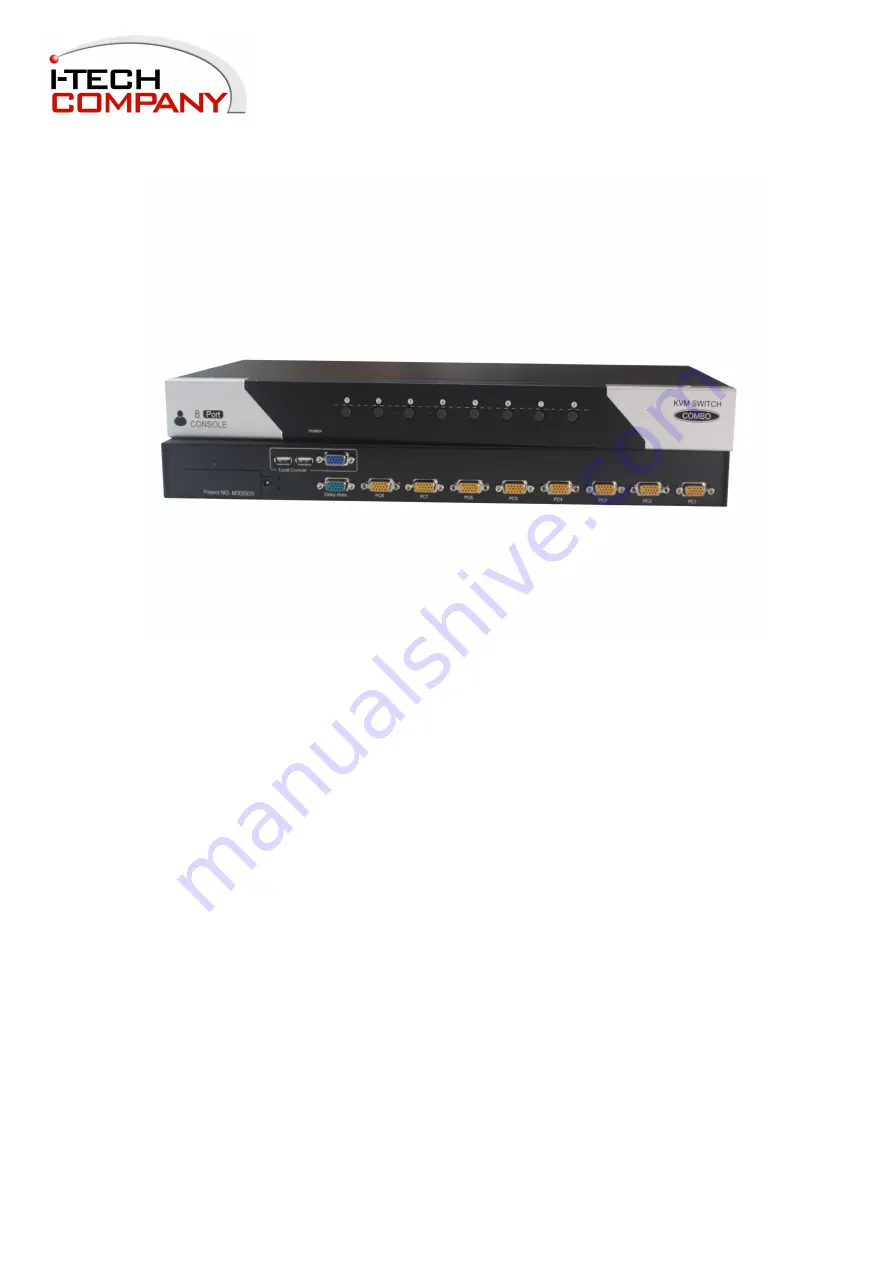
8 Port / 16 Port 1U Rack Mount 

KVM Switch – VGA, USB & PS/2 

Optional Remote IP Access 

User Manual

i-Tech Company LLC

TOLL FREE: (888) 483-2418

EMAIL: [email protected]

WEB: www.iTechLCD.com

Summary of Contents for AVS801

Page 1: ...8 Port 16 Port 1U Rack Mount KVM Switch VGA USB PS 2 Optional Remote IP Access User Manual i Tech Company LLC TOLL FREE 888 483 2418 EMAIL info itechlcd com WEB www iTechLCD com...

Page 2: ...tallation 8 2 3 Console Installation 9 2 3 1 Local Console 9 2 4 Optional IP Based Remote Console Installation 9 2 4 1 KVM over IP Module 9 2 5 Power Up Sequence 10 2 6 Daisy Chain Connection 11 2 6 1...

Page 3: ...n a first come first served basis The non controlling console will mirror the screen from the controlling console If the controlling console does not have keyboard or mouse activity for 2 seconds the...

Page 4: ...ional IP access AVS1601 16 port KVM VGA USB PS 2 with Optional IP access Cables for Option AB 6 1 8m 2 in 1 KVM Cable VGA USB AB 10 3m 2 in 1 KVM Cable VGA USB AB 15 5m 2 in 1 KVM Cable VGA USB AD 6 1...

Page 5: ...Push Button for Port Selection 1 5 Push Buttons The LED s on the front panel of the KVM switch also act as push buttons Simply switch to a port by pressing the corresponding button After powering on...

Page 6: ...16 Port KVM Switch 6 1 6 Rear Panel Optional KVM over IP Module DC Power Jack Local Console USB Keyboard USB Mouse Ports Daisy Chain OUT Port Local Console VGA Port Daisy Chain IN Port Computer Ports...

Page 7: ...mounted into a standard 19 rack 1 Screw the mounting brackets into the sides of the unit at the front as shown in the diagram below Take note of the length of your cables so that your computers KVM Sw...

Page 8: ...pin VGA port a PS 2 computer Plug in the yellow 15 pin male connector to the computer port on the back of the KVM switch Plug in the blue VGA male connector to the VGA port on the computer Plug in the...

Page 9: ...sole Installation 2 4 Optional IP Based Remote Console Installation 2 4 1 KVM over IP Module Installation Power off the KVM switch Remove the screw and remove the cover of the add on slot slide in the...

Page 10: ...onnected computers to the KVM Switch are powered on If any connected computers have not been powered on it is okay to do so at this time computers can be powered on simultaneously The KVM Switch emula...

Page 11: ...eat the connection procedure for the next Slave KVM switch You can daisy chain up to a maximum of eight 8 banks Please Note The Daisy Chain cable is NOT supplied with the KVM switch Please contact you...

Page 12: ...Tree Layer daisy chain method can work with any other brand of KVM switch Please Note You will need to change the Hotkey of the slave KVM switches so that the master and slave KVM switches do not use...

Page 13: ...s the correct display configuration Please Note The DDC function of the KVM Switch will dynamically detect and copy the DDC information from the monitor that is connected to the LOCAL console VGA port...

Page 14: ...tion on off Default is Off Log out only valid when the security function is on Example 1 To bring up the OSD window press Caps Lock Caps Lock Space Bar The OSD overlay screen will appear This overlay...

Page 15: ...in Menu There are eight sub menus to operate Login Window If the security function is enabled default is disabled when powering on the KVM switch a login window will be displayed and you will be promp...

Page 16: ...use inactivity and the monitor will turn off Port Name OSD Function Key Description F1 Go to the Main Menu F2 To log out of OSD If Security function is enabled it will show the Login window waiting fo...

Page 17: ...note any ports without a powered on computer server will be skipped during the scan While the OSD is activated the numeric keypad is not supported Supported keys are the numeric keys across the top of...

Page 18: ...e editing without any changes or press the Enter key to save your changes Press the PgUp key or PgDn key for selecting the previous or next Bank Port Search Search for a computer by port name Using th...

Page 19: ...an configure the ACCESS LIST The first column is the port number followed by the server computer name list The last 8 columns are the access rights of each user Use the Enter key or left mouse button...

Page 20: ...l be skipped during the scan The interval range is 5 99 seconds and the default interval is 10 seconds Press the Enter key to save the SCAN TIME setting OSD Mouse You can change the movement speed of...

Page 21: ...Display OSD Menu Hotkey Push Button Hotkey Provides various Hotkey Combinations Cap Lock Scroll Lock Num Lock L Alt L Ctrl L Win R Alt R Ctrl R Win LEDs 2 LED s per port On Line RED Selected BLUE Sec...

Page 22: ...ay not cause harmful interference 2 This device must accept any interference received Include interference that may cause undesired operation CE This equipment is in compliance with the requirements o...

Reviews: