E
ngli
s
h
DZ-MV580E (SW)
DZ-MV580E (AU)
DZ-MV550E (SW)
DZ-MV550E (AU)
DZ-MV580E (SWH)
DZ-MV580E (UK)
DZ-MV550E (SWH)
DZ-MV550E (UK)
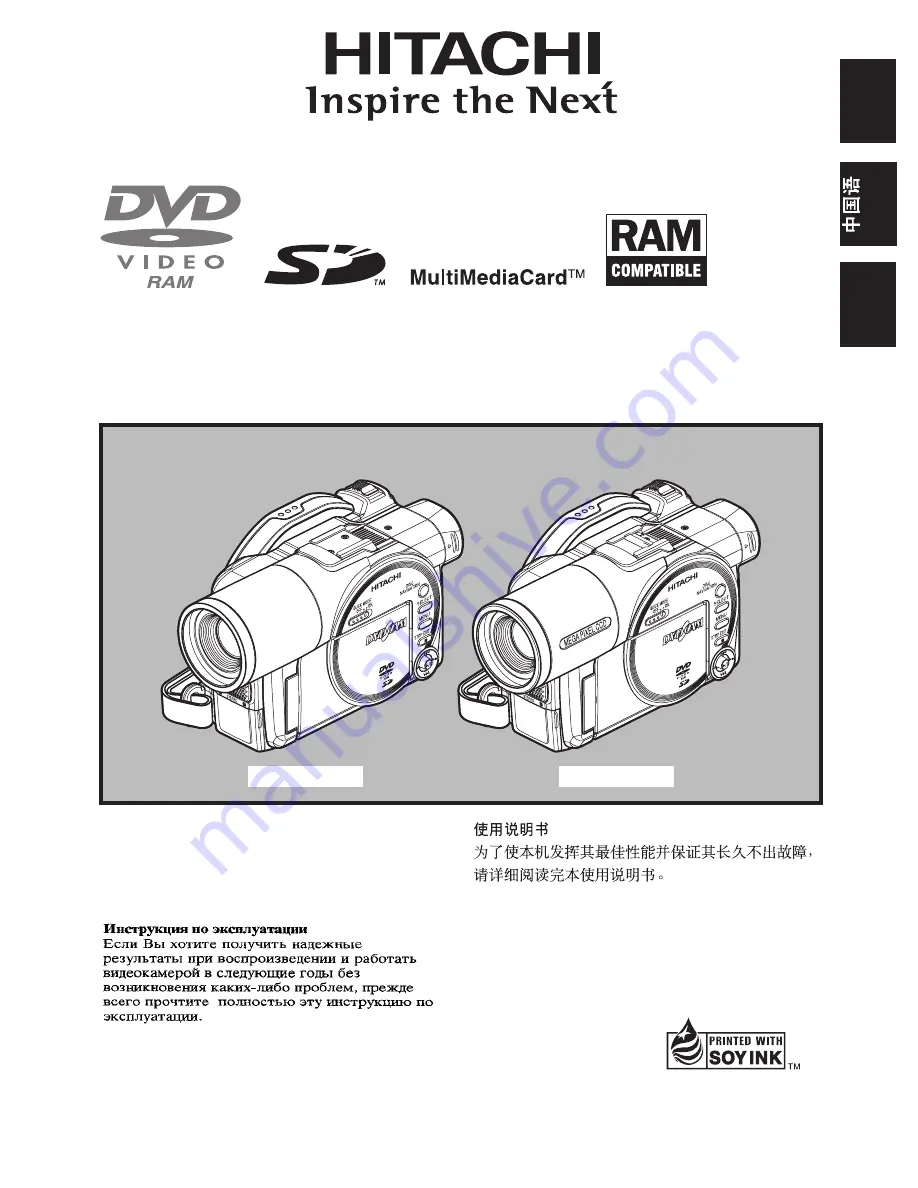
Instruction manual
To obtain the best performance and ensure years of
trouble-free use, please read this instruction
manual completely.
Printed on recycled paper
DZ-MV550E
DZ-MV580E
This manual was printed
with soy based ink.
Py
ccкий
DVDCAM PC Software Support Center
URL http://dvdcam-pc.support.hitachi.ca/