


Operating Instructions
DVD Video Camera
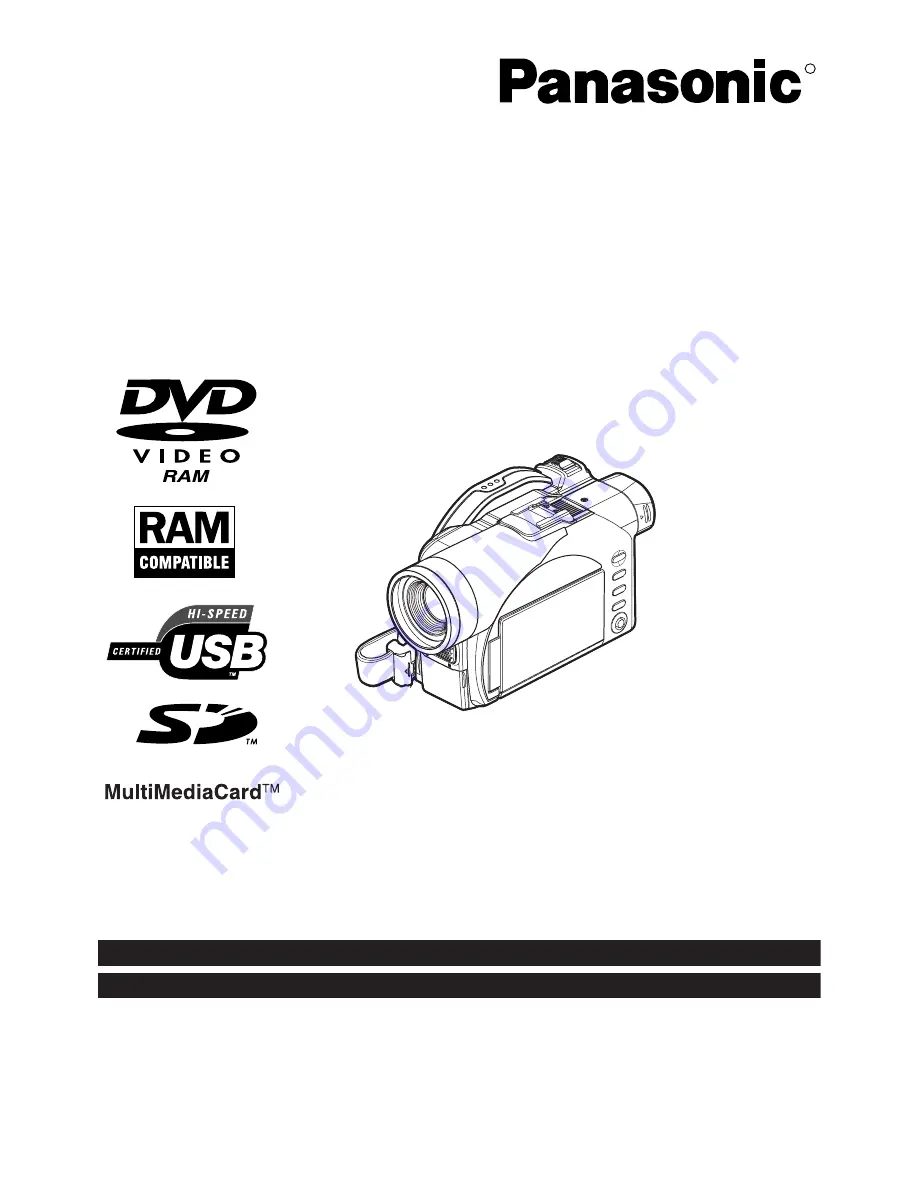
Model No.
VDR-M50PP
VDR-M70PP
Thank you for buying a Panasonic product. Please take the time to become familiar with the operating
instructions and how it is set up. Keep this manual handy for future reference.
Quick Start Guide for Software on page 13.
Be sure to read page 4 before unpacking the provided CD-ROM.
The method for operating the VDR-M50PP is the same as that for VDR-M70PP.
VQT0K92-1
H0204HM1034
QR35225
R
The illustration shows VDR-M70PP.
For USA assistance, please call: 1-800-211-PANA(7262) or send e-mail to : [email protected]
For Canadian assistance, please call: 1-800-561-5505 or visit us at www.panasonic.ca
Summary of Contents for VDR-M50PP
Page 172: ...172 MEMO...
Page 173: ...173...


