English
English
PUB.DIE-257
PAL
Introduction
Preparation
Basic
Functions
Advanced
Functions
Editing
Printing
Connecting
to a PC
Trouble?
Do’s & Don’ts
Additional
Information
Mini
Digital
Video
Cassette
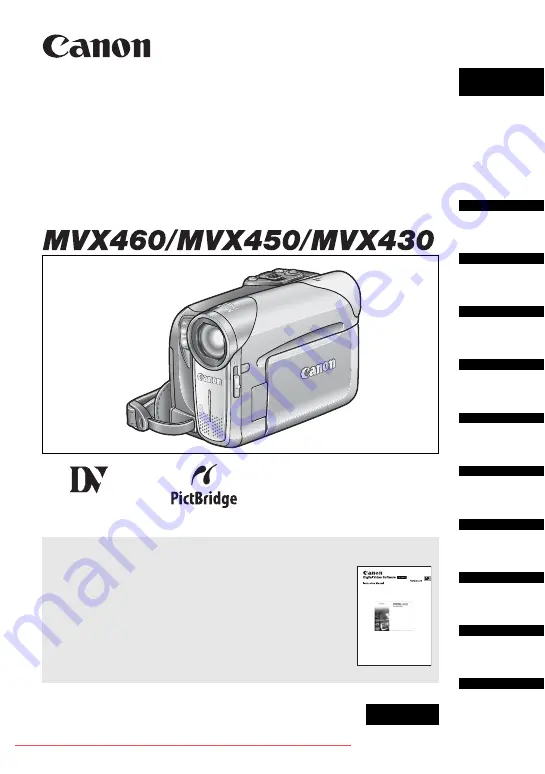
Digital Video Camcorder
Instruction Manual
Please read also the following instruction manual (electronic version
on PDF file). For further details refer to the installation guide.
• Digital Video Software