HASHIMA HI-350PS, Operating Instructions Manual
The HASHIMA HI-350PS, a state-of-the-art machine, offers exceptional performance and precision. To fully exploit its potential, users can access the comprehensive Operating Instructions Manual for free. Download this manual from manualshive.com, ensuring seamless operation and unlocking the machine's true capabilities.
Share
Download


Reviews:
No comments
Related manuals for HI-350PS
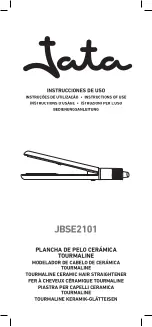
JBSE2101
Brand: Jata Pages: 28

Junior 150 - 200
Brand: CERTUSS Pages: 84

635-107
Brand: Melissa Pages: 17

40.921
Brand: Beper Pages: 20

40.959
Brand: Beper Pages: 24

40.957
Brand: Beper Pages: 24

40.923
Brand: Beper Pages: 36

40.926
Brand: Beper Pages: 44

TexStyle 9 12790002
Brand: Braun Pages: 60

TexStyle Control SI 18.720
Brand: Braun Pages: 77

texstyle 740
Brand: Braun Pages: 77

FREESTYLE SI 6130
Brand: Braun Pages: 73

Aquasteam ABSC02782
Brand: aquabrass Pages: 20

SI 2.600 CB
Brand: Kärcher Pages: 1

CVG9605
Brand: DS Produkte Pages: 52

E8101
Brand: Imetec Pages: 44

A9101
Brand: Imetec Pages: 42

Bellissima Professional G10
Brand: Imetec Pages: 57


