FitMax iPool, Instruction Manual
Get the most out of your FitMax iPool with our comprehensive Instruction Manual. This manual covers everything you need to know about setting up and maintaining your iPool. Download your free copy from our website today for a hassle-free experience.
Share
Download


Reviews:
No comments
Related manuals for iPool
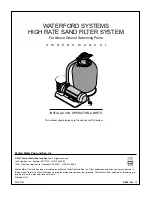
HIGH-RATE SAND FILTER SYSTEM
Brand: Pentair Pool Products Pages: 36

POWER STEEL 56427
Brand: Bestway Pages: 56
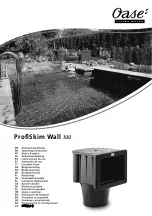
ProfiSkim Wall 100
Brand: Oase Pages: 118

4002-CB
Brand: infrasave Pages: 16

380/TR35P/GYP8
Brand: Polaris Pages: 24

CR-206A
Brand: Raypak Pages: 2

V35046
Brand: Piscine Solide Pages: 61

JetMAX Junior
Brand: Aqua Products Pages: 7

S2
Brand: Aqua Products Pages: 8

EZ-CHEM
Brand: Hayward Pages: 69

112992
Brand: Pahlen Pages: 11

RS1000 Filter System with F1000C Pump
Brand: POLYGROUP LIMITED Pages: 9

PS 2500 S 7948
Brand: Gardena Pages: 6

RV 5480 iQ
Brand: Zodiac Pages: 172

VORTEX-PRO EC15 Series
Brand: Zodiac Pages: 24

AW629AL
Brand: Calorex Pages: 32

B-NMP 32/12A/A
Brand: Calpeda Pages: 64

71325
Brand: Crivit Beach Pages: 14


