FAMOCO PX400, User Manual
The FAMOCO PX400 User Manual is a comprehensive guide that provides step-by-step instructions to optimize your experience with our cutting-edge product. Easily download this essential manual for free from manualshive.com, ensuring that you have all the necessary information to unlock the full potential of your FAMOCO PX400 device.
Share
Download


Reviews:
No comments
Related manuals for PX400

ELX3252
Brand: Beckhoff Pages: 33

E301HC
Brand: Eagle Pages: 2

Erste Schritte
Brand: CCV Pages: 14
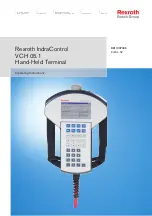
Rextop IndraControl VCH 05.1
Brand: Bosch Pages: 32

REXROTH IndraLogic VEP 30.5
Brand: Bosch Pages: 48

Rexroth Indramat BTV30.2
Brand: Bosch Pages: 94

Rexroth VCH 08.1
Brand: Bosch Pages: 120

CMV
Brand: Payment Express Pages: 14

W-615
Brand: ELCOM Pages: 32

PanelView Plus 400
Brand: Allen-Bradley Pages: 32

1747-PT1
Brand: Allen-Bradley Pages: 465

TS700
Brand: bleep Pages: 2

S90
Brand: PAX Pages: 250

BEETLE /M-II plus
Brand: Wincor Nixdorf Pages: 55

P400
Brand: BURGER KING Pages: 20

SCXI-1305
Brand: National Instruments Pages: 14

V186
Brand: Motorola Pages: 96

WITOUCH CORE 6E
Brand: FEC Pages: 28


